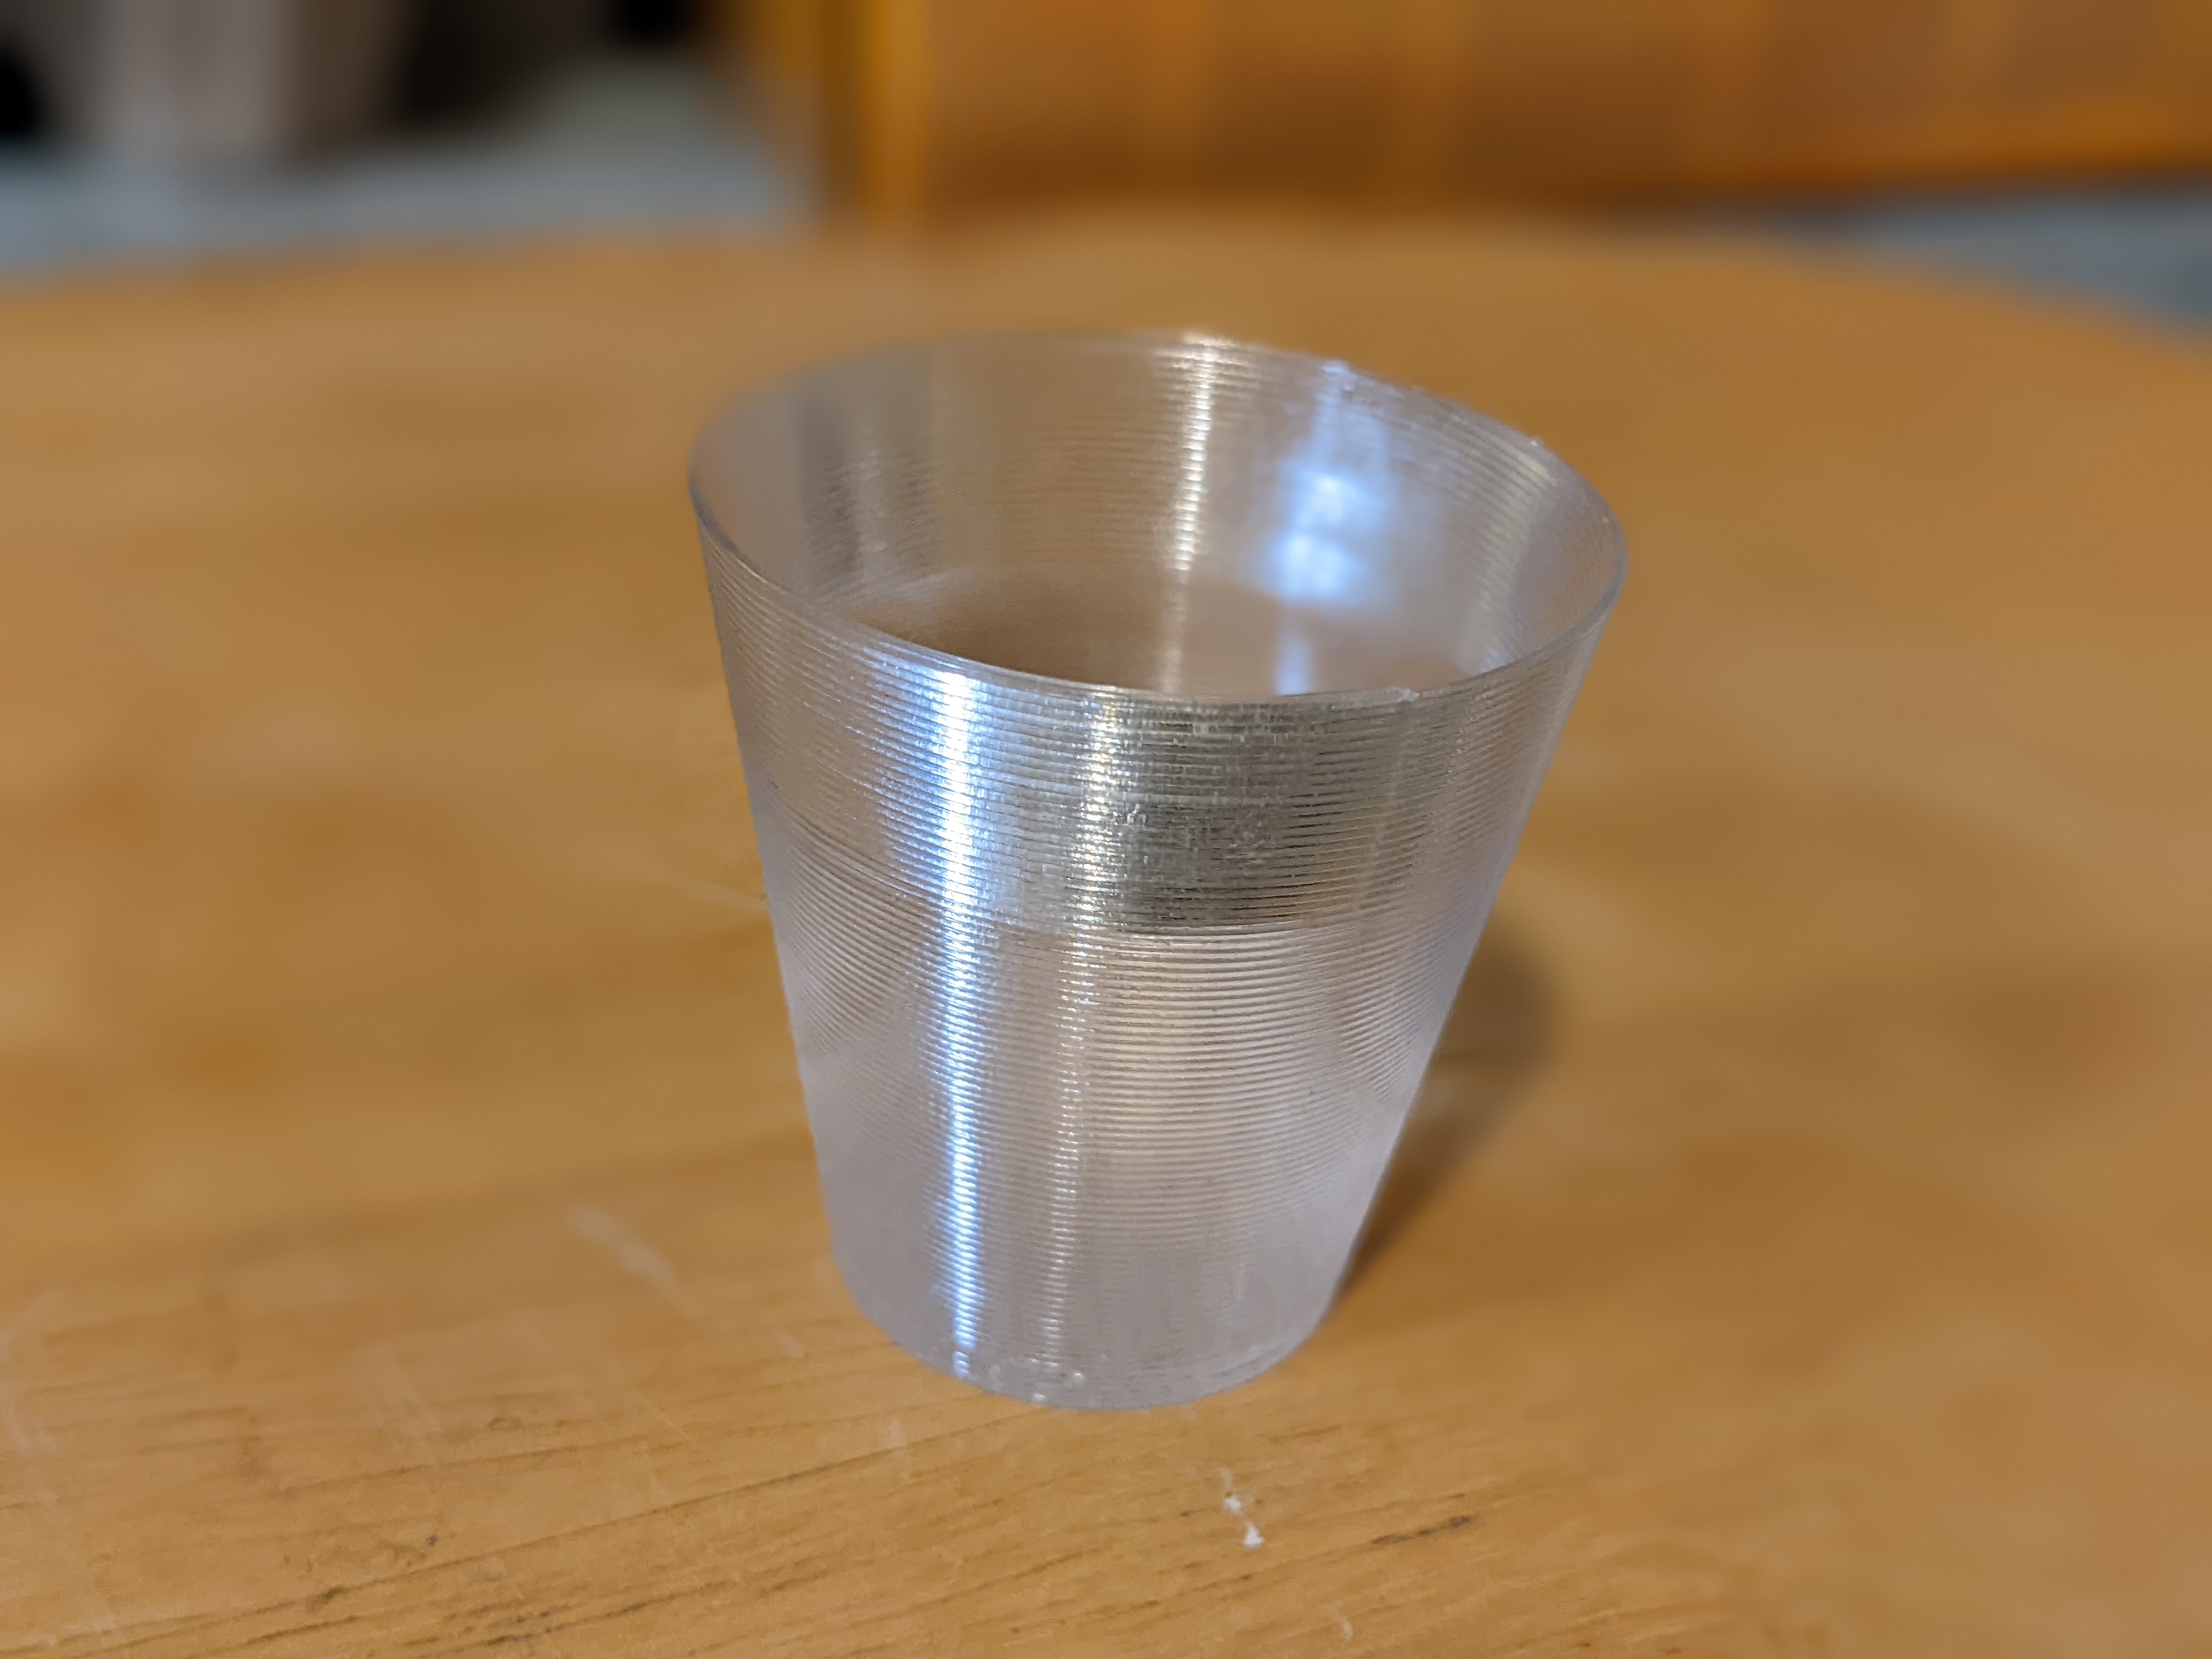
Stackable shooter
prusaprinters
<p><strong>Mission</strong></p><p>Find material and parameters for printing glasses for parties and trips.</p><p> </p><p><strong>Design</strong></p><p>I chose the shooter as the first project. The advantage is low material consumption and fast printing for efficient parameter tuning. The shooter was modelled in Autodesk Fusion 360 from scratch. I wanted a small volume of 0.2 - 0.3 cl and good stackability.</p><figure class="image image_resized" style="width:58.3%;"><img src="https://media.prusaprinters.org/media/prints/148398/rich_content/20579380-5d25-4880-b782-08037a30793d/shooter_03.jpg#%7B%22uuid%22%3A%225d18b882-2880-4901-bbf7-e65ca5b3a758%22%2C%22w%22%3A4032%2C%22h%22%3A3024%7D"></figure><p> </p><p><strong>Material</strong></p><p>I wanted transparent material and of course an FDA food-contact compliant. I chose the ColorFabb XT clear filament, which meets the basic requirements and at the same time has a good heat resistance and mechanical properties.</p><p> </p><p><strong>Process</strong></p><p>I realized very quickly that glass with seams is not what I want. The only relevant seamless option is probably a spiral vase mode. One of the conditions of spiral vase mode is printing with a single perimeter. To limit this disadvantage, I chose E3D V6 0.8 mm nozzle.</p><p>Temperature-wise I started with the default PrusaSlicer temperature profile for ColorFabb XT filament:</p><p>Nozzle - First layer: 260 °C - Other layers: 270 °C<br>Heatbed - First layer: 90 °C - Other layers: 90 °C</p><p>Both feel exaggerated, especially the heatbed. ColorFabb recommended printing setup is significantly lower: </p><p>Nozzle 240-260 °C<br>Heatbed 50-70 °C</p><p>My model files have set temperatures 260 °C and 70 °C. It works fine but you can probably still go lower.</p><figure class="image image_resized" style="width:85.96%;"><img src="https://media.prusaprinters.org/media/prints/148398/rich_content/195002a1-7585-44cd-9d2f-03c5b8f26e3a/shooter_slicer.jpg#%7B%22uuid%22%3A%22c076c2e7-ec42-4f17-b514-2ed3f18a7f70%22%2C%22w%22%3A2835%2C%22h%22%3A1707%7D"></figure><p>I experimented with the layer height. All 3 basic profiles work well and can be used to achieve different optical properties of the print.</p><figure class="image"><img src="https://media.prusaprinters.org/media/prints/148398/rich_content/c7fbca41-0e61-47c8-98e5-4f13cd53abe2/shooter_layer_height.jpg#%7B%22uuid%22%3A%223af0af5a-7718-4f6f-ba20-245138495ec9%22%2C%22w%22%3A4032%2C%22h%22%3A1767%7D"></figure><p>My favorite is 0.55 mm, which has clearly visible layers and is the clearest. You will need 7.5 g of filament and 15 minutes to print it.</p><p>Enjoy!</p><p> </p>
With this file you will be able to print Stackable shooter with your 3D printer. Click on the button and save the file on your computer to work, edit or customize your design. You can also find more 3D designs for printers on Stackable shooter.
