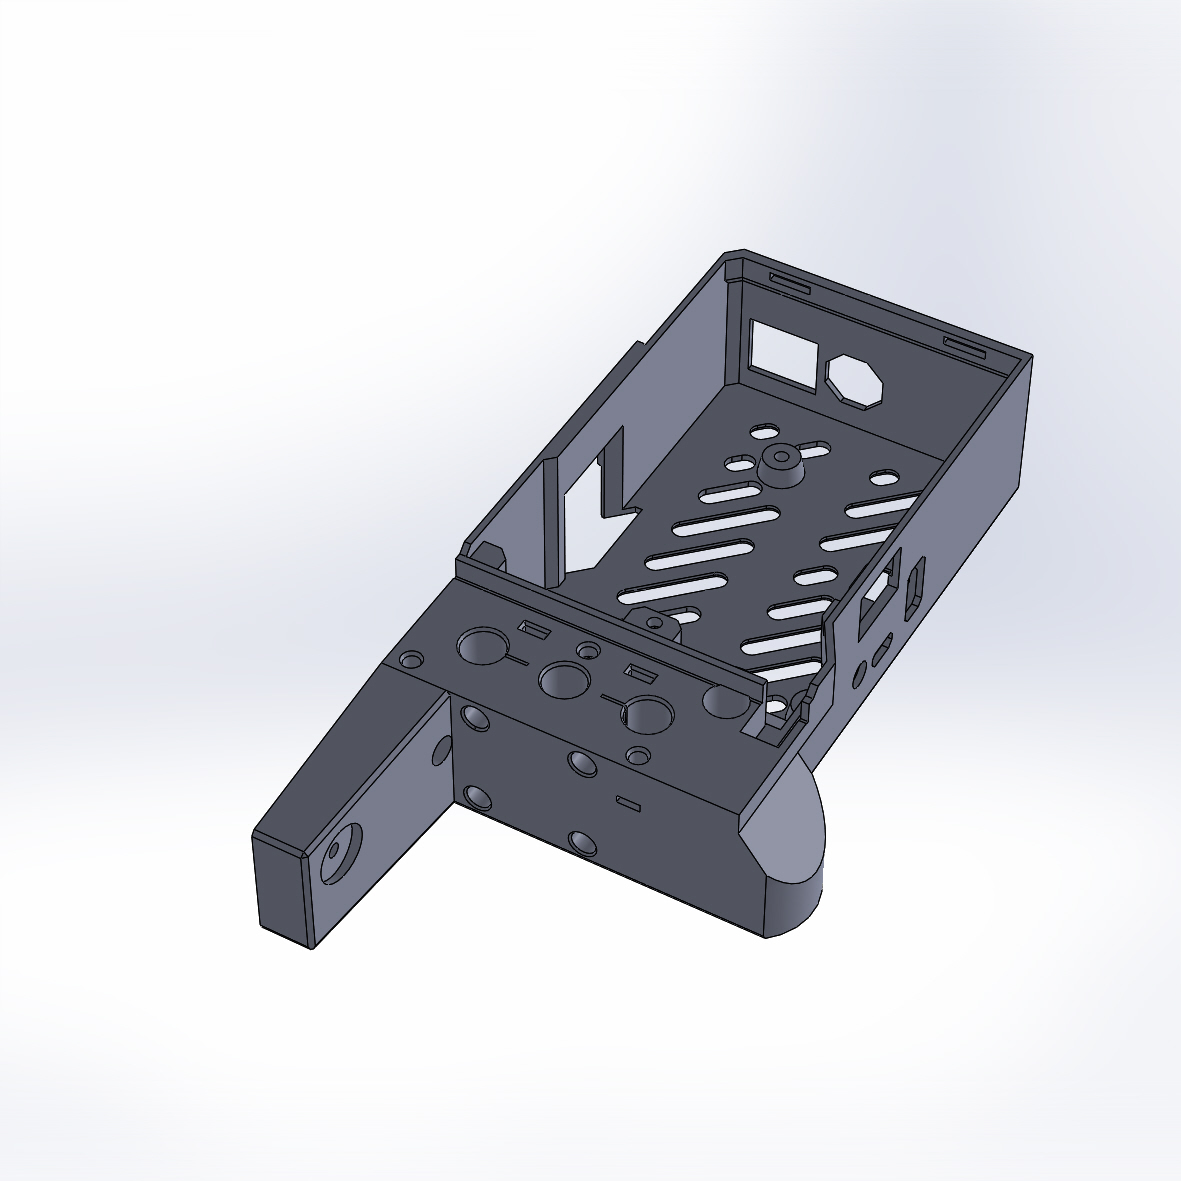
Stabilised Prusa Mini Z Bottom
prusaprinters
<p>A stabilised Z bottom to prevent side-to-side rocking.</p> <h3>Print instructions</h3><p>This is a remix of the Original Prusa Mini Z Bottom (R7) to prevent the printer rocking side-to-side and give better stabilisation.</p> <p>In the original part the rubber foot is positioned quite close to the right hand Y extrusion which allows the printer to rock side-to-side if the top of the Z extrusion is gently nudged.</p> <p>I have moved the foot much further out so that it is positioned directly under the Z extrusion. This completely eliminates the rocking.</p> <p>I have also added a longer bracket where the part attaches to the Y extrusion. This provides extra stability and rigidity to the Z assembly.</p> <p>The only extra hardware you will need is a drop-in T-nut and matching screw @ 20mm long.</p> <p>There are 3 STL files, each with a different sized fixing hole - M3, M4 & m5. The 2 original fixing holes are still M3.</p> <p>To print on the Mini you will need to rotate the model by 58° and centre on the bed.</p> <p>The original print parameters recommended by Prusa should be used. Print in PETG using the 0.2mm quality preset with the infill at 20%.</p>
With this file you will be able to print Stabilised Prusa Mini Z Bottom with your 3D printer. Click on the button and save the file on your computer to work, edit or customize your design. You can also find more 3D designs for printers on Stabilised Prusa Mini Z Bottom.
