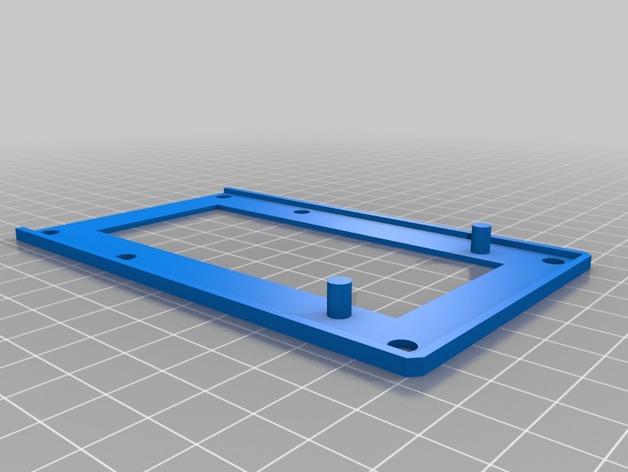
SSD Mount
thingiverse
My trusty home NAS server is now six years old and sports four hot-swap SSD bays that are working overtime to store my data volumes. The OS was originally installed on a compact flash card, which despite delivering outstanding performance, met its untimely demise when I powered it down to give the office a good dusting (moral: never turn things off if they're working and covered in dust!). The CF card resided in an adapter that was mounted on the white pegs you can see in these photos. The quickest and most budget-friendly way to get my server up and running again was to replace the CF with a state-of-the-art SSD. Since there was nothing proprietary holding me back, I decided to bring 3D printing into play with the attached Blender model and STL design. This long print may have been a challenge, but it turned out light, perfectly sized, and all the holes lined up just as needed (although I'm not actually going to use the ReadyCache disk - that was just to check dimensions). There's a small lip around the back outside edge for added stability, although I'm not convinced it's really necessary. The pegs on the back are designed to provide a stand-off and match the depth of the mounting pegs in my chassis - you could remove them or adjust their height to suit. Print Settings Printer: Anet A8 Rafts: Yes Supports: Doesn't Matter Resolution: 0.1mm Infill: 20%
With this file you will be able to print SSD Mount with your 3D printer. Click on the button and save the file on your computer to work, edit or customize your design. You can also find more 3D designs for printers on SSD Mount.
