Squirrelinator Trap Latch Gate
prusaprinters
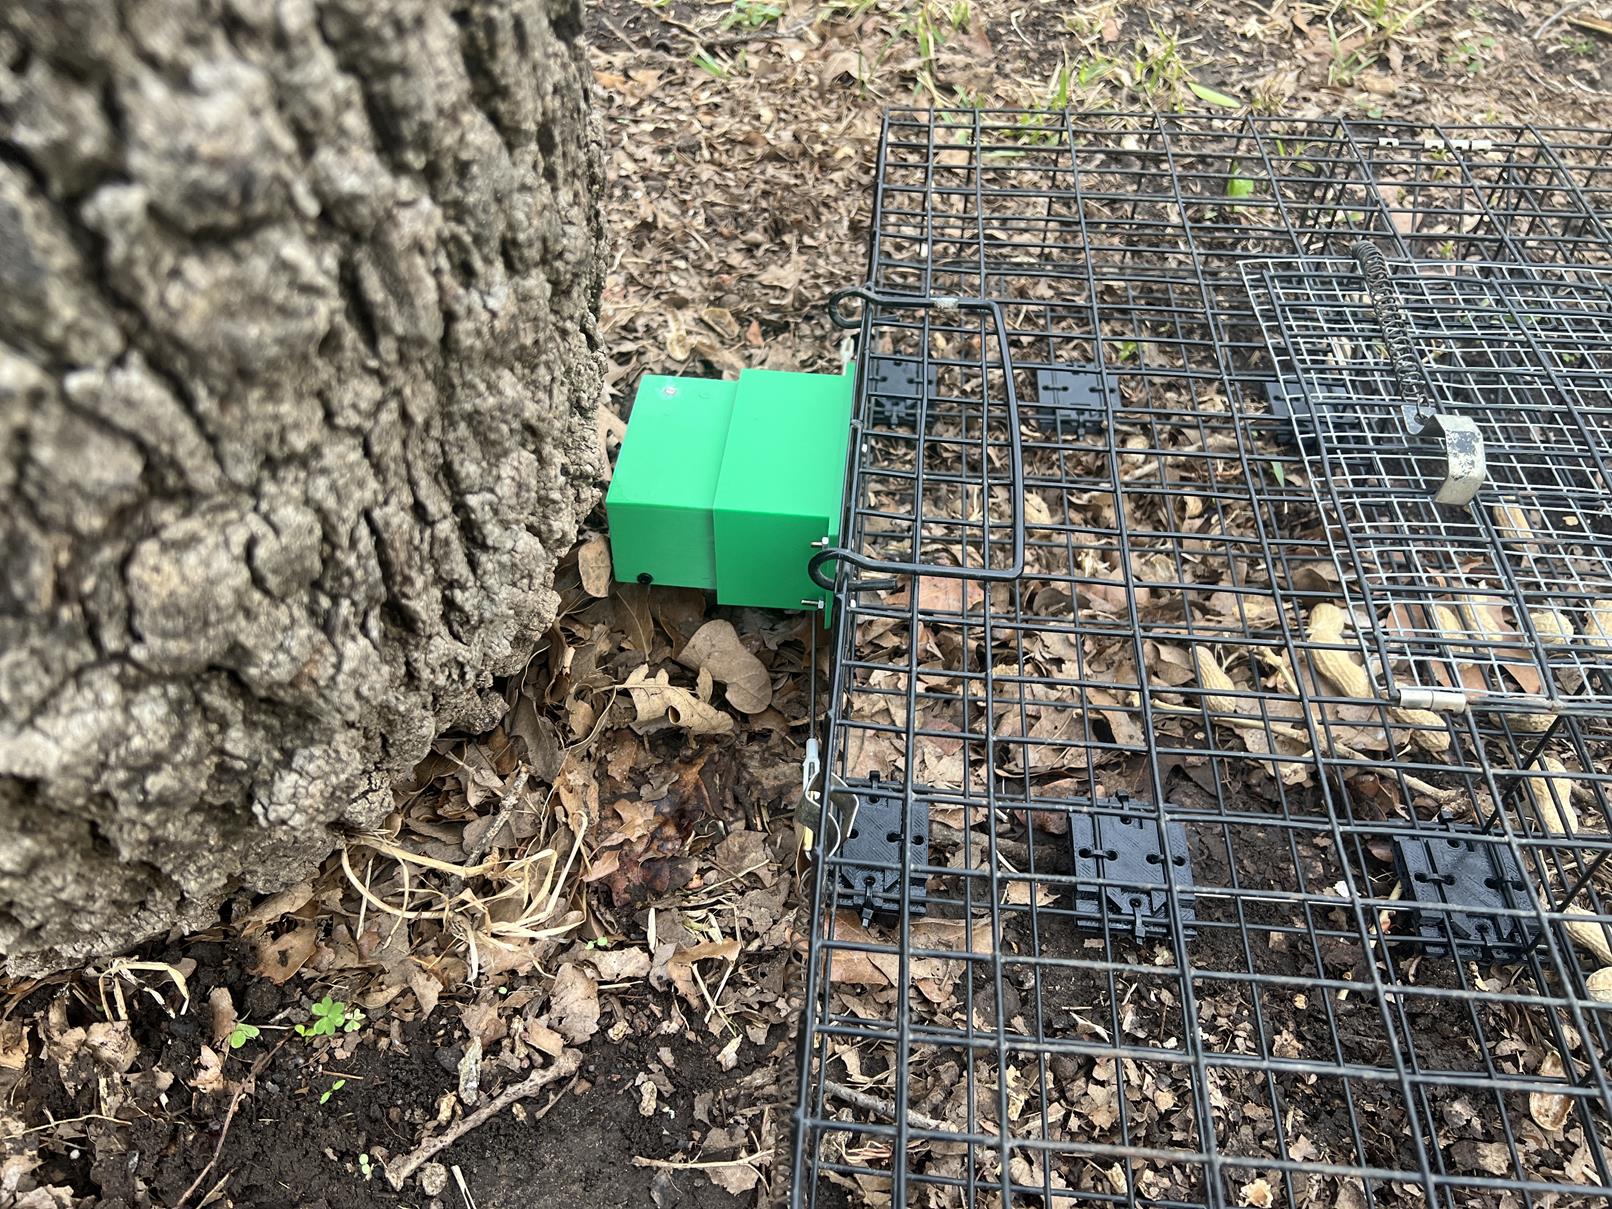
<p>This is a simpler version of the Squirrelinator Daylight Door which I posted earlier this year. It is much easier to make and should be very reliable. It also allows the electronics to be removed easily and replaced it you need to wash the trap.</p> <p>It uses an inexpensive ESP32 board by EZSBC.com which can handle being powered by 4 AAA batteries and draws less than 15 microamps when put in the sleep mode with the RC servo attached. It uses a MG995 servo with a coupler pressed on the metal drive gear. I take the gear out and use it to form the spline on the coupler as shown in the pictures.</p> <p>The servo drives 2 push rods that rotate a hook over the end of a cross piece on each trap door. Adjust the linkages to get necessary movement. If the hook is set correctly upward force place on the door will not move the unpowered servo arm.</p> <p>I read the voltage on an analog pin of a voltage divider made form a 100K resistor and a common photoresistor to ground. Power to the 100K resistor comes from a GPIO pin that is turned on when it's not in sleep mode. This has proved to be a very reliable daylight sensor. I take a look at the sensor every 10 minutes to decide if the cage should be locked or unlocked.</p> <p>Look at comments on the photos, schematic and the included Arduino code for further explanaion.</p> <p>I hope you find this useful or maybe you might find a few useful things here to be used on some other project if you don't have a Squirrelinator trap,</p> <p>Cheers</p> <p>Kisssys</p> Category: Outdoor & Garden
With this file you will be able to print Squirrelinator Trap Latch Gate with your 3D printer. Click on the button and save the file on your computer to work, edit or customize your design. You can also find more 3D designs for printers on Squirrelinator Trap Latch Gate.
