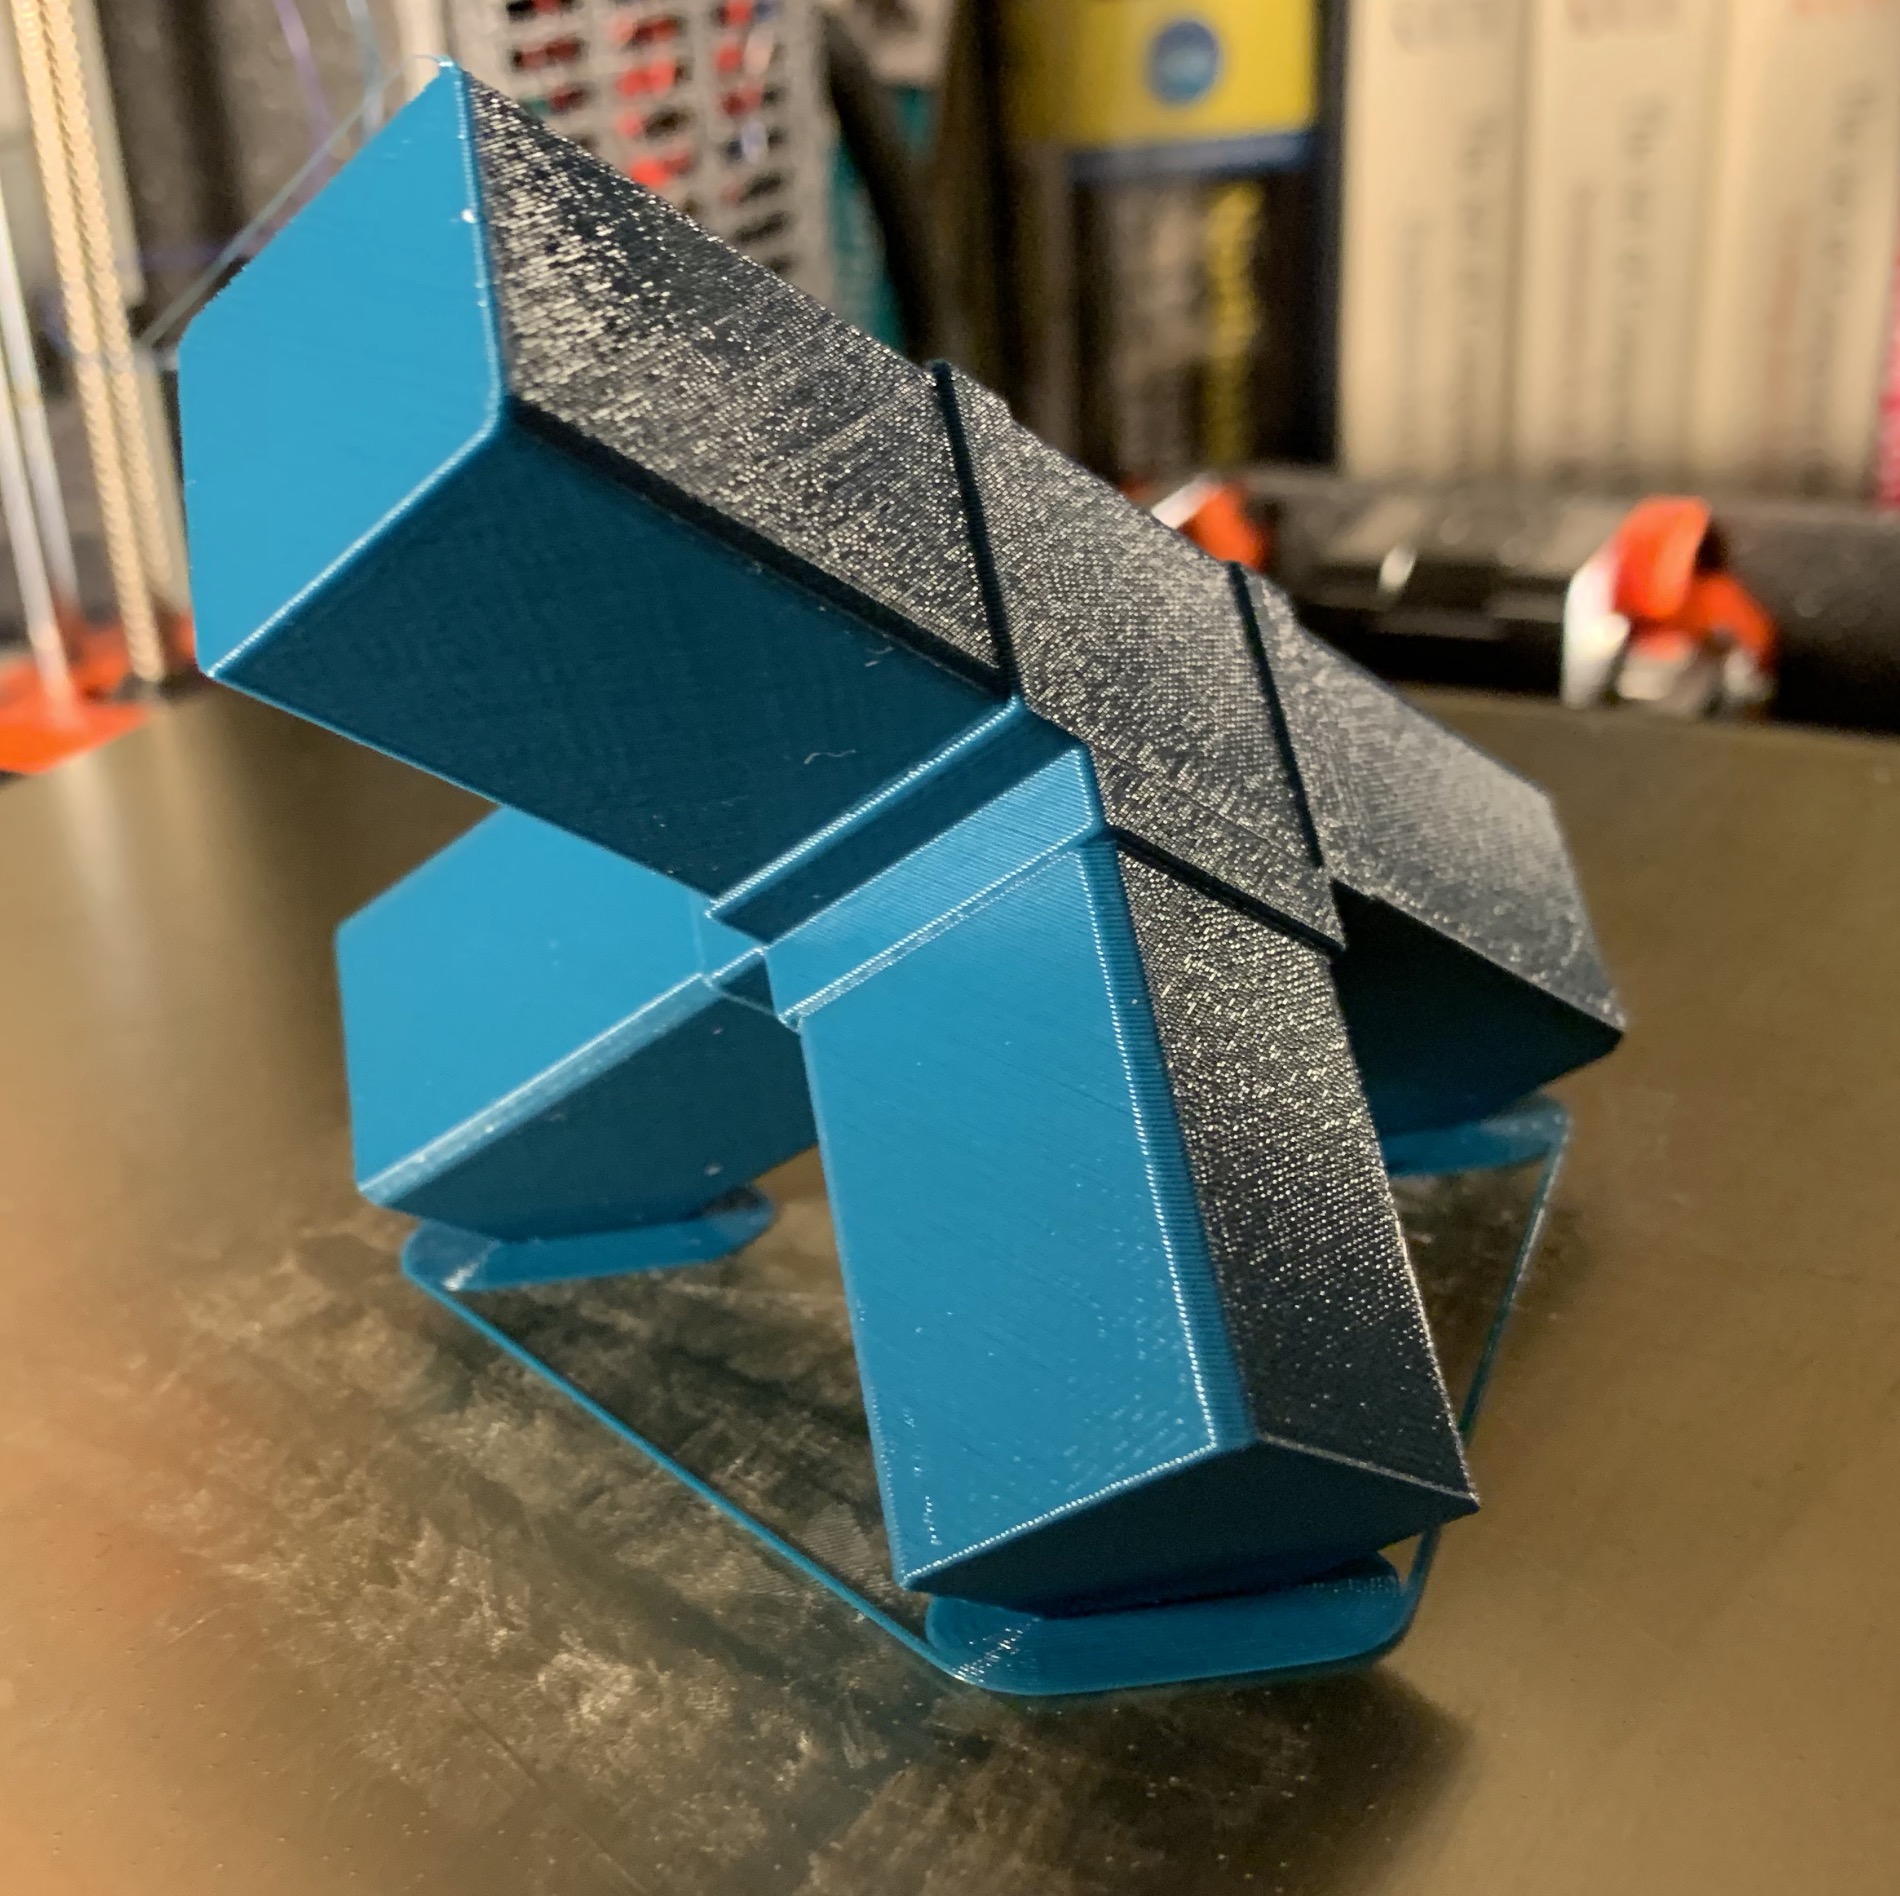
Square Tubing Connectors
prusaprinters
<p>I needed a few changes to the original: tapered pipe protrusion and a way to offset an "endstop" from the corner. I'm pretty new to OpenSCAD so there's probably room for improvement, but it was a fun learning process.</p> <p>The protrusion is what goes inside the tubing. I'm using 25.4mm/1" square steel tubing and the inside size is about 22.2mm. Make the inside size a bit larger near the center and then taper it down to the end, which means you might need to pound it in for the last bit. It also means it may be hard to get back out again. A set screw can help prevent slightly loose ones from sliding out.</p> <p>The protrusion spacer is if you are using these to replace an existing (outer) square pipe connector that has an internal offset. The Core A8 project I made this for has a 5mm offset.</p> <p>Mostly made to help me out, but if it is useful to you that's even better!</p> <p>Update: Nov 7, 2018 - I'm learning more openScad and working to improve the accuracy of everything. In addition I've added a new "Flat Edge" option which puts a flat slice into the design so you can print it without supports. I'd suggest a 4-6mm brim all the same.</p> <p>Update: Nov 10, 2018 - now when you use spacer it doesn't change the center cube's dimension, instead the center cube and spacer use the same dimension.</p> <p>Update 2: Nov 10th - realized that making center dimension larger than protrusion center messes with the spacer accuracy so I tweaked it to take that into consideration. This means if you have a spacer and try to increase centerDim > protrusion center + spacer it would throw off spacing, so I limit the centerDim in that case.</p> <p>Update: Nov 22nd - added an $fn so rounded corners are now nice and smooth</p> <p>To fine tune what I do is put the params in using the "Plug" then have my slicer cut off the bottom of the plug so it's mostly just the protrusion, then see how the result fits. The test object is a bit overkill. You should file/sand the inside edge of the pipe first so that doesn't mess up the fit.</p> <p>In a future version I hope to make it so the STLs are generated with the "flat edge" facing down so there's no contortions with the slicer. As it is I use the slic3r PE 1.41, which has a feature to click a face and make it the bottom.</p> <p>Here's what I'm using for 1"/25.4mm steel tubing:<br/> center cube: 24.6<br/> protrusion: center: 22.6, end: 22.2, length: 33<br/> spacer: 5<br/> rounding: 1.5</p> <h3>Print instructions</h3><h3>Category: 3D Printer Parts Print Settings</h3> <p><strong>Rafts:</strong> No</p> <p><strong>Resolution:</strong> 0.2</p> <p><strong>Infill:</strong> 20%</p> <p><strong>Notes:</strong></p> <p>I'd suggest 3 perimeters just to give it some beefiness, especially if you need to pressure fit it into the square tubing. A lower infill is probably fine, especially if you're using gyroid.</p>
With this file you will be able to print Square Tubing Connectors with your 3D printer. Click on the button and save the file on your computer to work, edit or customize your design. You can also find more 3D designs for printers on Square Tubing Connectors.
