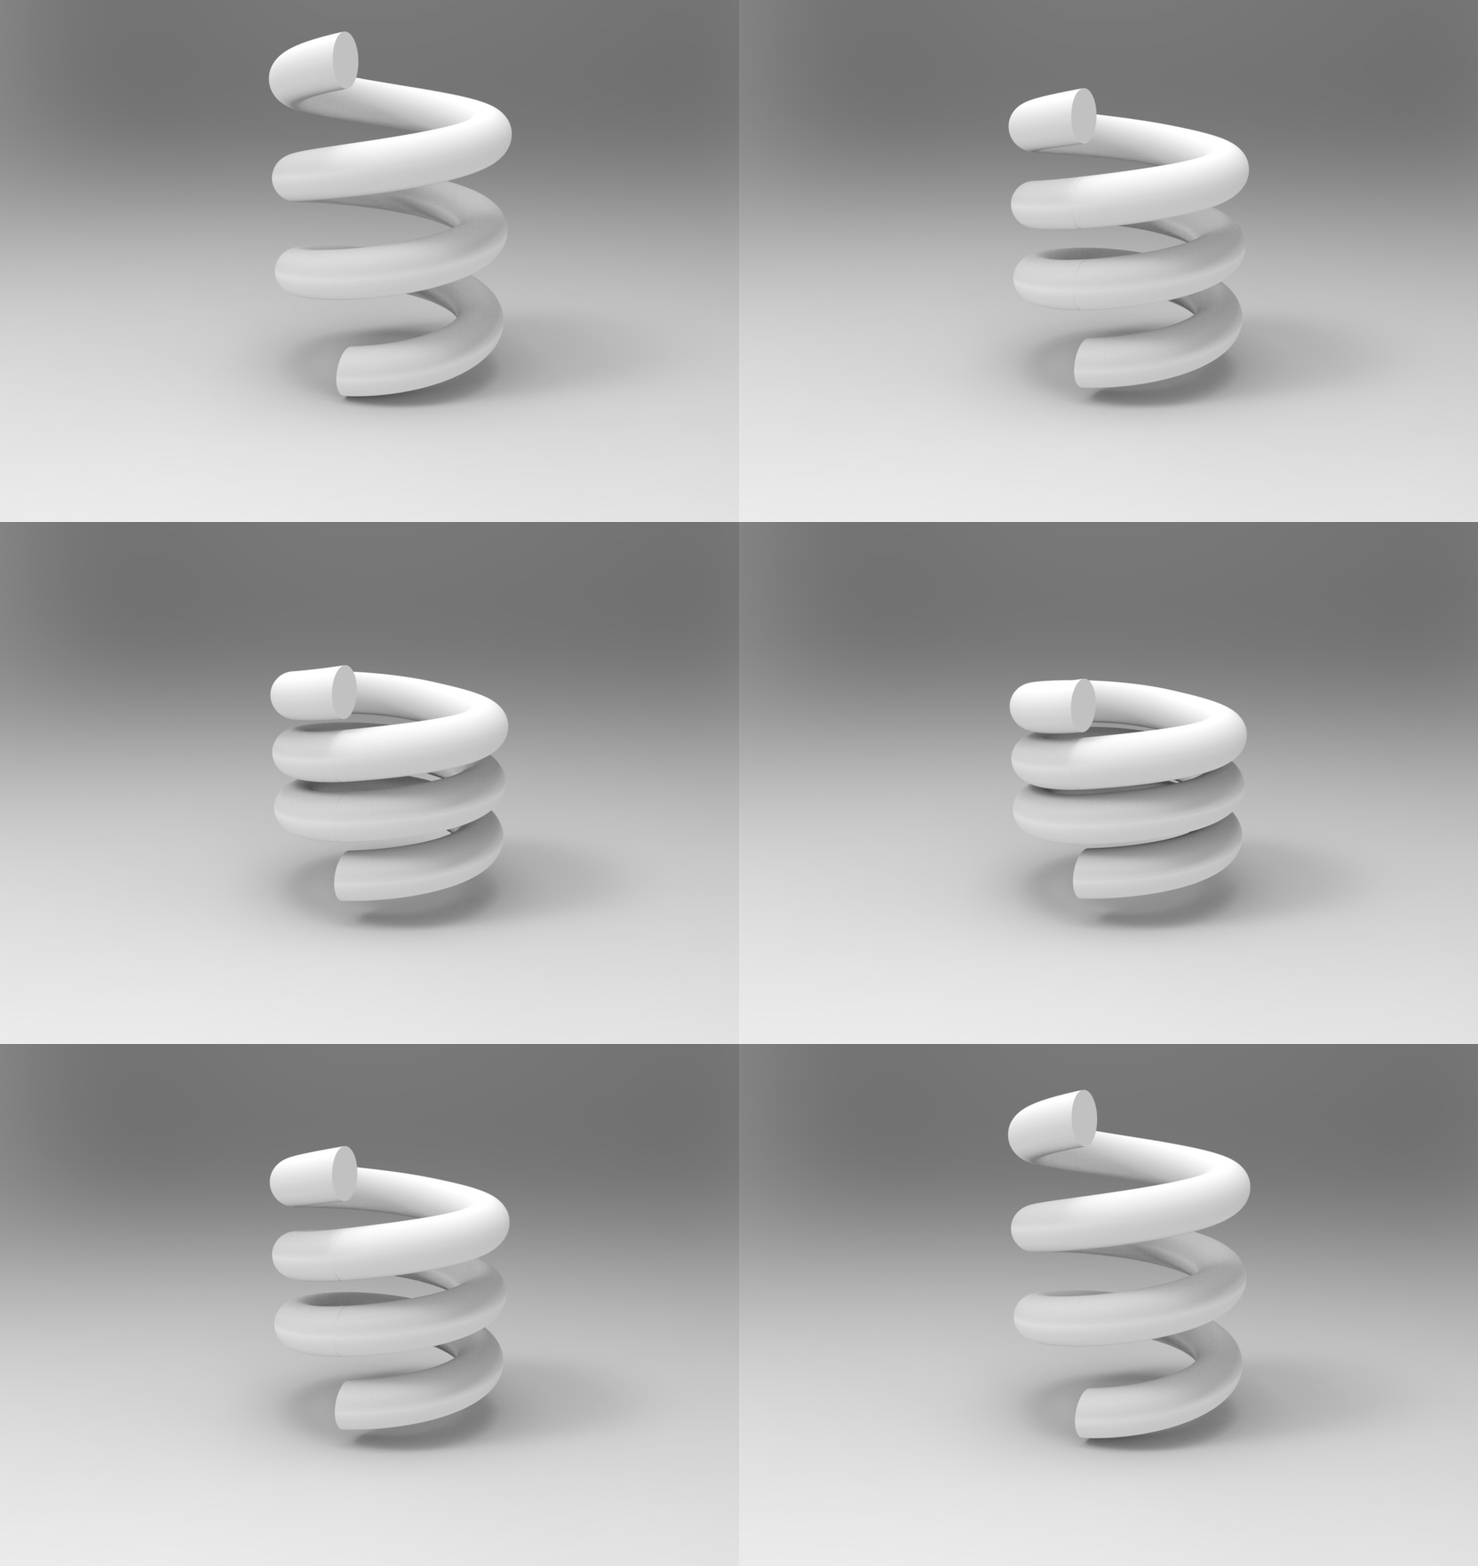
Spring for tutorial: How to animate a spring in Keyshot
grabcad
Tutorial: Bringing Springs to Life in Keyshot Are you ready to unleash the magic of animation on your Keyshot models? In this comprehensive guide, we'll walk you through the process of animating a spring with ease. Whether you're a seasoned pro or just starting out, our step-by-step approach will have you creating mesmerizing animations in no time. **Step 1: Prepare Your Model** Before diving into animation, make sure your spring model is optimized for Keyshot. Use Autodesk Inventor 2016 to create a precise and accurate representation of the spring's design. Pay attention to details such as wire thickness, coil radius, and overall geometry. A well-crafted model will ensure smooth animations and realistic results. **Step 2: Set Up Your Animation** In Keyshot, create a new animation by going to **Animation > New Animation**. Choose your desired frame rate and duration for the animation. For this example, we'll use 24 frames per second (fps) for 5 seconds. **Step 3: Add Keyframes** With your animation set up, it's time to add keyframes that control the spring's movement. In Keyshot, navigate to **Animation > Add Keyframe** and select the "Position" property. This will create a keyframe at the current frame, which we'll use as our starting point. **Step 4: Animate the Spring** Now it's time to bring your spring to life! To animate the spring, you can use various techniques such as: * **Linear Animation**: Move the spring along its axis using Keyshot's built-in linear animation tool. * **Cyclical Animation**: Create a cyclical motion by animating the spring's position and rotation. * **Randomized Animation**: Add some randomness to your animation by using Keyshot's procedural noise feature. **Step 5: Refine Your Animation** Once you've added keyframes, refine your animation by adjusting the timing, easing, and other parameters. Use Keyshot's advanced animation tools to fine-tune your spring's movement and achieve a realistic motion. **Step 6: Render Your Animation** With your animation complete, it's time to render it! In Keyshot, go to **Render > Render Animation** and choose your desired output format (e.g., MP4, GIF, or EXR). Adjust the rendering settings as needed to ensure optimal performance. And that's it! With these simple steps, you've successfully animated a spring in Keyshot. Remember to experiment with different techniques and effects to take your animations to the next level. Happy animating!
With this file you will be able to print Spring for tutorial: How to animate a spring in Keyshot with your 3D printer. Click on the button and save the file on your computer to work, edit or customize your design. You can also find more 3D designs for printers on Spring for tutorial: How to animate a spring in Keyshot.
