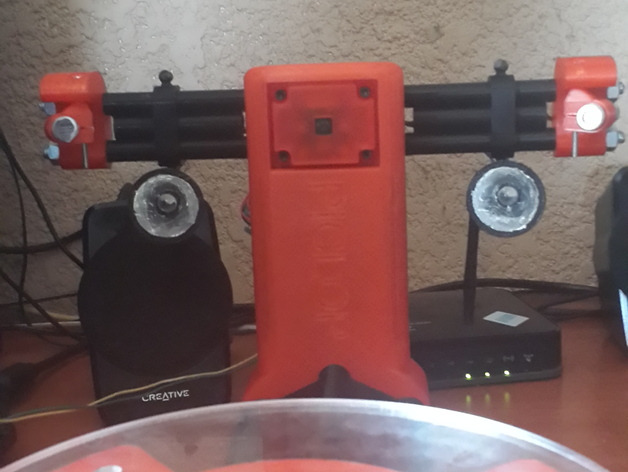
Spotlights for PiClop Scanner
thingiverse
The Piclop Laser Scanner is extremely sensitive to changes in light levels on the object being scanned, resulting in unsightly light and dark lines in the final product. In order to combat this issue, I decided to create custom spotlights designed specifically for this problem. The lights can be attached either on top of or beneath the clip, offering flexibility in placement. The lights themselves are powered through a ULN2008 chip, which enables them to be dimmed down to the desired level. This means, however, that adjustments need to be made to the software to accommodate these changes. I successfully updated FreeLSS 1.2 with my modifications and am currently exploring ways to efficiently integrate future updates into the program. Meanwhile, here's a sneak peek at the hardware: Update: My code is now compatible with Freelss v1.4, but thorough testing is still underway. Update: Diffusers for lights can be found here. **Installation Instructions** Print two copies of each part listed below: The inside of the cone is wrapped with aluminum foil for better reflectivity. This design requires two 10mm bright LEDs per light unit. If you've built an Atlas scanner or PiClop scanner before, you'll be familiar with how the lasers flow through the ULN2008 chip – just follow the same connection pattern for the lights (two wires from the Raspberry Pi connect to the chip's spare pins). I added 100-ohm resistors in series with each of the positive LEDs.
With this file you will be able to print Spotlights for PiClop Scanner with your 3D printer. Click on the button and save the file on your computer to work, edit or customize your design. You can also find more 3D designs for printers on Spotlights for PiClop Scanner.
