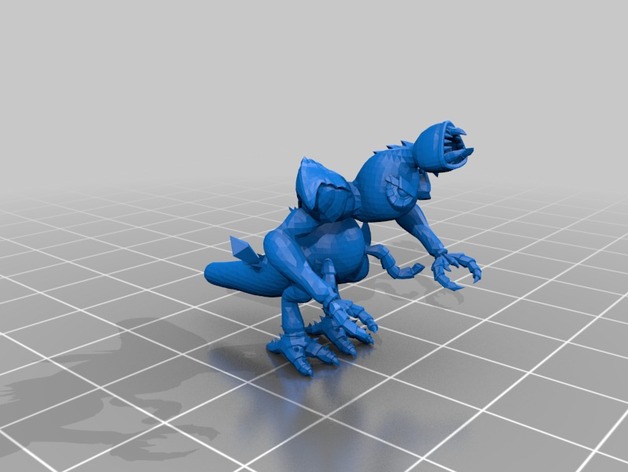
Spore to Blender to STL and a Monster!
thingiverse
Humanity crafted an atrocious creature to use for a Chaos Spawn (http://www.games-workshop.com/en-US/Chaos-Spawn). This monstrous being was created using the Spore Creature Creator. Full Toolchain details can be found in the Instructions. How to create a creature in Spore and eventually export it as STL: First, download and install Spore, which must be v1.05 or later (as of this writing, an issue that is not present). This version costs 20 US$ and can be obtained at http://store.steampowered.com/app/17390/. Next, download and install Blender, a tool that I used in the version 2.66, which is free for everyone. This software can be downloaded from http://www.blender.org/download/. Once Spore has been installed, open it. Optional: Before proceeding with the creation of the creature, one can play the game, if they wish to do so. At the galaxy window in Spore, hit the create button. Mouse over the paw icon and click on the small paw icon. Then hit the brush/hammer icon to launch the creature creator. Now is the time to create the creature using your creativity. It's necessary that you paint your creation because Spore requires it to export it. Save the work as a disk, but do not save and exit. Instead press Ctrl-Shift-C while having the creature in the creature creator. A console will pop up. Type "colladaexport" into this console window. Spore will then inform you that a .dae file has been created along with the file path. For further instructions, see http://www.spore.com/comm/tutorials/export_creatures. In Blender, create a new file and right click on the cube present in it to delete it. Next navigate to the file path provided by Spore, as mentioned before, at http://wiki.blender.org/index.php/Doc:2.6/Manual/Data_System/Files/Import/COLLADA. You will not be able to see anything yet because the model is tiny for reasons that cannot be explained. Scroll forward or zoom in to almost Blender's resolution and you should be able to view your creation now. At this point, one could theoretically pose their creature by making use of skeleton functions if they know how to do so properly. However, it needs to be done at this point because scaling the model using regular methods doesn't include the skeleton in the model skin. To fix this issue, right click on your creature while it's highlighted and type 's 1000 enter' while in the transform controls mode, which can be found by seeing http://wiki.blender.org/index.php/Doc:2.6/Manual/3D_interaction/Transform_Control/Numeric_Input. After scaling the model to its correct size using Blender, go to File -> Export -> STL (.stl), then navigate to the file path of your choice. Now, it's time to see if it prints out correctly with your 3D printer host of choice and to make any adjustments necessary.
With this file you will be able to print Spore to Blender to STL and a Monster! with your 3D printer. Click on the button and save the file on your computer to work, edit or customize your design. You can also find more 3D designs for printers on Spore to Blender to STL and a Monster!.
