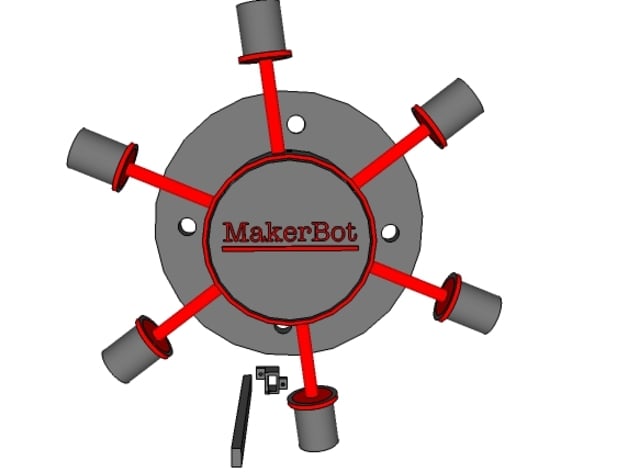
Spool holsters
thingiverse
This is a convenient holster. The concept is that users nail it above and behind their 3D printer on the wall, just out of reach. To assemble the holster, first you attach the core to the top with the help of a few nails behind the printer. Then position the spool over the ends of the spinning gears by sliding them on place. Once secured, proceed to attach the screw stopper on top of each spindle and firmly fasten it in its designated spot. For now, leave the screws slightly loose at this stage. When completed for all or a portion of spools run out, move to the next set. Now comes the exciting part - letting your preferred holster fall from above by simply allowing gravity do its magic. At this point, install the small wall lock into the space designed just below and in back of the 3D printer on the adjacent wall with one more screw nail. Next time, gently fit the core spinning spindle through until you feel the friction engaging with the new lock piece to bring the system fully under control. With the spindles and locks now effectively blocked from further motion and locked tight - that was the second part, it is now time to link up the 3D printing supplies with those already hooked in and set everything in full operation ready for production use ahead
With this file you will be able to print Spool holsters with your 3D printer. Click on the button and save the file on your computer to work, edit or customize your design. You can also find more 3D designs for printers on Spool holsters.
