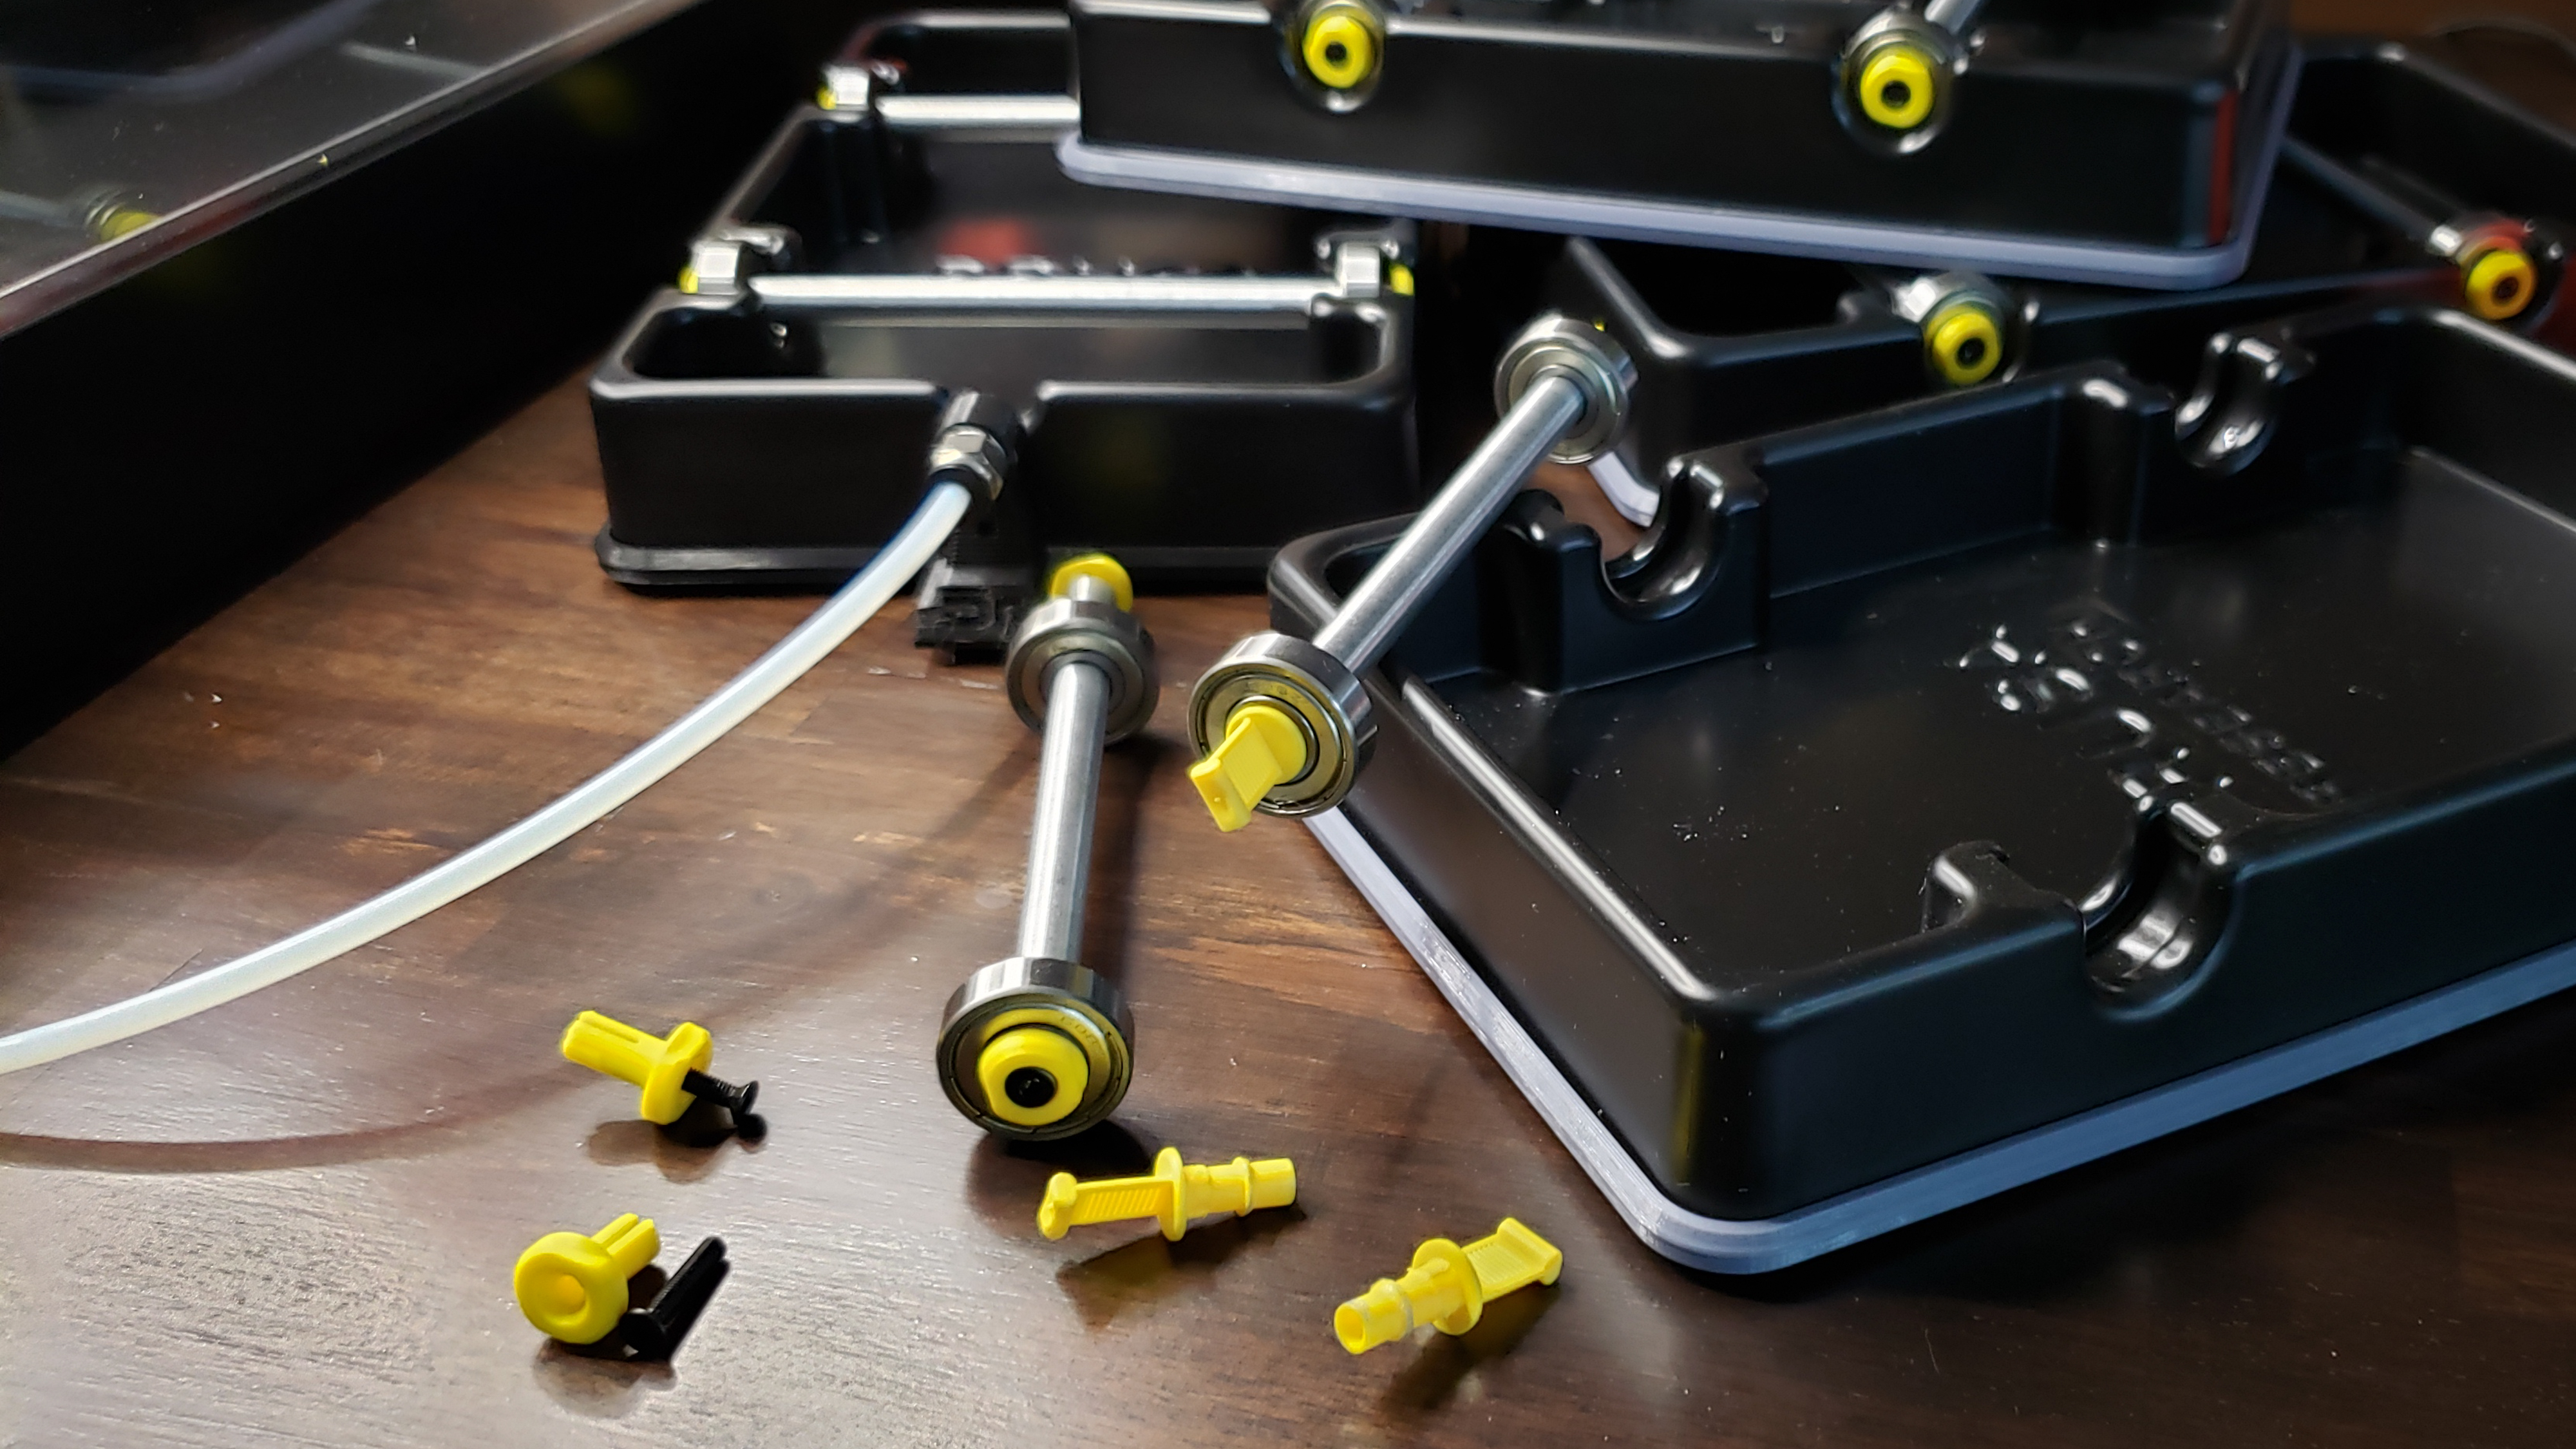
Spindle Caps
prusaprinters
<p>My solution to the MMU2S spool tray end cap that will allow trays to be positioned side by side without interference to each other that the OG caps do. Yes, you could just trim off the ends of the OG caps, or print these out and use them instead.</p><p>The pin portion is designed with a flat spot to provide better contact with the build plate. If you have adhesion issues, then add a brim. This orientation works best for overall strength of the pin. The cap is positioned on the build with the larger surface up so no supports are required.</p><p>The pin presses into the keyed slot in the cap. If it is hard to press into place, you can draw it in with the screw, then back the screw out before inserting into the spindle. Once fully inserted into the spindle, tighten the screw. If the screw does not seem to thread in while tightening, the pin is most likely not seated properly into the cap slot. If you find it is difficult to hold the cap and pin from rotating while your are tightening, there is provision for a 10mm spanner on the cap to assist. You will need a M3x10 or M3x16 flat head screw per cap.</p><p>I printed mine using sequential printing, sets of four pins and 4 caps with PLA at 0.10mm layer height, 20% Grid Infill, 4 perimeters, no supports. Use the default print speeds or less to ensure the pin stays attached to the bed during printing. </p>
With this file you will be able to print Spindle Caps with your 3D printer. Click on the button and save the file on your computer to work, edit or customize your design. You can also find more 3D designs for printers on Spindle Caps.
