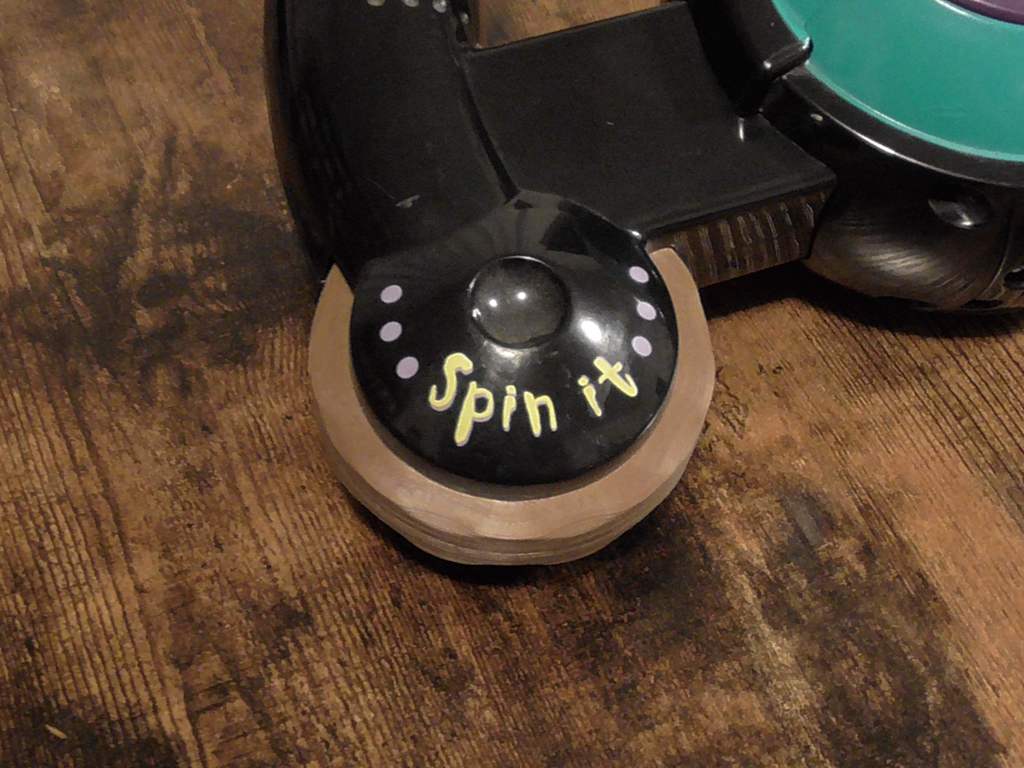
Spin it Replacement - Bop It Extreme
prusaprinters
<p>The 1998 Bop It Extreme is a fun childhood toy of mine, and the "Spin It" is my favorite part. The Spin It had been getting more wobbly and harder to spin, and finally it failed completely. I designed and printed this replacement Spin It wheel and was able to get it back up and running in no time. The wheel prints without supports in two easy to print halves which are glued together (I used cyanoacrylate Super Glue). Enjoy!</p> <p>Ideally this should be printed with cherry red filament to match the original wheel, but the closest thing I had on hand was chocolate brown, so that's what I used. It looks all right, I think. Right?</p> <p>I recommend removing the batteries before beginning disassembly. There are four screws holding the center together. Once those are removed the center will come apart into two halves, and the two Bop It buttons and their springs will come off. The main body is held together by eight screws. With those out the main body will come apart into two halves, with the control board and mechanism inside. The Spin It wheel is then readily accessible.</p> <p>After replacing the Spin It wheel, and after making sure everything else is in its proper place, put the halves of the main body back together. At this point, before putting the screws back in, I recommend slowly turning the Spin It wheel and listening to make sure its push button on the control board is being pressed. On mine, the old wheel had been pulling harder on the arm that presses the push button than it should have been, which bent the arm so that with the replacement wheel installed it was no longer activating the push button. Fortunately I was able to bend the arm back into it's proper shape. I recommend checking this, as I suspect that this is a common occurrence as the wheel deteriorates. Once that's situated, the main body can be screwed back together, the two Bop It buttons and their springs can be put back into place (make sure the logo is right side up!), and the center halves can be slid together over them. Screw those down and slap some batteries in it, and the Bop It is ready to roll!</p> <p>An added bonus of this project was that it gave me a chance to look at the Bop It's inner mechanism, which, while fairly straightforward, is interesting and rather clever.</p> <h3>Print Settings</h3> <p><strong>Printer:</strong></p> <p>JGAurura A5S</p> <p class="detail-setting rafts"><strong>Rafts: </strong> <div><p>No</p></div> <p><strong>Supports:</strong></p> <p>No</p> <p><strong>Filament:</strong></p> Tianse PLA </p> Category: Replacement Parts
With this file you will be able to print Spin it Replacement - Bop It Extreme with your 3D printer. Click on the button and save the file on your computer to work, edit or customize your design. You can also find more 3D designs for printers on Spin it Replacement - Bop It Extreme.
