Sphero Obstacle Course
thingiverse
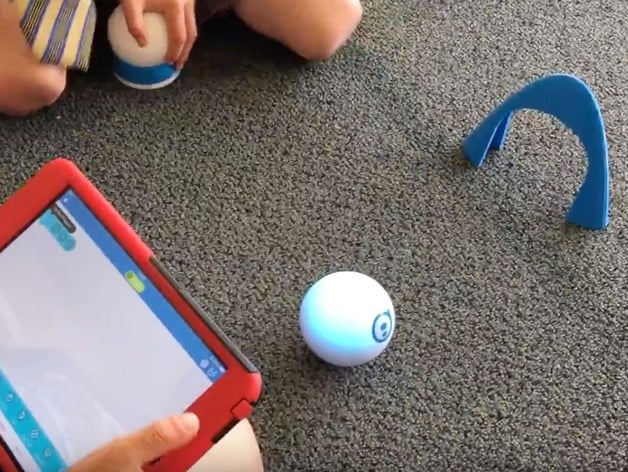
Sphero, the Bluetooth controlled robotic ball, is a super cool toy that introduces students to programming basics through visual language. Take classroom Sphero time to the next level by challenging students to design obstacles for Sphero to navigate around, into, and over! How I Designed This I used Tinkercad because it's easy to use, free, and browser-based. It's also a great tool for teaching students as young as seven how to design using code. Standards NGSS Overview and Background Sphero is an engaging way for students to learn coding basics from age five upwards. But just roaming around the classroom can get dull fast! With this lesson, you'll encourage more advanced programming skills while introducing students to desktop fabrication too! Objectives Students will gain basic design and 3D printing knowledge to create Sphero obstacle course elements. They'll also use visual or syntax coding languages to navigate Sphero through their own obstacle course. Subjects Design Engineering Coding Skills Learned (Standards) Third Grade: NGSS: 3-5-ETS1-1, 3-5-ETS1-3 Lesson Plan and Activity Start by navigating a Sphero around the classroom, highlighting navigation challenges. Then task students to create obstacles for a course they'll later navigate through. Assign teams to brainstorm and sketch obstacle ideas. Have them map the classroom and diagram where their obstacles will go. Introduce Tinkercad (or your chosen design program) and guide students through its basics. Encourage creativity, making suggestions like tunnels, ramps, speed bumps, or bridges if needed. Define maximum obstacle dimensions that match printer capabilities to add an extra engineering challenge. Students should design, print, test, and redesign obstacles as time allows. Create the complete course as a class, keeping it up for several days. Students will practice programming Sphero through their own obstacle course, assessing creativity, challenge, and design. If possible, allow students to take feedback from classmates and redesign. Extension Have the class create connected or triggered obstacles in Rube Goldberg fashion, or include water obstacles since Sphero is waterproof! Duration of Lesson 5-10 sessions Preparation Ideally, start with some basic programming knowledge for a better understanding of Sphero's capabilities. However, this project can also focus on programming, but add extra time. Rubric and Assessment Each student must design and print an obstacle course element by lesson's end. A possible rubric addressing creativity and design is available in the thing files above. References Check out Sphero Education for more classroom ideas and information at http://www.sphero.com/education. Need some real-life inspiration? Look at the included page or watch a few clips from Wipe Out! Handouts & Assets Download the SPRK Lab app (iOS, Android, FireOS) to begin programming your Sphero before, during, and after the lesson if not already available.
With this file you will be able to print Sphero Obstacle Course with your 3D printer. Click on the button and save the file on your computer to work, edit or customize your design. You can also find more 3D designs for printers on Sphero Obstacle Course.
