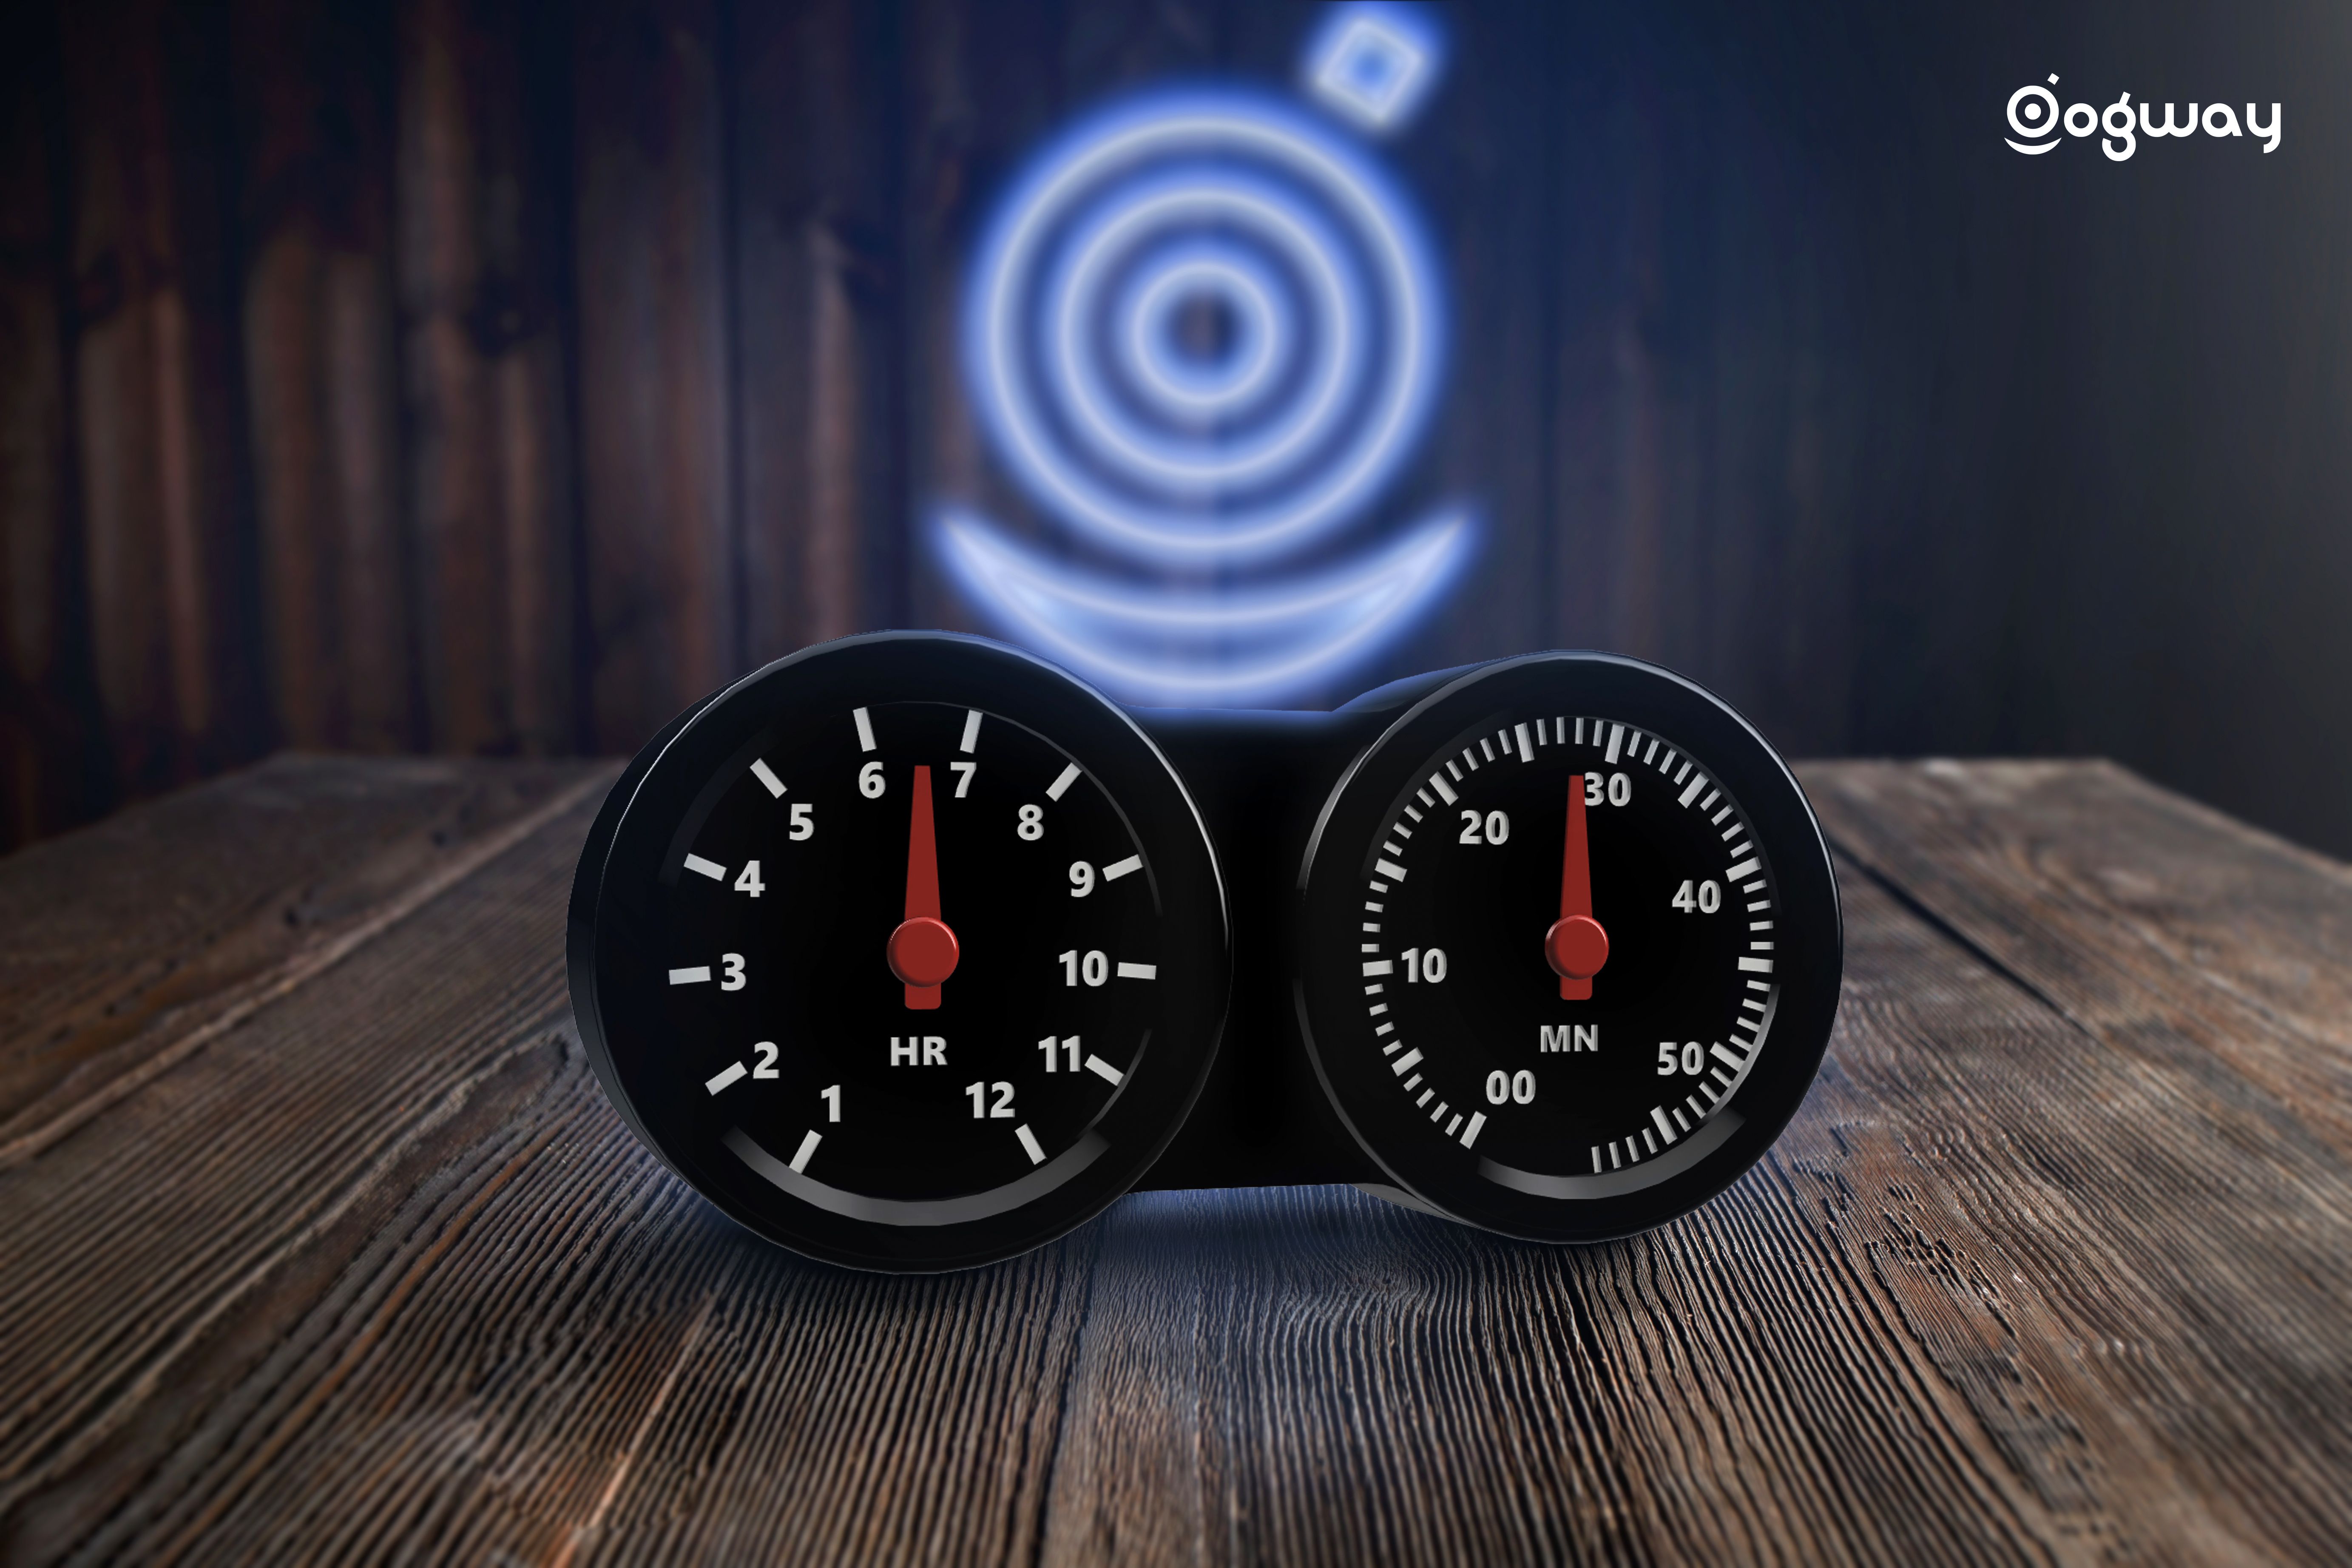
Speedometer Clock
prusaprinters
<h3>Speedometer Clock</h3><p>Inspired by analog dials of a retro motorcycle. It shows time in hours and minutes in a pair dials which resembles a tachometer and speedometer. The time is fetched from the Time Server and constantly updates it. The needle movement is controlled by two servo motors.</p><h5>Recommended Print Settings</h5><p>Nozzle : 0.4mm<br>Material : PLA<br>Color : Any<br>Layer Height : 0.2mm<br>Infill : 15% (rectilinear)<br>Supports : None<br>Rafts : None<br>Print Time : ~12 Hr.</p><p><strong>Note:</strong><br>Clock_Face.stl :</p><figure class="image image_resized" style="width:71.88%;"><img src="https://media.prusaprinters.org/media/prints/69730/rich_content/4c4db205-cc4e-4f62-9466-e408d7ab0724/6.jpg#%7B%22uuid%22%3A%22284234db-e842-47d8-83c1-1574e7ca914e%22%2C%22w%22%3A1920%2C%22h%22%3A1080%7D"></figure><p><br>Lower Layers must be printed with material that pass light if backlight is needed. Add 3 or more top solid infill for preventing the backlight penetrating through unwanted areas<br>Print in Two Colors. You can print multiple colors in single extrusion printer by filament change method. For that Use M600 Command After 3/4 Layers (for 0.2mm layers) in the GCODE .<br>In Prusaslicer you can add colors easily without messing up with GCODE and view the code graphically for more convenience.<br>Print a minute hand and an hour hand.</p><h5>Hardware Requirements</h5><ul><li>Node MCU x1</li><li>SG90 360 Degree Servo Motor x2 (Normal 180Deg Servos won't work directly unless you modify it)</li><li>DC Socket (DC-022) x1</li><li>M3 Screw(½") x6</li><li>Screws (For Servo, NodeMCU)</li><li>LEDs(Optional - For Backlight)</li></ul><h5>Software Requiremts</h5><ul><li>Arduino IDE</li><li>Libraries<ul><li>Basic ESP8266 Libraries<br>NTPClient by Fabrice Weinberg</li></ul></li></ul><h5>Assembly Instructions</h5><p>Place NodeMCU and Servos as shown in the images.</p><p> </p><figure class="image image_resized" style="width:58.9%;"><img src="https://media.prusaprinters.org/media/prints/69730/rich_content/97ec7899-d5fc-418b-8051-1c060203c73a/description.jpg#%7B%22uuid%22%3A%22c766a697-e53e-4ea3-a5d6-be84ad080dda%22%2C%22w%22%3A4973%2C%22h%22%3A3493%7D"></figure><p><br>Flash NodeMCU with codes attached. (Some parameters has to be modified accordingly like your 'Time Zone', 'Wireless Credentials', 'Servo angle', etc. )<br>After completing and checking the connections, the back panel can be secured using six M3 screws. (careful while tight into plastic parts)<br>Done :)<br> </p>
With this file you will be able to print Speedometer Clock with your 3D printer. Click on the button and save the file on your computer to work, edit or customize your design. You can also find more 3D designs for printers on Speedometer Clock.
