SpeedBlock Calibration Cube
prusaprinters
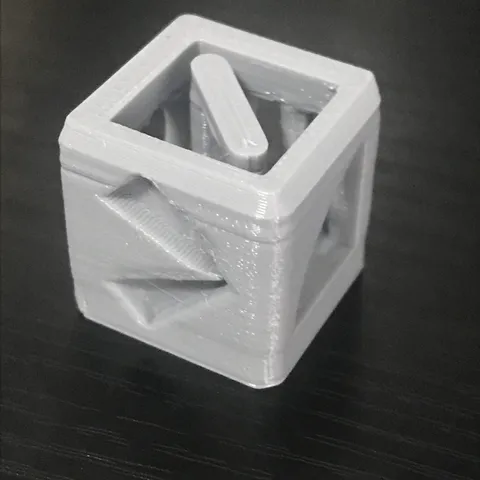
Feature 1: The Logo --- The Logo is my logo that goes on everything I make. It's also quite difficult to print in the orientation featured on the cube so you'll need cooling and pressure advance dialed in to get good overhangs and crisp corners. The flat face the logo is placed on is also good for ringing tests.Feature 2: The Overhang --- A very basic overhang that serves as a good test of cooling. Moderately good cooling should print the overhang perfectly. Feature 3: The Cones — The most difficult part of this print. The cones are super narrow and are really tough for machines with messed up retraction.Feature 4: The Circle --- Circles are notoriously annoying to print on FFF machines, so this large ellipse is was placed in order to see if your machine could form one without issue.Feature 5: The Pillars --- A retraction and cooling challenge. A bit easier than the cones. You can also do strength testing by trying to break these.Feature 6: The Bridge --- This short bridge should not be a problem unless you are using the droopiest PETG or TPU. If it does cause issues, you need to look into your cooling immediately. Feature 7: The Fillets --- A set of fillets and chamfers on the cube intended for accuracy testing. If the filleted sections and chamfered sections of the cube are indistinguishable, you might have an issue.
With this file you will be able to print SpeedBlock Calibration Cube with your 3D printer. Click on the button and save the file on your computer to work, edit or customize your design. You can also find more 3D designs for printers on SpeedBlock Calibration Cube.