Sparkmaker gasket seal resin vat
thingiverse
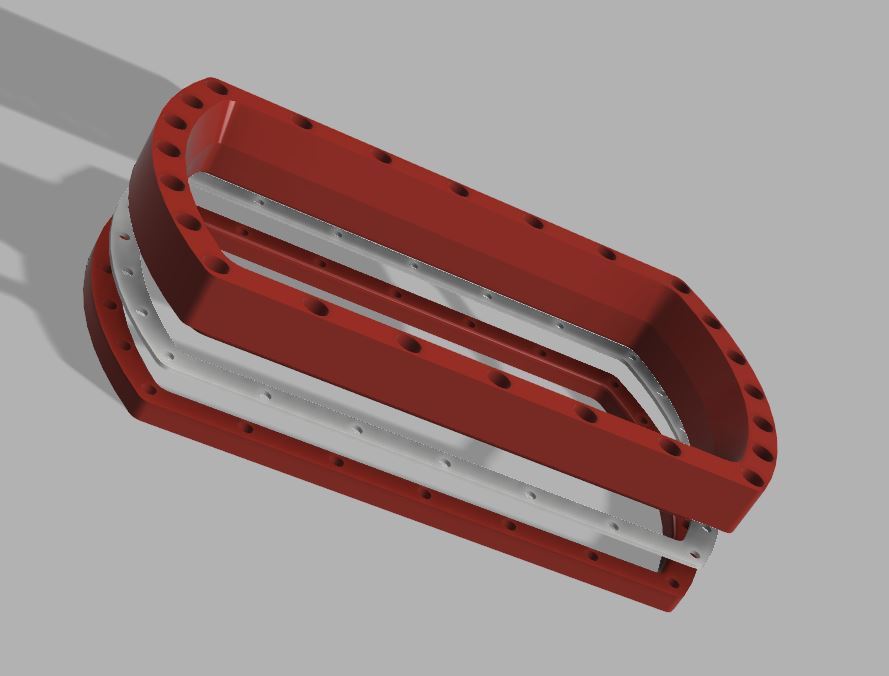
These designs are intended for effortless sealing, simple installation, and easy construction, requiring only hex screws and nuts in abundance. Due to inherent issues with sparkmaker vats, prone to leaks and warping, a plan is underway to create a more straightforward resin for the sparkmaker. As one doesn't need to exert much effort to replace the FEP, considering the stock vat's difficulty in FEP replacement. Additional items required: - A silicon or rubber mat measuring 170mm x 80mm x 1mm - 22 pieces of M3 X 10mm "DIN912" screws - 22 pieces of M3 hex nuts "DIN934" <iframe width="560" height="315" src="https://www.youtube.com/embed/hQtXRW_3OKs" frameborder="0" allow="autoplay; encrypted-media" allowfullscreen></iframe> <iframe width="560" height="315" src="https://www.youtube.com/embed/xiR-B_7br6Q" frameborder="0" allow="autoplay; encrypted-media" allowfullscreen></iframe> <iframe width="560" height="315" src="https://www.youtube.com/embed/EFWVeSzyDRQ" frameborder="0" allow="autoplay; encrypted-media" allowfullscreen></iframe> To create the gasket: - Print the gasket template - Trace the gasket template over the silicon mat - Cut the silicon mat to size - To make holes for the screws, mark the hole based on the gasket template and cut or drill through Installation of the vat involves the following steps: 1. Main unit 2. Silicon gasket or O-ring 3. FEP 4. Bottom unit Assemble all components in order: 1 then 2 then 3 then 4, tighten firmly, but avoid over-tightening, as this may damage the nut slot on the bottom unit, which is made of plastic. A hand-tightened fit should suffice.
With this file you will be able to print Sparkmaker gasket seal resin vat with your 3D printer. Click on the button and save the file on your computer to work, edit or customize your design. You can also find more 3D designs for printers on Sparkmaker gasket seal resin vat.