Spaghetti Portioner
thingiverse
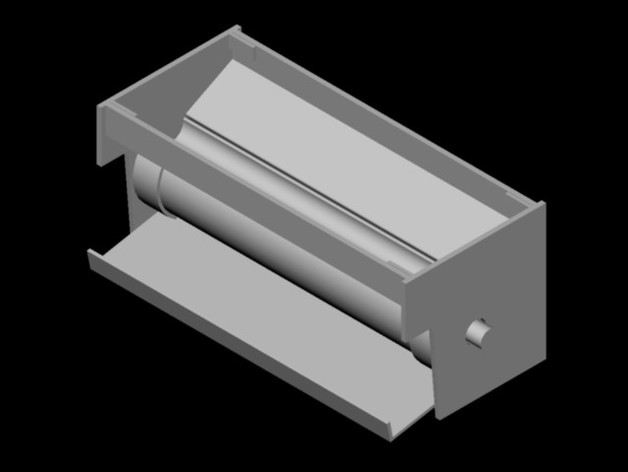
A spaghetti feeder device consists of several key components: The hopper and tray system is critical to ensuring consistent portion sizes of dry spaghetti for individual servings. Begin by loading the top compartment with a sufficient amount of dry spaghetti for optimal serving sizes. Operate the device by turning the adjustable knob, which regulates the precise quantity dispensed per turn into the food receptacle area underneath. The knob control mechanism must be situated so as to allow smooth operation without interfering with user-friendly access features throughout. It is vital to utilize components specifically rated Food Safe plastics due to their direct exposure risk. When connecting different device elements through various fasteners such as glues provided within kit content instructions - take extra precautions ensuring any bond does not extend beyond the defined outermost periphery on exterior-only glue areas. Uploading images or sharing thumbnails later, currently restricted technology restraints prevent successful transfers; please anticipate this aspect accordingly. Instructions: Print in following order to avoid delays: 1) Left wall assembly To begin installing your Spaghetti Dispensing device first secure a piece labeled 'Left Wall.' Identify round portion from corresponding hopper elements, which should seamlessly fit within curved slot markings located internally upon left facing edges of your Left Wall piece. Insert tab aligned with top section, firmly pressing down. Ensure adhesive securely applied to specified outer-facing edges - maintaining recommended safe zone parameters by utilizing external surface area application only. Repeat this same operation when handling next components identified 'Hopper w/tray,' carefully placing rounded component directly atop designated attachment areas on opposite left-side interior edge, also using tab as mounting guide. Note guidelines presented previously should help provide desired visual outcome. 2) Hopper pieces installation: Insert right-facing hopper assembly components within remaining gap spots present left wall after attaching first elements in previous step; identical setup and operation processes are involved. Once all wall and attachment points are successfully mounted and securely aligned, attach Spindle wo-handle piece positioned centrally, between hopper components facing outward at base with small triangle. The subsequent handle must align correctly by fitting into now exposed gap area of left-sided exterior. Following installation sequences already executed: proceed with the final piece for this stage by attaching the opposite handle to round indentation situated right-facing component part and spindle assembly respectively. Now turn your attention to unifying Link pieces' top surface parts that contain tab inserts used within indentation spaces present along the interior side edge where previous assemblies connect. Apply slight touch glue along Link surface at these points; an external coating can be added as extra precaution against moisture risks when handling wet components after bonding procedure completion. To solidify final structural connection ensure successful secure linkage of two Hopper w/tray and spindle assembly by engaging last linking mechanism piece onto the base edge where nubs are present below the exterior edges connecting both hopper sections. Assembling is now finished with completed food-dispensing unit. At last note to dry glue as instructed for optimal adhesive setting times while your new dispenser stands ready waiting the first spaghetti feed delivery! When fully operational, remember each turn around its axis equals 2 serving portions. For ease reference use below guideline when inserting pasta: an ideal dimension will ensure box sizes available range between standard store items approximately 11 3/4".
With this file you will be able to print Spaghetti Portioner with your 3D printer. Click on the button and save the file on your computer to work, edit or customize your design. You can also find more 3D designs for printers on Spaghetti Portioner.