SpaceX Landing Pad Qi Wireless Charger
prusaprinters
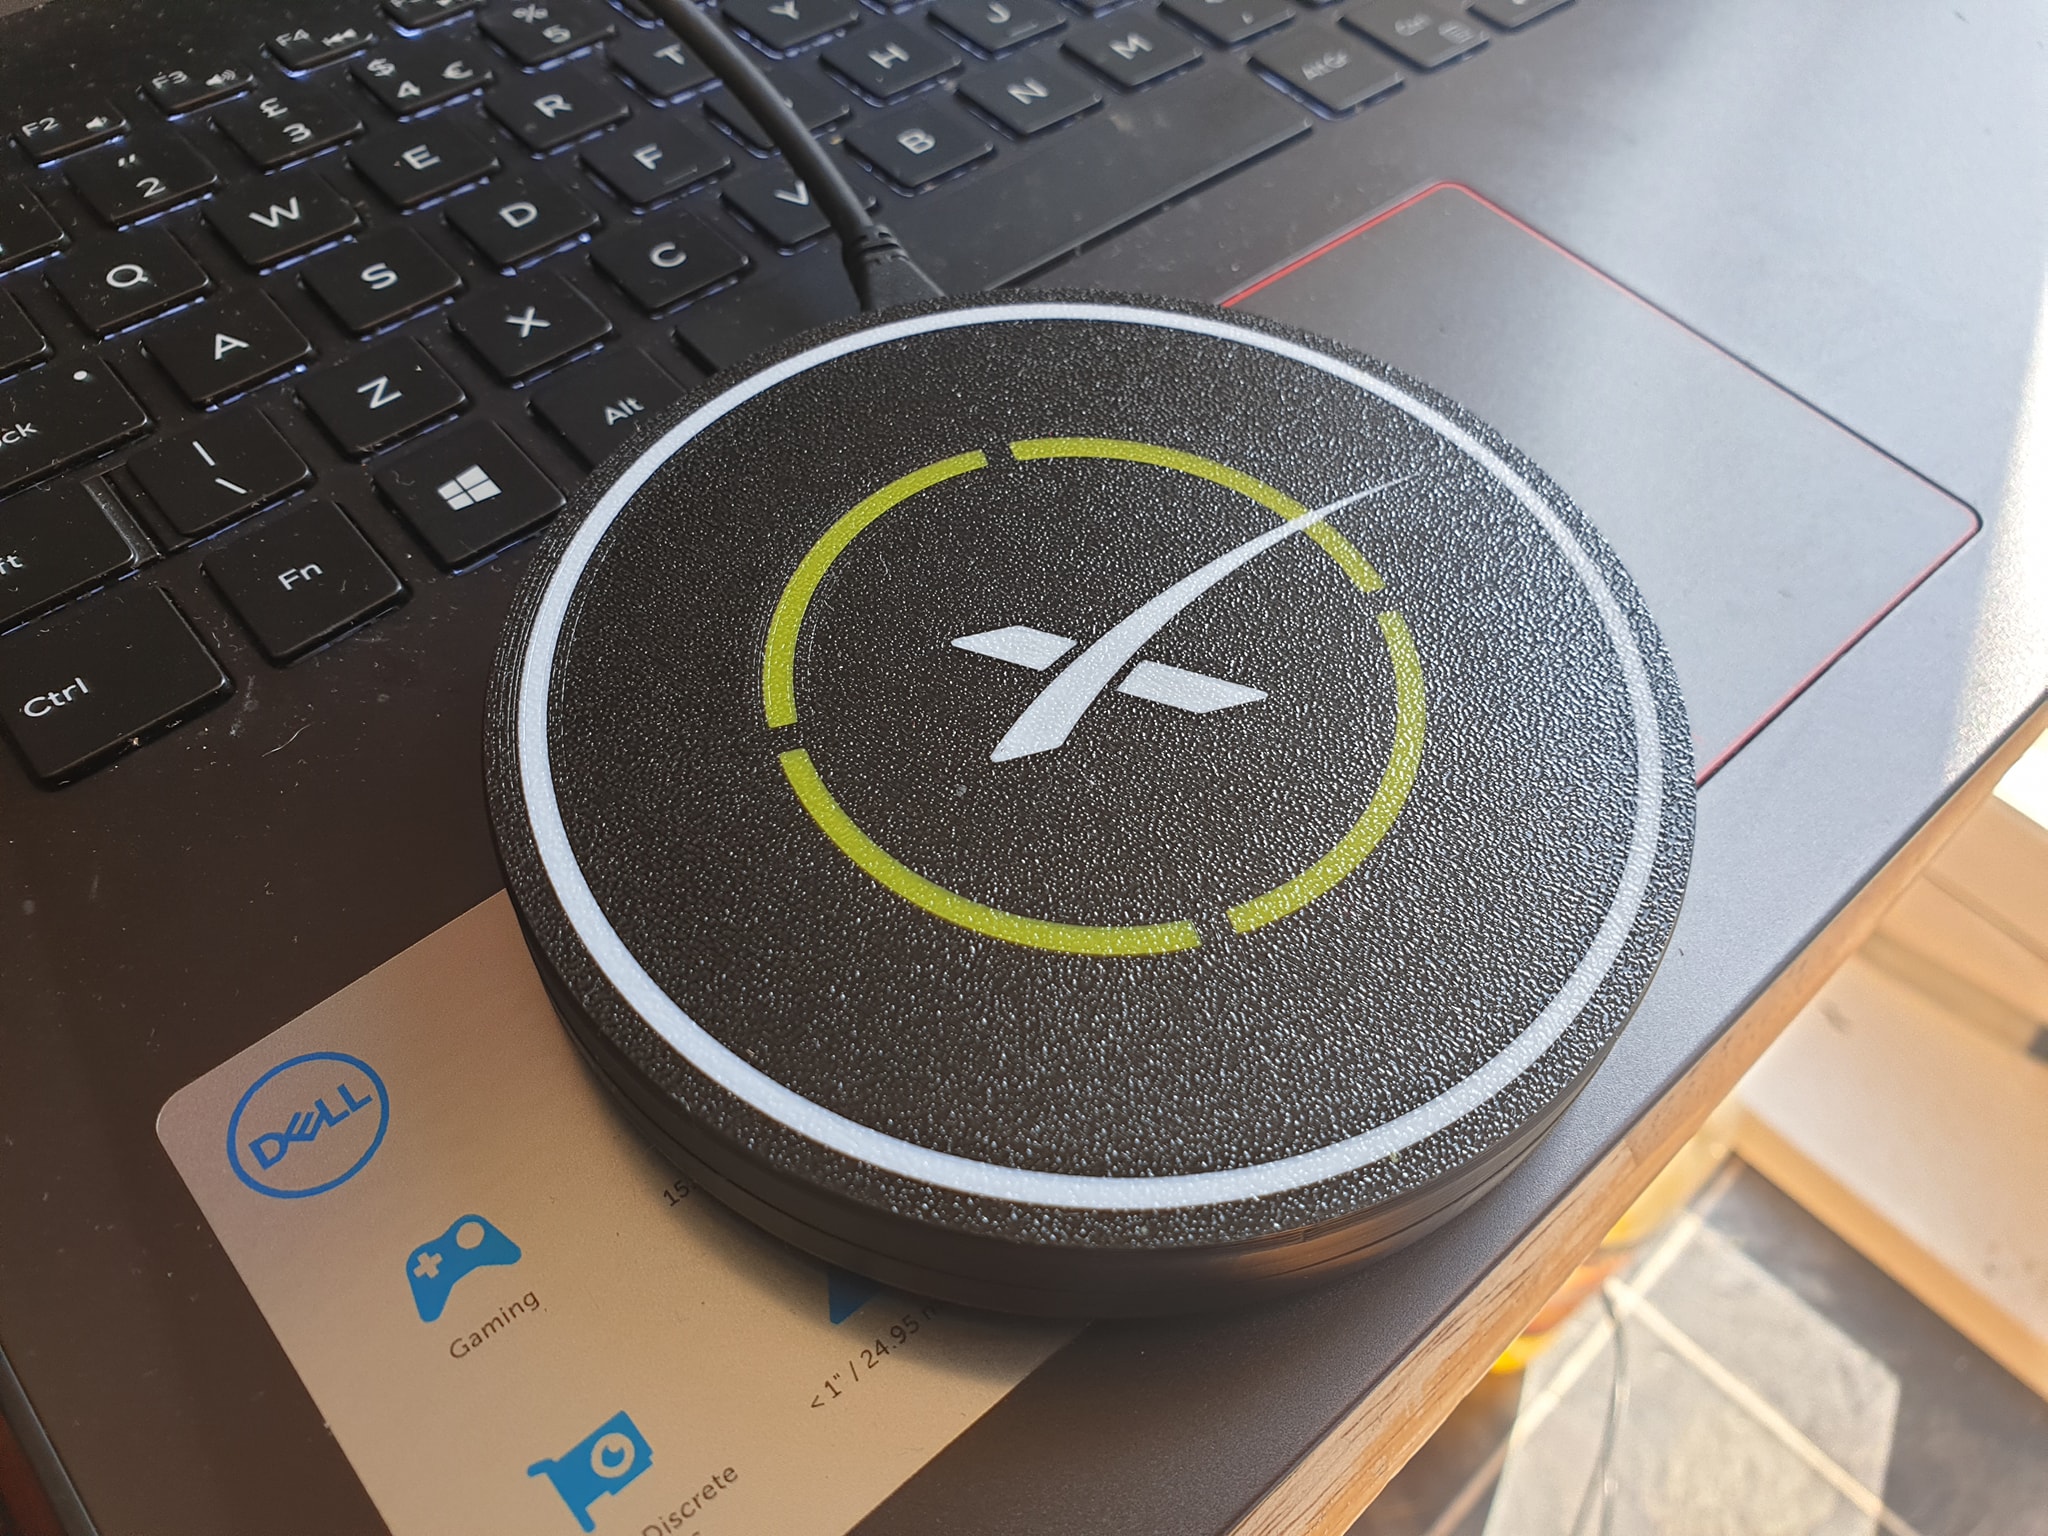
<p>Does what it says on the tin. Fast wireless charging (Max 10W). Can print with or without MMU. No electrical knowledge or soldering needed. Screwless design, just glue in the PCB and coil, the 2 halves snap fit together. Works on any Qi compliant device. I've used it on an iPhone 8 and my Samsung Galaxy S9. My S9 it takes 3.5 hours to fully charge.</p> <h3>Print instructions</h3><p><strong>The gcode and 3mf files I've uploaded aren't set up for the MMU. If you have an MMU you will need to slice it yourself. You can skip down to the parts list.</strong></p> <p>I used the "Poor Mans MMU" method to print the top half of this, it's 7 colour changes. Start off with black then change to white, yellow, black, white, black, yellow then black to finish off.</p> <p>The gcode file is based around the stock MK3 profile, the 0.2mm QUALITY MK3 with some changes. If you slice it yourself or with the 3mf file, after the purge line before it even starts printing it will ask you to swap filament. You can just reload the black but if you want to get rid of the unnecessary colour change you can remove it manually. Open your exported gcode file with a text editor like Notepad++. Press Ctrl+F and in the Find window, search for "M600", then delete the first M600 and the T0 line.</p> <p>The top half 3mf file is already set up for the poor mans MMU but if you want to set it up yourself, read this its easy to do. Check out my comment at the bottom of the page though, theres a step missing in the guide, <strong>an extra setting needs changing</strong>. To see the setting in PrusaSlicer, you might need to change your user setting to Expert in the top right corner.</p> <p><a href="https://www.instructables.com/id/Poor-Mans-MMU-Multicolor-Printing-With-Single-Extr/?fbclid=IwAR20UgdpVHQXQYUVppFu0kh8hzMZum81JGzCIvQRCUaJkhn2wlqe7Gj86DY">https://www.instructables.com/id/Poor-Mans-MMU-Multicolor-Printing-With-Single-Extr/?fbclid=IwAR20UgdpVHQXQYUVppFu0kh8hzMZum81JGzCIvQRCUaJkhn2wlqe7Gj86DY</a></p> <p><strong>Parts List</strong></p> <blockquote><ul> <li>Gikfun Qi Wireless Charger</li> </ul> <blockquote><p><a href="https://www.amazon.co.uk/Gikfun-Wireless-Charger-Circuit-Charging/dp/B07DC3JL89">https://www.amazon.co.uk/Gikfun-Wireless-Charger-Circuit-Charging/dp/B07DC3JL89</a></p> </blockquote> <ul> <li>Micro USB charger</li> </ul> <blockquote><p>China snail mail:</p> <p><a href="https://www.ebay.co.uk/itm/Power-Supply-Adapter-For-Raspberry-Pi-3-B-B-DC-5V-3A-5V-2-5A-US-UK-EU-AU-Plug/401651299500?hash=item5d844874ac:m:mex2ROYwdi4qPyJDE_oCRoQ&var=671396298789">https://www.ebay.co.uk/itm/Power-Supply-Adapter-For-Raspberry-Pi-3-B-B-DC-5V-3A-5V-2-5A-US-UK-EU-AU-Plug/401651299500?hash=item5d844874ac:m:mex2ROYwdi4qPyJDE_oCRoQ&var=671396298789</a></p> <p>I use:</p> <p><a href="https://thepihut.com/products/raspberry-pi-official-universal-power-supply-5-1v-2-5a-black?ref=isp_rel_prd&isp_ref_pos=3&variant=20063164301374">https://thepihut.com/products/raspberry-pi-official-universal-power-supply-5-1v-2-5a-black?ref=isp_rel_prd&isp_ref_pos=3&variant=20063164301374</a></p> </blockquote> <ul> <li>Rubber feet</li> </ul> <blockquote><p><a href="https://www.ebay.co.uk/i/123918167071?chn=ps&norover=1&mkevt=1&mkrid=710-134428-41853-0&mkcid=2&itemid=123918167071&targetid=519877050686&device=c&mktype=pla&googleloc=1006912&poi=&campaignid=1782815751&mkgroupid=70885937682&rlsatarget=pla-519877050686&abcId=1139356&merchantid=137612064&gclid=EAIaIQobChMIh4-W1_H-5AIVibTtCh3Y7gmMEAkYAiABEgK8N_D_BwE">https://www.ebay.co.uk/i/123918167071?chn=ps&norover=1&mkevt=1&mkrid=710-134428-41853-0&mkcid=2&itemid=123918167071&targetid=519877050686&device=c&mktype=pla&googleloc=1006912&poi=&campaignid=1782815751&mkgroupid=70885937682&rlsatarget=pla-519877050686&abcId=1139356&merchantid=137612064&gclid=EAIaIQobChMIh4-W1_H-5AIVibTtCh3Y7gmMEAkYAiABEgK8N_D_BwE</a></p> </blockquote> </blockquote> <ul> <li>To secure the PCB and coil, I used some hot glue. A good 2 part epoxy would probably secure it even better but I used what I had at the time and it seems to hold fine.</li> </ul>
With this file you will be able to print SpaceX Landing Pad Qi Wireless Charger with your 3D printer. Click on the button and save the file on your computer to work, edit or customize your design. You can also find more 3D designs for printers on SpaceX Landing Pad Qi Wireless Charger.