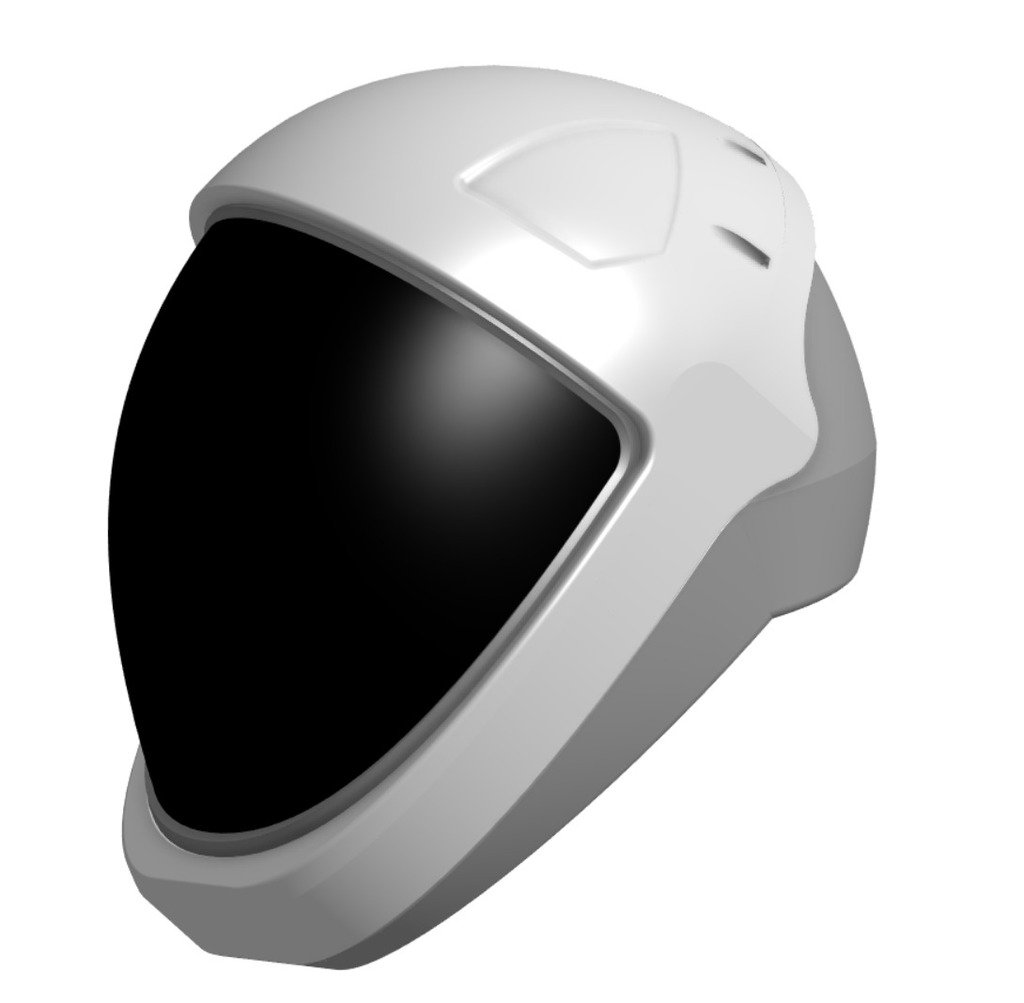
SpaceX Helmet
thingiverse
Update: Adafruit highlights my design! Check out the assembly instructions and adding LEDs and motion sensors here: https://learn.adafruit.com/spacex-helmet/ Opening SpaceX Helmet Replica. It's a work in progress, but you can print a functioning helmet now! Well, "functioning" means it opens, don't try to go to space with it. And don't use it for protection. You'll need a 250 mm x 250 mm bed (10" x 10"). Parts can be glued together or bolted together with inserts and screws. Inserts and screws (about $20 worth): M3 x 0.50 mm Brass Inserts: https://www.mcmaster.com/94459a130 18-8 Stainless Steel Hex Drive Flat Head Screw, M3 x 0.5 mm Thread, 5 mm Long: https://www.mcmaster.com/92125a125 18-8 Stainless Steel Hex Drive Flat Head Screw, M3 x 0.5 mm Thread, 8 mm Long: https://www.mcmaster.com/92125a128 18-8 Stainless Steel Hex Drive Flat Head Screw, M3 x 0.5 mm Thread, 12 mm Long: https://www.mcmaster.com/92125a132 Use a soldering iron to install the inserts. Visor mold for vacuum forming is included; as you can see in the pictures I haven't molded one yet. If you do, please give feedback! If you're planning on doing some additional finishing (bondo, paint, etc) the screw holes on the back of the helmet are meant to be filled in. If you're printing it and using it without additional finishing, use the Outer Shell without the unsightly screw holes (will need to be glued together): https://www.thingiverse.com/thing:3473499
With this file you will be able to print SpaceX Helmet with your 3D printer. Click on the button and save the file on your computer to work, edit or customize your design. You can also find more 3D designs for printers on SpaceX Helmet.
