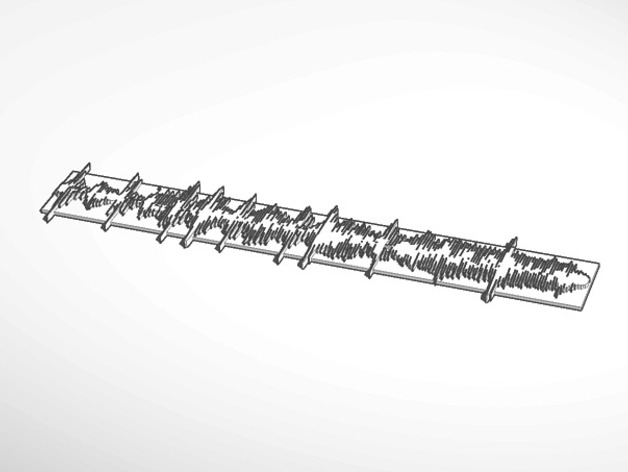
Sound Wave Bracelet
thingiverse
Student Creates Music-to-Jewelry Project, Mastering Sound Physics Settings: Print Now Rafts: Disable for a clean surface. Supports: Use them if needed for extra stability. Infill: Set to 100% for optimal density and durability. Notes: Important Printing Information To shape your design after printing, use PLA so that it warms up in hot water. Post-Printing Instructions: Shape Your Music Jewelry Shaping the Jewelery: A Simple yet Effective Process Place the printed jewelry piece into a glass of warm water until it becomes pliable. Form the bracelet around your arm or another object while the plastic cools and solidifies. Once cooled, the new shape is set. The Design Story Behind My 3D Printed Sound Wave Jewelry My creative process involved using TinkerCAD to design my project: https://www.tinkercad.com/things/2WqFkzL5KpQ-the-music-is-meant-to-be-seen-in-a-whole-new-light Transforming an MP3 File into a 3D Model Take your favorite song, convert it to WAV format and use TinkerCAD's import function or third party software to extract its waveform pattern from the audio file. You're then ready to create music-to-jewelry using your custom designed 3D printed design
With this file you will be able to print Sound Wave Bracelet with your 3D printer. Click on the button and save the file on your computer to work, edit or customize your design. You can also find more 3D designs for printers on Sound Wave Bracelet.
