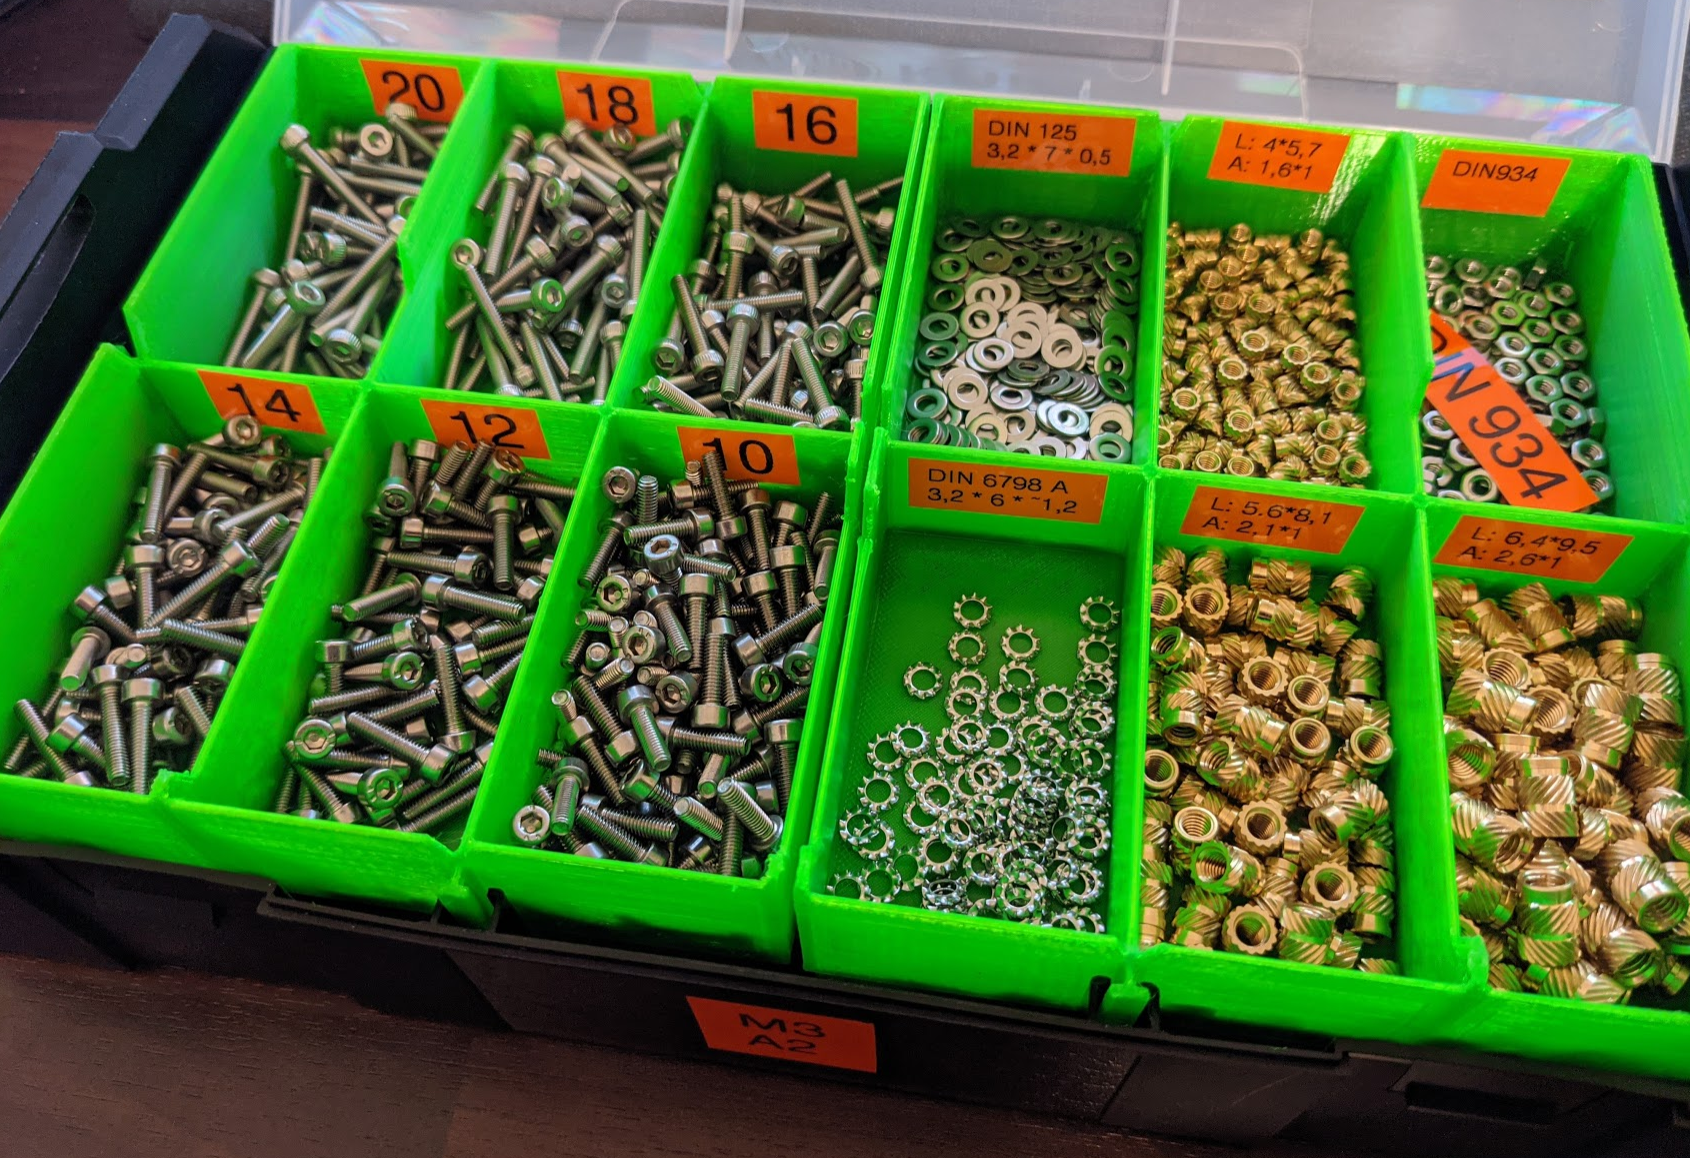
Sortimo L-Boxx Mini inserts
prusaprinters
<p>Inserts for the Sortimo L-Boxx Mini.</p> <p>These inserts are intended to be used as two layers in per box. The upper inserts fit the lid tightly, ensuring that even small parts don't move when the L-Boxx is turned upside down and shaken. Yes, I tested this. This means that the upper layer has a left/right side while you can simply print the same model for the lower layer.</p> <p>There's also a spacer upper layer, which ensures no small parts come loose in the lower layer, but allowing larger parts in the upper layer. This is useful for crimping pliers and such.</p> <p>If you need other segments, let me know. I will add more variants as I need them for myself, as well.</p> <p>Also see <a href="https://github.com/richih/3d_printing">https://github.com/richih/3d_printing</a></p> <h3>Print instructions</h3><p>I used PETG. In Prusa Slicer, I selected "0.1 mm DETAIL" but changed the layer height to 0.25 mm in variable layer height. This gave me precise, but sturdy prints.</p> <p>Also see <a href="https://github.com/prusa3d/PrusaSlicer/issues/5607">https://github.com/prusa3d/PrusaSlicer/issues/5607</a></p> <p>Ideally use a 0.4 mm nozzle. The walls have a thickness of 1.2 mm, which ensures that all compartments are lined with continuous rings of material and 100% gap fill. This makes the verticals extremely sturdy; sturdier than some thicker walls in my amateur testing.</p> <p>Do NOT enable surface ironing until <a href="https://github.com/prusa3d/PrusaSlicer/issues/5634">https://github.com/prusa3d/PrusaSlicer/issues/5634</a> is fixed or your verticals might come off and you'll have to use a soldering iron and some spare filament to fix them. See GitHub issue for photos.</p>
With this file you will be able to print Sortimo L-Boxx Mini inserts with your 3D printer. Click on the button and save the file on your computer to work, edit or customize your design. You can also find more 3D designs for printers on Sortimo L-Boxx Mini inserts.
