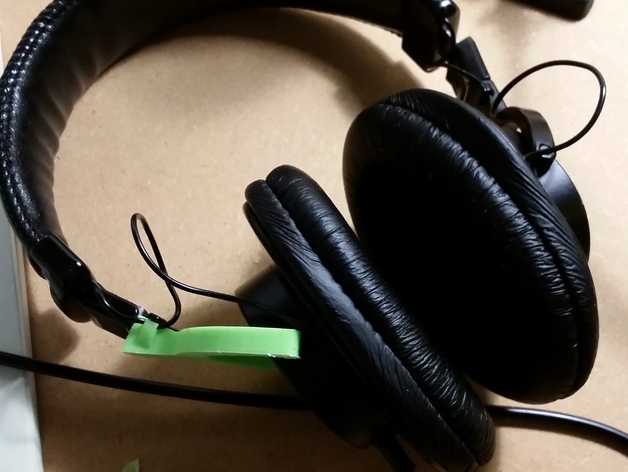
SONY MDR 7506 / MDR-V6 Replacement Bracket
thingiverse
I created replacement brackets for my beloved MDR 7506s when I noticed one had cracked after twenty years of faithful service. Version A in the photo and Version B, tweaked for style, show off minor cosmetic changes that make them even cooler than before. One noticeable difference stands out: the round part is thicker than its original counterpart. **Print Settings** - **Rafts**: Not used. Supports: - No Resolution: .27 mm - **Notes**: Included supports helped make this project a breeze. I employed ABS at around 30% infill, paired with two shells. This setup turned out perfect for me. Keep in mind not to overdo the infill; doing so may cause stretching issues that prevent the brackets from fitting snugly into place. PLA calls for a slightly lighter infill since it's stiffer. This tweak allows for smoother insertion. **Post-Printing Steps** Clean up the print: - Remove any excess supports and remnants from the printing process. Ensure that all surfaces are smooth, then move on to preparing the brackets. Trimming ears or surrounding them with a knife before trying to fit them over will yield cleaner results. This close fit calls for a bit of extra effort but trust me, it's worth it. A warm-up may aid in the installation process as it will increase flexibility. One last step to enhance usability would be to swap out that short stock screw for a longer one.
With this file you will be able to print SONY MDR 7506 / MDR-V6 Replacement Bracket with your 3D printer. Click on the button and save the file on your computer to work, edit or customize your design. You can also find more 3D designs for printers on SONY MDR 7506 / MDR-V6 Replacement Bracket.
