Sony Gold Wireless Headset Headband
prusaprinters
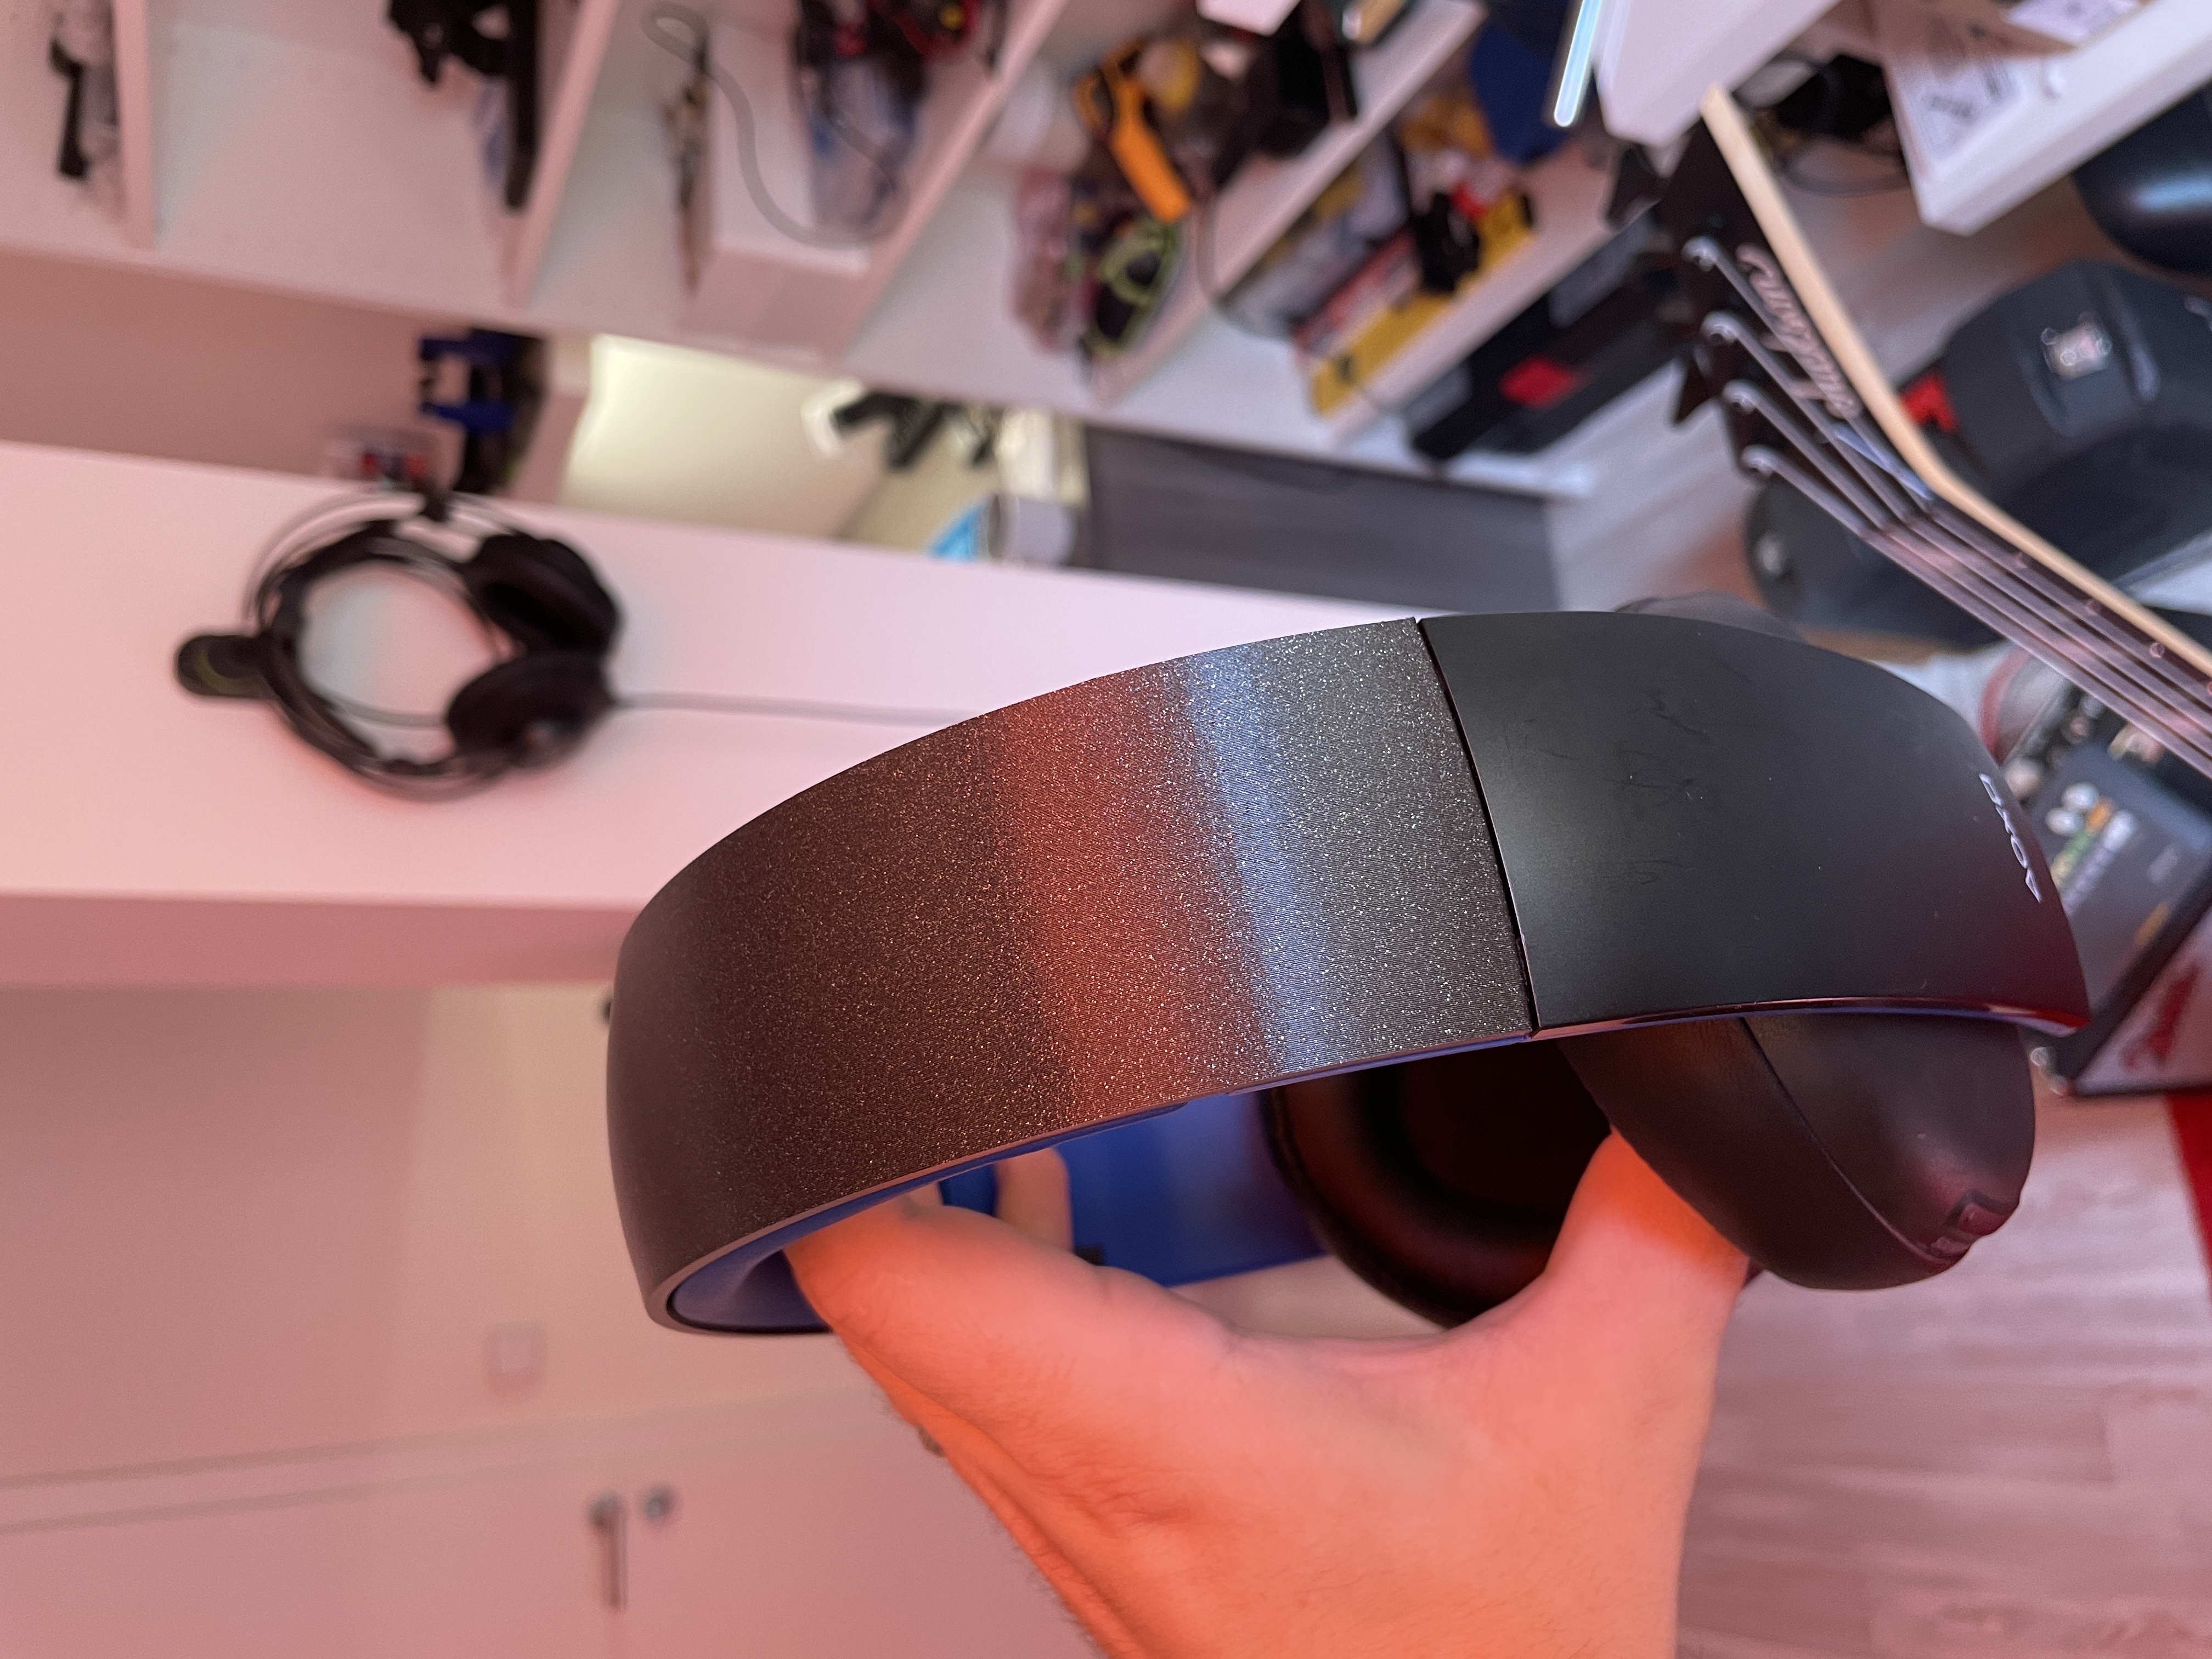
<p>If you own the headset, you probably already know the original headband is very prone to cracking. There is already rudimentary replacement part out there but I wanted nice, smooth, original like part. It took me three iterations to get here, and since I use it quite a lot, if this one fails, I'll return with an updated design.</p><p> </p><h5>Print</h5><p>The part fits nicely on MINI, thus providing gcode for that. There is also 3mf file if you own a different printer and need to adapt, so inspect the file and be careful regarding the details, otherwise there is a good chance the part fails to print or will break soon. Be also careful that the seam doesn't end up on the outside of the arc. There are infill modifiers to get 100% rectilinear for the thin ends, while the main part of the arc consists of 1% rectilinear infill and two perimeters (if you're interested in the details, this will create a spring of sort in the hollow part of the headband…and is maybe even eventual area for a future improvement). There are supports generated for the overhanging features and of course ironing for that nice smooth touch in the end. </p><figure class="image image_resized" style="width:75%;"><img src="https://media.prusaprinters.org/media/prints/71721/rich_content/6c5d5222-d6b3-452a-9d9f-36278636357b/1.jpg#%7B%22uuid%22%3A%2292de12bd-ad76-43ec-9a27-feb8012cd396%22%2C%22w%22%3A3024%2C%22h%22%3A4032%7D"></figure><h5>Finishing the part</h5><p>After removing the support, and you need to be very thorough, you will need to drill a few holes. First, use ~1mm drill to make ~3-4mm deep holes in a middle of the cylindrical features. </p><p><i>(I strongly suggest not to use any powerdrill here and simply roll a drill in between your fingers. With a reasonably sharp drill will both holes be done in less than a minute, which beats all the risks and bad accessibility of using powered drill here. I didn't even try to print this tiny horizontal screw hole but maybe I should have, considering it doesn't have to be exact)</i>. </p><figure class="image image_resized" style="width:50%;"><img src="https://media.prusaprinters.org/media/prints/71721/rich_content/b2e471df-24f5-4ad9-ab75-72262b306b90/2.jpg#%7B%22uuid%22%3A%228f73fca5-6846-478e-b04d-3a0ecdcd5c76%22%2C%22w%22%3A3024%2C%22h%22%3A4032%7D"></figure><p>Next you'll gonna need your trusty dremel and 2mm drill. With that you'll drill the axis holes, which are badly shaped after being printed.</p><p><i>(so the existing holes serve as a guide and heat shrinkage after highspeed drill will make the hole perfectly sized)</i></p><figure class="image image_resized" style="width:50%;"><img src="https://media.prusaprinters.org/media/prints/71721/rich_content/53c39fc4-bc68-4c39-ae97-65b1e67347f4/3.jpg#%7B%22uuid%22%3A%22f4111e68-8ea2-4041-bc11-c5b4c6ae6af0%22%2C%22w%22%3A3024%2C%22h%22%3A4032%7D"></figure><h5>Putting it all back together</h5><p>…and that's it, now to complete the headset again. I did not describe the diassembly part, if you're unsure with some steps, you can use the following instructions backwards. Put each headphone into its place and slide the axis in:</p><figure class="image image_resized" style="width:50%;"><img src="https://media.prusaprinters.org/media/prints/71721/rich_content/93618911-d264-4845-84d3-8e57eccf3038/4.jpg#%7B%22uuid%22%3A%2298bbb511-df46-42b9-a7f3-beeed478c8b6%22%2C%22w%22%3A3024%2C%22h%22%3A4032%7D"></figure><p> </p><figure class="image image_resized" style="width:50%;"><img src="https://media.prusaprinters.org/media/prints/71721/rich_content/95367d15-0756-4d17-a93a-fe1f65c5fd4f/5.jpg#%7B%22uuid%22%3A%22b7da3757-9149-4250-b115-4f725e5e800a%22%2C%22w%22%3A3024%2C%22h%22%3A4032%7D"></figure><p>Put back the blue cover/cushion holder and with a bit of force drive the screw into a ~1mm hole you hopefully made with your fingers and not through the whole part:</p><figure class="image image_resized" style="width:50%;"><img src="https://media.prusaprinters.org/media/prints/71721/rich_content/b2ebe753-e10a-411b-8737-c26073d47478/6.jpg#%7B%22uuid%22%3A%22ce250da8-ce33-4b3f-8a06-34a4daf03bae%22%2C%22w%22%3A3024%2C%22h%22%3A4032%7D"></figure><figure class="image image_resized" style="width:50%;"><img src="https://media.prusaprinters.org/media/prints/71721/rich_content/744ef1ec-1465-408d-8a9c-26dbedcf2e3b/7.jpg#%7B%22uuid%22%3A%22dbf5200b-27ec-4468-b61b-2a83677fd480%22%2C%22w%22%3A3024%2C%22h%22%3A4032%7D"></figure><p>You need to decide how to hold the arc cushion in place, I went with 4 pcs of double-sided 3M tape <i>(two stripes of single-side tape holds the wire in the middle ridge):</i></p><figure class="image image_resized" style="width:50%;"><img src="https://media.prusaprinters.org/media/prints/71721/rich_content/d365cecc-f236-4643-8e03-b6796b1e9495/8.jpg#%7B%22uuid%22%3A%22e6b85a09-cf72-4396-b3b0-69896a7da886%22%2C%22w%22%3A3024%2C%22h%22%3A4032%7D"></figure><p>To place the cushion properly could be a bit tricky and may require more than one try. I succeeded with this method: putting tips of the cushion in the side blue holders first, then attaching on one side to the tapes, than the other starting in the center. As soon as you try yourselves you'll realize why it is so tricky to attach it properly on the flexible headband. </p><figure class="image image_resized" style="width:50%;"><img src="https://media.prusaprinters.org/media/prints/71721/rich_content/417a8b64-1db2-4b86-b604-a0d5ce684b80/9.jpg#%7B%22uuid%22%3A%22c01f2c1f-df46-4705-ae0f-827ac87514c4%22%2C%22w%22%3A3024%2C%22h%22%3A4032%7D"></figure><p>The very last step would be to return those tiny screw caps with the side designations to complete the replacement. </p><figure class="image image_resized" style="width:50%;"><img src="https://media.prusaprinters.org/media/prints/71721/rich_content/3b279267-d0ec-49d3-bc2c-67ca2b266305/10.jpg#%7B%22uuid%22%3A%2293ae5b7c-d5de-4949-aa22-237e8eda796f%22%2C%22w%22%3A3024%2C%22h%22%3A4032%7D"></figure><p>And that concludes the work, now some final pics. The folding mechanism works as expected:</p><figure class="image image_resized" style="width:50%;"><img src="https://media.prusaprinters.org/media/prints/71721/rich_content/54fdefa9-45e6-4d02-87a9-ba7aeb40ba91/12.jpg#%7B%22uuid%22%3A%22e8df7ad8-44c4-4d9b-a9dc-cb87b6e07629%22%2C%22w%22%3A3024%2C%22h%22%3A4032%7D"></figure><p>This is how the part looks in the context of the original simple black plastic when printed with metalic Galaxy Black PLA prusament:</p><figure class="image image_resized" style="width:75%;"><img src="https://media.prusaprinters.org/media/prints/71721/rich_content/aca3b86c-496e-47fe-8871-99f81ec070f1/13.jpg#%7B%22uuid%22%3A%22edf48766-07f7-414b-9a21-ab6428be5677%22%2C%22w%22%3A3024%2C%22h%22%3A4032%7D"></figure><p>Final look at the repaired headset on my charging stand, with sad broken original part on the side:</p><figure class="image"><img src="https://media.prusaprinters.org/media/prints/71721/rich_content/22a6118b-80ef-4e28-9fce-cfeddc2b5e09/11.jpg#%7B%22uuid%22%3A%22a031c653-02d2-45d5-af9c-69fe4dbb385b%22%2C%22w%22%3A3024%2C%22h%22%3A4032%7D"></figure>
With this file you will be able to print Sony Gold Wireless Headset Headband with your 3D printer. Click on the button and save the file on your computer to work, edit or customize your design. You can also find more 3D designs for printers on Sony Gold Wireless Headset Headband.