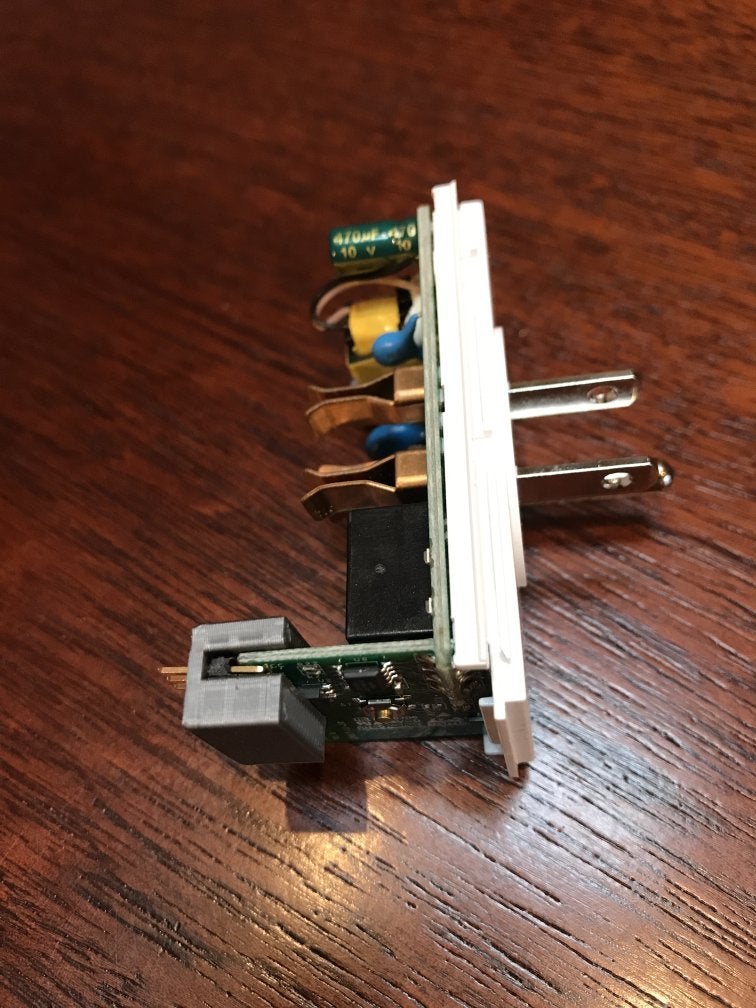
Sonoff S31 Flashing Jig
prusaprinters
<p>This is a jig for flashing new firmware on to the Sonoff S31 switch. The most likely use case of this is going to be putting ESPHome or Tasmota firmware on the switch.</p> <p>There are a number of other jigs for doing this but most of them require pogo pins and seemed much more complex than I needed. I wanted a simple item that I could use with the headers I had already on hand.</p> <p>This prints in less than 10 minutes, assembles in a few seconds, and slides on in another few seconds. It's really simple to make and if you were already going to solder headers to the switch you have everything you need on hand.</p> <p>I've used this to successfully flash two switches.</p> <p>Directions:</p> <ul> <li>Download and print</li> <li>Slide a standard set of headers (six pins total) in with the long side of the pins going through the holes. The short side of the pins should be inside the flashing jig</li> <li>Slide this over the pads on the switch lining up the six pins with the six pads</li> <li>Follow your favorite directions to flash the switch. For example:<a href="https://tasmota.github.io/docs/devices/Sonoff-S31/">https://tasmota.github.io/docs/devices/Sonoff-S31/</a></li> </ul>
With this file you will be able to print Sonoff S31 Flashing Jig with your 3D printer. Click on the button and save the file on your computer to work, edit or customize your design. You can also find more 3D designs for printers on Sonoff S31 Flashing Jig.
