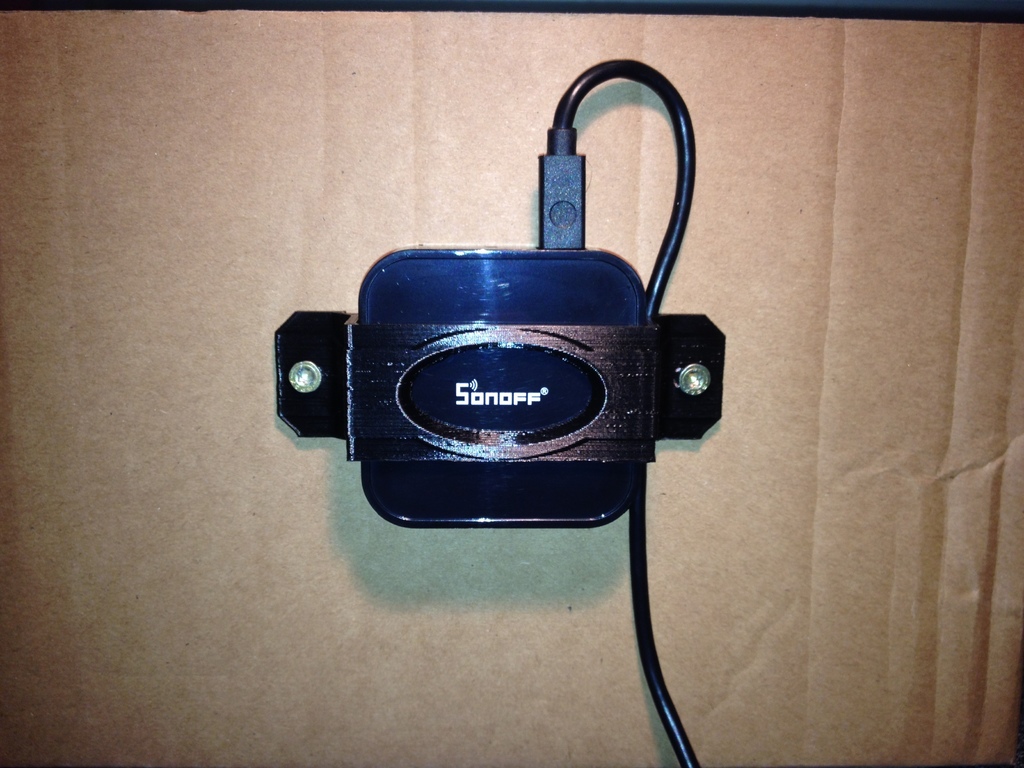
Sonoff RF-Bridge mounting
thingiverse
Mounting the Sonoff RF Bridge: A Step-by-Step Guide To ensure a secure and stable installation of your Sonoff RF Bridge, follow these easy-to-follow steps. **Step 1: Choose a Mounting Location** Select a location for your Sonoff RF Bridge that is easily accessible and out of direct sunlight. This will help prevent overheating and ensure optimal performance. **Step 2: Gather the Necessary Tools** Before you begin mounting, gather all the necessary tools and materials. These include a screwdriver, drill bits, and any other specific tools required for your chosen mounting method. **Step 3: Prepare the Mounting Surface** Clean the surface where you plan to mount the Sonoff RF Bridge thoroughly. This will help ensure a secure bond between the device and the surface. **Step 4: Attach the Mounting Bracket** Using a screwdriver or drill, attach the mounting bracket to the surface. Make sure it is securely fastened to prevent any movement during installation. **Step 5: Install the Sonoff RF Bridge** Carefully place the Sonoff RF Bridge onto the mounting bracket. Ensure it is level and secure before proceeding. **Step 6: Connect Power and Data Cables** Connect the power cable to a nearby outlet, making sure not to over-tighten any connections. Next, connect the data cables to their respective ports on your router or other devices. **Step 7: Configure Your Sonoff RF Bridge** Using your smartphone or computer, download and install the Sonoff app. Follow the in-app instructions to configure your device and set up your smart home system. By following these simple steps, you'll have your Sonoff RF Bridge up and running in no time.
With this file you will be able to print Sonoff RF-Bridge mounting with your 3D printer. Click on the button and save the file on your computer to work, edit or customize your design. You can also find more 3D designs for printers on Sonoff RF-Bridge mounting.
