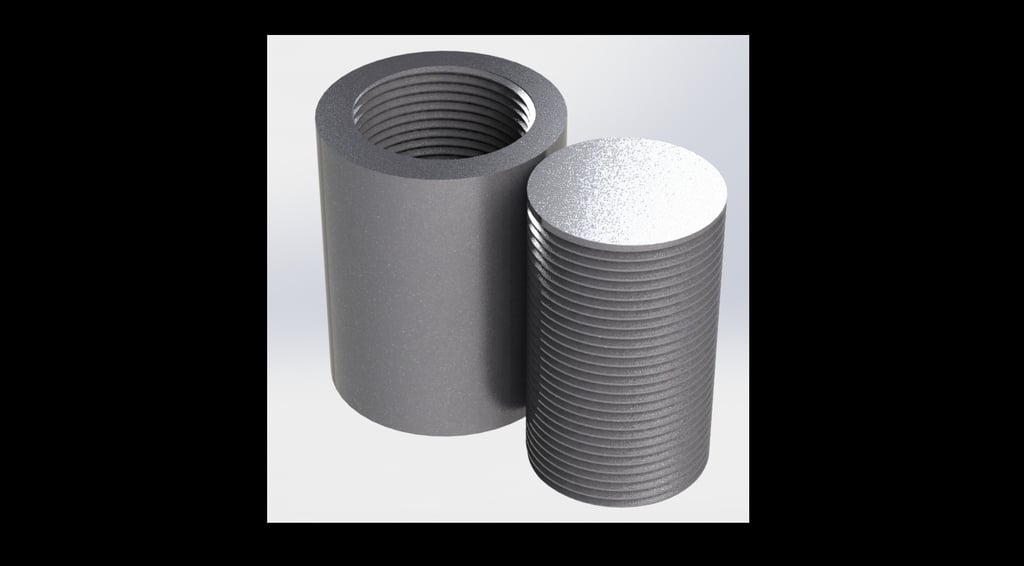
Solidworks 3D printable thread library
thingiverse
Solidworks 3D printable thread library ==================== ###Introduction Most of the prints I make are 'functional'. Which mean that they fill a certain purpose. For a universal USB Charger I wanted it to not have to use any additional fastening hardware. So I decided on adding some printed threads. When you use the 'Thread' option in Solidworks a warning pops up that mentions that all threads are nominal. This makes sense as most of the designs that are made in Solidworks the correct threading is a step in the production-phase. The main reason that the threads can be added in SW is for cosmetic reasons. Sadly, this means that the existing thread libraries are unusable as-is for us 3Dprinting guys. I know most people simply draw a thread profile and sweep that around the object to be threaded. However, we have this nifty 'Thread' option in SW, so why not use it? After some testing and drawing I drew up a library that contains a basic setup of threads that is fully parametric. I will expand the libraries later on. I think the next one will be a fixed width thread when thread width is a limitation. ###Design basis For my library, I have used the following principles: - Threads are printable on an FDM printer The smallest thread that is in the library has a 2.5mm Pitch. This gives you a thread depth of 0.7mm. I felt that any smaller would harm the printability for FDM. The largest is 10mm Pitch, which gives you a thread depth of a little over 3mm. - Taps and dies have correct offset for 3D printing Both the tap and die are offset by 0.05mm from their "real" sizing. This gives you 0.1mm play between the flanks of the threads. - Scales in relation to pitch I do not want to have to redraw every new thread I added to the library. So, I have used the ISO Metric calculation and ratios. It all boils down to a set of equations and global variables. - Library is simple to expand The last requisite was also very important to me. If you want to add to the library, simply add a new configuration and change ONLY the pitch in the new sketch. The rest is calculated automatically and follows that value. ###Installation - Download the .sldlfp files - Toss the STL. Thingiverse mandates an STL file. - Place them in your 'Thread' directory (for me: C:\ProgramData\SOLIDWORKS\SOLIDWORKS 2020\Thread Profiles ###How to use - Offset your tap or die part by 0.05 - 0.1mm - Add a 'Thread' feature by going Insert > Features > Threads - Select preferred thread from library - Select whether to cut or to extrude the profile. Usually taps (female part) are extruded and dies are cut (male part). ###Feedback This is my first Solidworks library. This is also the first time I have used equations and global variables to achieve a parametric design. All in all, it had a good learning curve albeit a frustrating one at times. I would love some feedback when you use this library. Also, can someone tell me how to do formatting? I used the prescribed way and formatting is totally screwed up..
With this file you will be able to print Solidworks 3D printable thread library with your 3D printer. Click on the button and save the file on your computer to work, edit or customize your design. You can also find more 3D designs for printers on Solidworks 3D printable thread library.
