Solidoodle 40mm fan repair
thingiverse
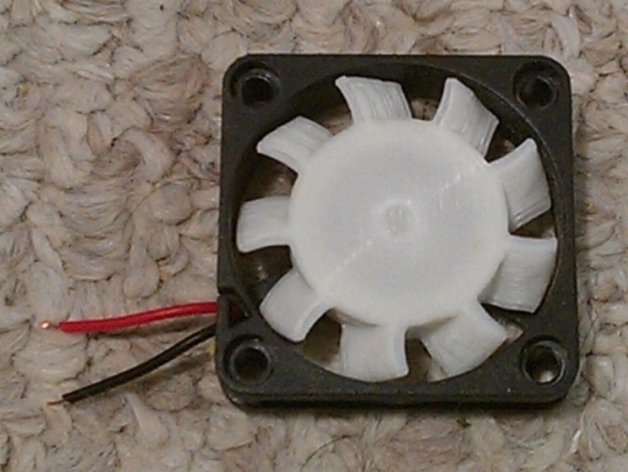
To fix a broken extruder heatsink fan blade without purchasing a new one, follow these instructions. First, print a replacement blade that may also fit 40x40x10mm fans. Next, remove the damaged fan or move it to a convenient position. You can either gently wiggle the damaged blade out with pliers or puncture its label and push it out. Remove the magnet using a small slotted screwdriver, along with the bearing and axle, which may break off; clear any remaining plastic fragments if needed. Install the magnet into the new blade, ensuring the correct side is facing up. Drill an axle hole in the new blade using a 5/64" bit but don't go through the back. Assemble the axle and bearing into the new blade, making sure it's aligned properly. Spin the blade with needle nose pliers to adjust the axle until there's no wobble. Finally, install the finished blade onto the fan, and you're done!
With this file you will be able to print Solidoodle 40mm fan repair with your 3D printer. Click on the button and save the file on your computer to work, edit or customize your design. You can also find more 3D designs for printers on Solidoodle 40mm fan repair.