Solidoodle 3 Heated Chamber Parts
pinshape
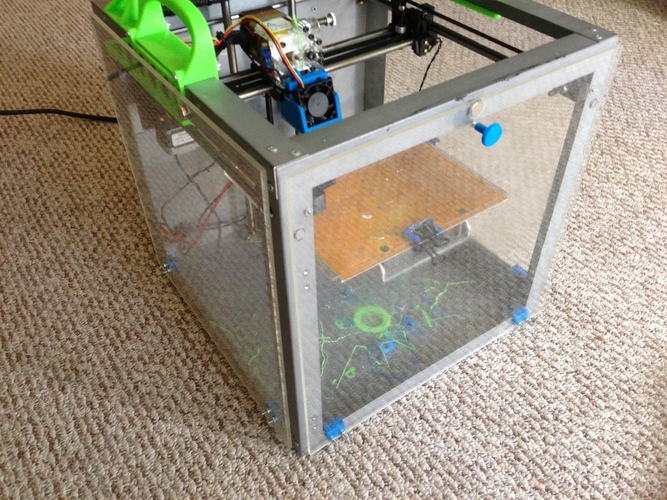
I installed three plexiglas sides on my Solidoodle 3 to improve ABS printing efficiency. The setup was straightforward – two hooks, a knob, and a neodymium magnet attached to the top with superglue. I ended up using only the knob on the front panel. Cutting three 13" x 13" plastic sheets was a necessary step; I recommend using 1/4" thick material for optimal results. However, you can also use 1/8", 3/16", or 3/8" thickness if you have scrap material available. Mount the two clips on the bottom corners and attach a magnet near the top of each one (as shown in the photo). The combination of an 1/8" thick magnet and clips leaves about 1/8" gap around the edges, providing enough clearance for screws and rivets on the Solidoodle.
With this file you will be able to print Solidoodle 3 Heated Chamber Parts with your 3D printer. Click on the button and save the file on your computer to work, edit or customize your design. You can also find more 3D designs for printers on Solidoodle 3 Heated Chamber Parts.