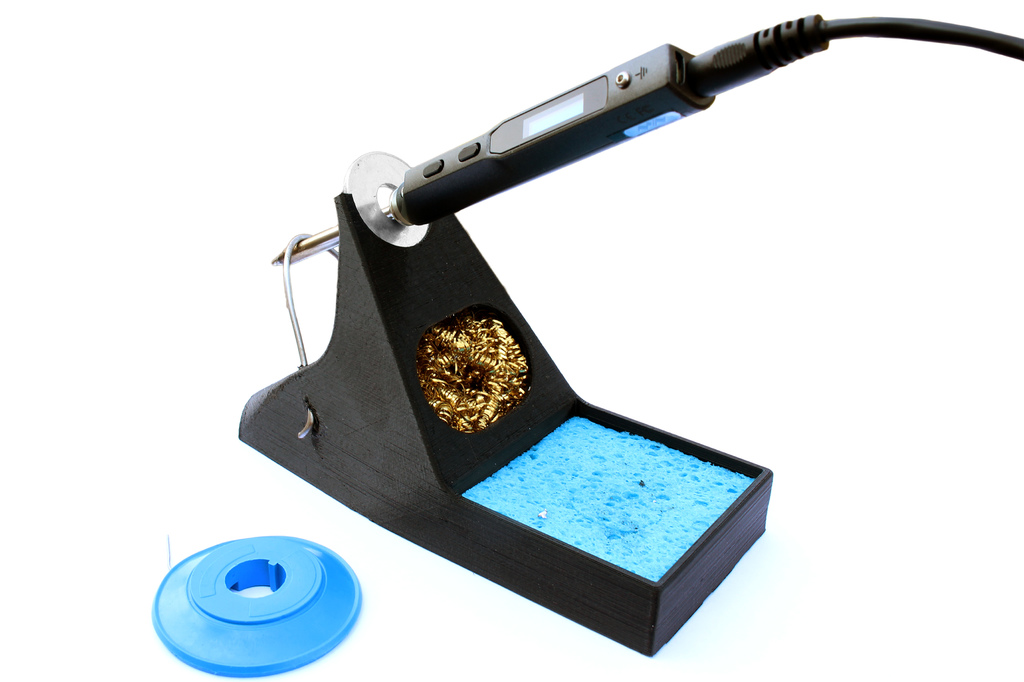
Soldering Iron Stand for TS100
prusaprinters
<p>Additional parts needed:</p><ul><li>washer M10 (OD=30mm, t=2.2mm)</li><li>wire (~150mm, max. dia: 2.5mm)</li><li>M3x8 bolt (length up to 20mm is supported)</li><li>M3 nut</li><li>sand</li><li>cleaning wool</li><li>sponge (60x60mm)</li><li>self-adhesive rubber feet</li></ul><p>I also added .iges and Fusion 360 source files if you want to make any changes.</p><h3>Print Settings</h3><p><strong>Rafts:</strong></p><p>Doesn't Matter</p><p><strong>Supports: </strong></p><p>Yes</p><p><strong>Resolution:</strong></p><p>0.2mm</p><p><strong>Infill: </strong></p><p>25%</p><p><strong>Notes:</strong></p><p>Optimized for 0.4mm nozzle.<strong>Only top part needs supports!</strong> (touching build platform only)</p><h3>Assembly Instructions</h3><p><strong>1)</strong> Insert M3 nut in the slot at the back of the top part.</p><p><strong>2)</strong> Insert washer as seen in the pictures.</p><p><strong>3)</strong> Bend the wire in half and thread it in the holes as seen in the pictures. Insert your soldering iron to see how it's tilted. Then bend the ends near the exit to secure the wire. Cut excess wire and smooth ends.</p><p><strong>4)</strong> Fill sand in the holes of the base part. Insert the lid in the slot of the base to close the holes.</p><p><strong>5)</strong> Insert wool and sponge in the top part.</p><p><strong>6)</strong> Put base part in the bottom of the top part. There is a key mechanism in the front. Screw in the M3 bolt in the back to lock the base to the top.</p><p><strong>7)</strong> Add rubber feet to the bottom of the base for maximum soldering iron stand quality.</p><p> </p><p> </p><p> </p><p>Category: Hobby</p>
With this file you will be able to print Soldering Iron Stand for TS100 with your 3D printer. Click on the button and save the file on your computer to work, edit or customize your design. You can also find more 3D designs for printers on Soldering Iron Stand for TS100.
