Solar Powered Lithopane Backlight
prusaprinters
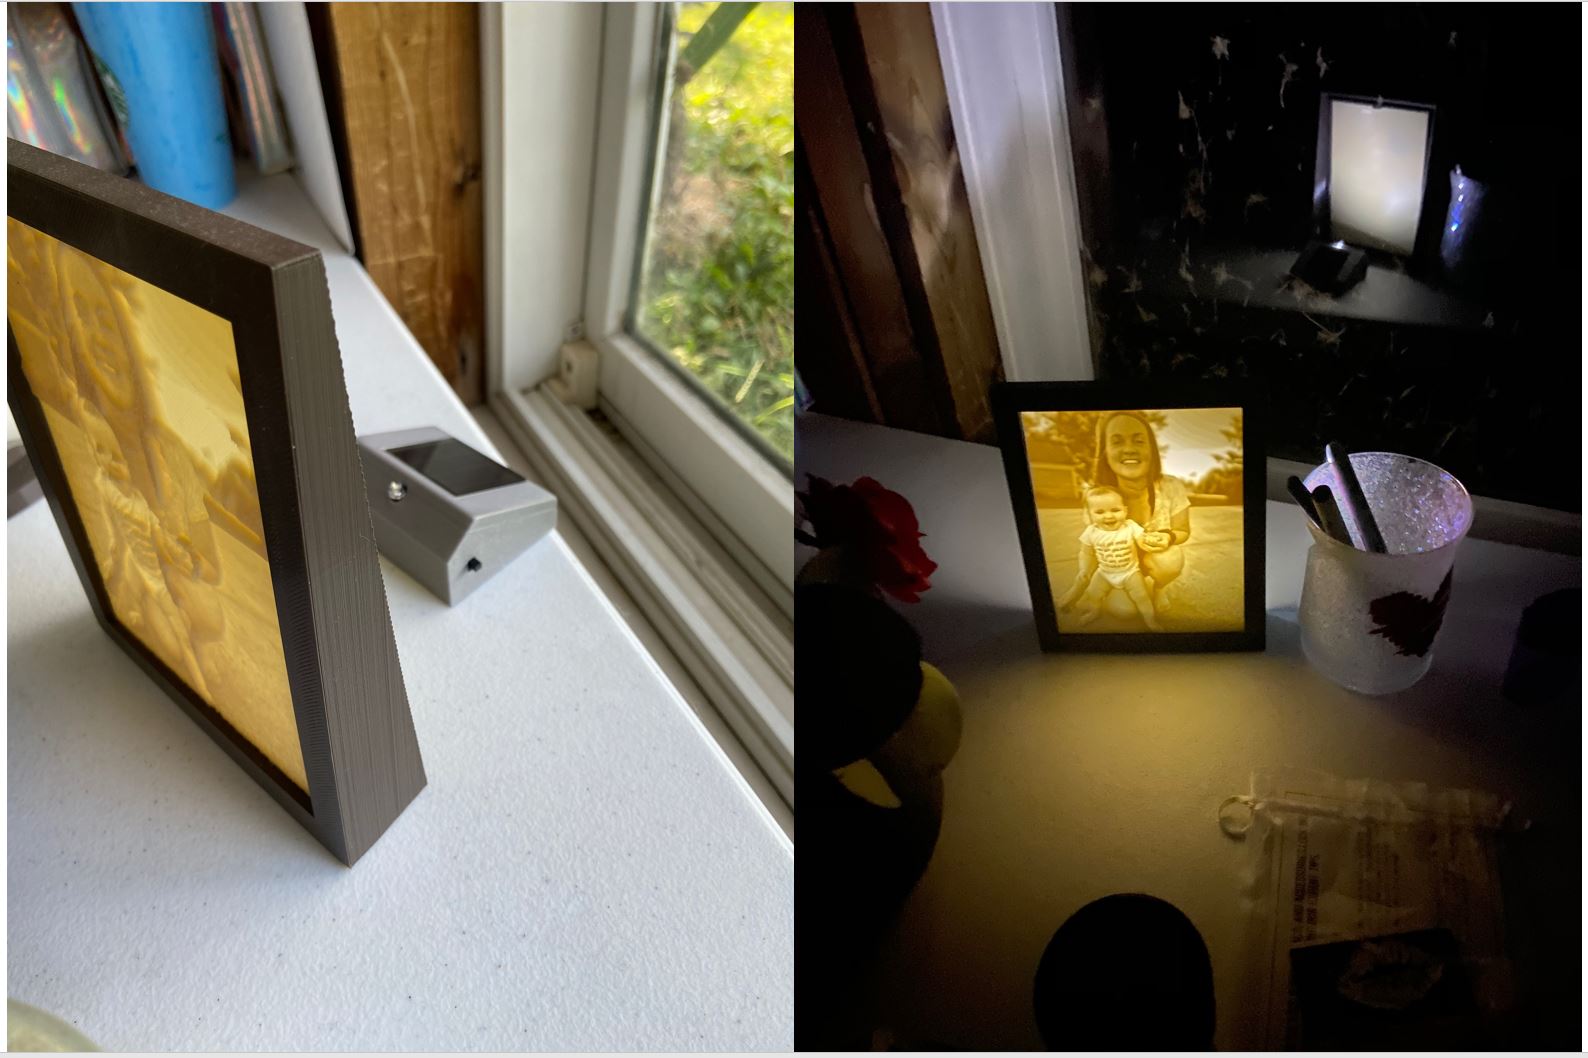
<p>This is a solar charging and automatically switched backlight for your lithopanes. All non-printed components are repurposed from inexpensive lawn/garden solar lights (pack of 4 is $9.99). This is a super easy re-purpose. Small amounts of hot glue can be used, but are not required for assembly or functionality.</p> <p>The light box sits behind your lithopane charging during the day and does not interfere with the sunlight illuminating your photo, but at night it switches on and provides enough ambient light from the single LED to make your photo wonderfully visible.</p> <p>Shown printed in Galaxy Silver.</p> <p>Thanks for looking and liking!!</p> <h3>Print instructions</h3><p>I printed in Galaxy Silver PLA. Printed with no supports. There is a 39mm bridge, but it's not visible in the final product, so a little droopyness doesn't hurt. I printed at PrusaSlicer default settings for 0.2mm (Quality). Printing both pieces at the same time (not print in place) is a 3h 15m print. Disassembly of the garden light is about 5 minutes.</p> <ol> <li><p>The garden/lawn lights are inexpensive Chinese made lights (for US users, they’re readily available at Harbor Freight, item 61444 or 93863).</p> </li> <li><p>Remove the 3 screws that hold the bottom panel (KEEP ONE SCREW FOR LATER). Recycle the bottom panel.</p> </li> <li><p>Remove the electronics from inside. A small pair of pliers can be used to remove the flexible glue joints that they put on the solar panel connections. Be cautious so you don’t break the wires, if you do no biggy, but you’ll need to re-solder them.</p> </li> <li><p>Bend the housing to remove the solar panel. With it bent you can usually fit a flat screwdriver or grab the edge with your finger. I haven’t broken one yet, but be careful, I think it’s glass.</p> </li> <li><p>With the panel removed, I use a small pair of pliers or side cutters and rip out some of the exist plastic material to allow you to remove the electronics entirely. Recycle the top housing.</p> </li> <li><p>Let that wonderful printer do it’s magic. I print both pieces at once (not in place). It’s intended to print with the solar panel surface flat on the print-bed.</p> </li> <li><p>Inserting the electronics into the printed housing is pretty straightforward. There is a small slot in the printed housing to put one end of the switch in, the other end I put a dab of hot glue on to hold firm. The solar panel slides from the underside and rests on the top. Once everything is situated I put a small amount of hot glue under the panel as well to hold it in place.</p> </li> <li><p>Install the battery and the bottom cover, using a screw from step 2 to hold it in place.</p> </li> <li><p>I place the light about 10-15 cm behind the lithopane, but you may need to adjust based on the size of your photo.</p> </li> </ol> <p>Enjoy! Thanks for looking and liking!</p>
With this file you will be able to print Solar Powered Lithopane Backlight with your 3D printer. Click on the button and save the file on your computer to work, edit or customize your design. You can also find more 3D designs for printers on Solar Powered Lithopane Backlight.
