Sofa
sketchfab
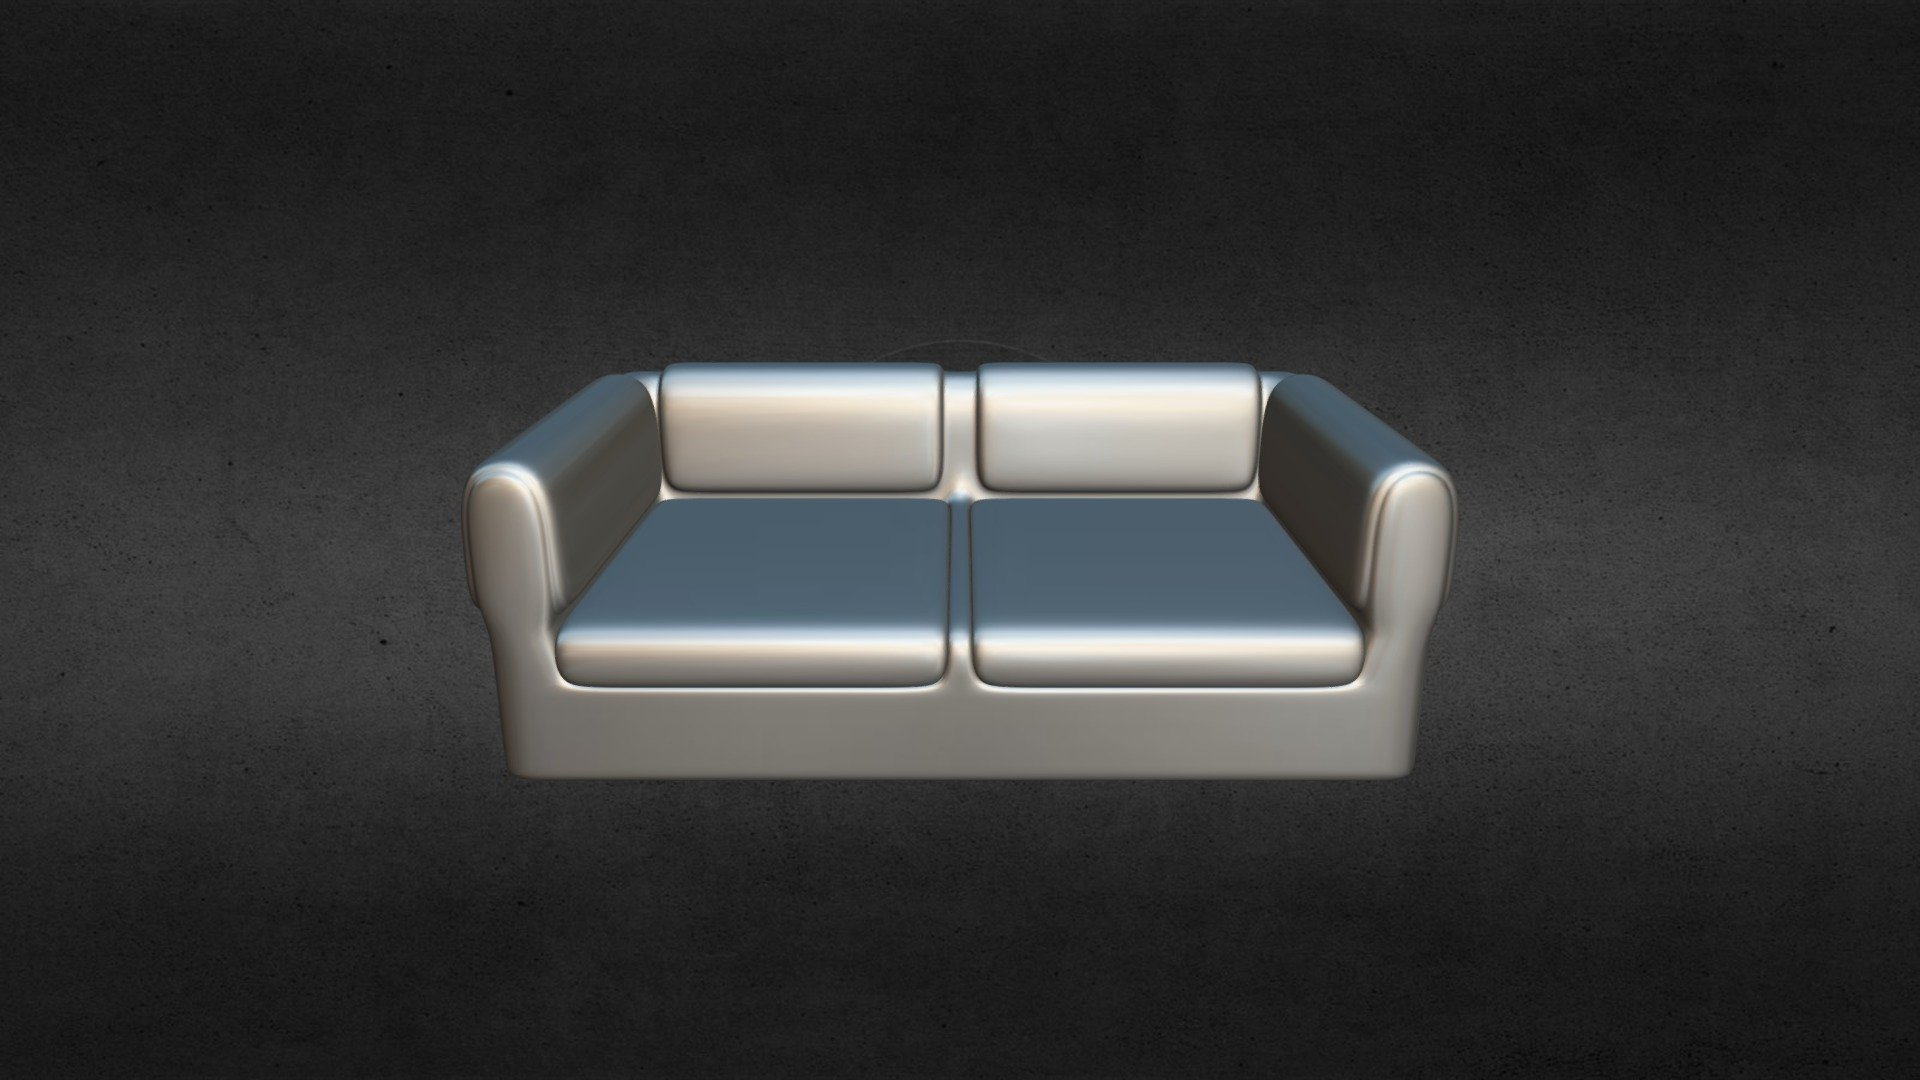
Designing a Sofa in 3D Max is a Creative Process that Demands Attention to Detail and an Understanding of the Software's Capabilities. To Get Started, Launch 3D Max and Create a New Project by Clicking on "File" and Selecting "New". In the "Create Project" Dialog Box, Choose the "Custom" Option and Set the Units to "Metric". This Will Allow You to Work with Measurements in Millimeters. Give Your Project a Name, Such as "Sofa Design", and Click on "OK". Next, Switch to the "Create" Tab and Select the "Cube" Tool from the Object Type Panel. Click and Drag in the Viewport to Create a Box that Represents the Sofa's Base. You Can Modify the Cube's Dimensions by Using the Transformation Tools. To Add Depth to Your Design, Use the "Extrude" Tool to Pull the Cube Upwards. This Will Give You a Basic Shape for Your Sofa. Experiment with Different Extrusion Settings to Achieve the Desired Height and Width. Now, It's Time to Add Some Style to Your Sofa. Switch to the "Subdivision Surface" Modifier and Apply it to the Base Object. This Will Allow You to Create Smooth Curves and Complex Shapes. Use the "Pull/Push" Tool to Refine the Shape of the Sofa's Cushions and Arms. To Take Your Design to the Next Level, Add Some Textures and Materials. Select the Sofa Object and Click on the "Material Editor" Button in the Top-Right Corner of the 3D Viewport. Choose a Color Scheme that Complements the Room's Decor and Apply it to the Sofa's Surface. Finally, Use the "Render Setup" Dialog Box to Adjust the Lighting and Rendering Settings for Your Final Image. With These Tools at Your Disposal, You'll Be Able to Create Stunning Visuals of Your Sofa Design in 3D Max.
With this file you will be able to print Sofa with your 3D printer. Click on the button and save the file on your computer to work, edit or customize your design. You can also find more 3D designs for printers on Sofa.