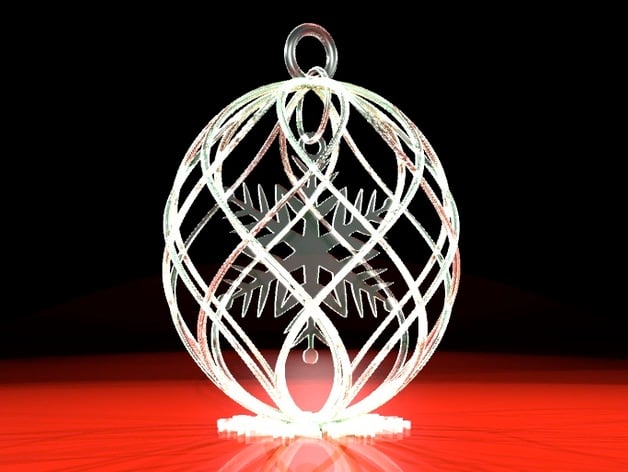
snowflake in Christmas decoration
thingiverse
Let's print the 3D model first and place it directly within the ball's geometry during printing. 1. Design the Snowflake: Firstly, design the unique 3D model of your beautiful snowflake within any Computer Aided Drafting (CAD) program, such as Blender or SketchUp. 2. Add to STL Format: Convert your completed snowflake design into an .STL file format and then add this directly into a ball geometry within the 3D modeling software. Let's get our model printed! After opening the Cura application and slicing settings we choose our custom size ball and also select 'Retainer Box' as one option for holding onto the STL object from before. In case we choose the wrong file here by chance it can't hurt if our Snowflake does stick with any possible debris left in Cura after printing the Ball Geometry. Once it's all sliced, press print!
With this file you will be able to print snowflake in Christmas decoration with your 3D printer. Click on the button and save the file on your computer to work, edit or customize your design. You can also find more 3D designs for printers on snowflake in Christmas decoration.
