Snowflake Christmas Ornament
thingiverse
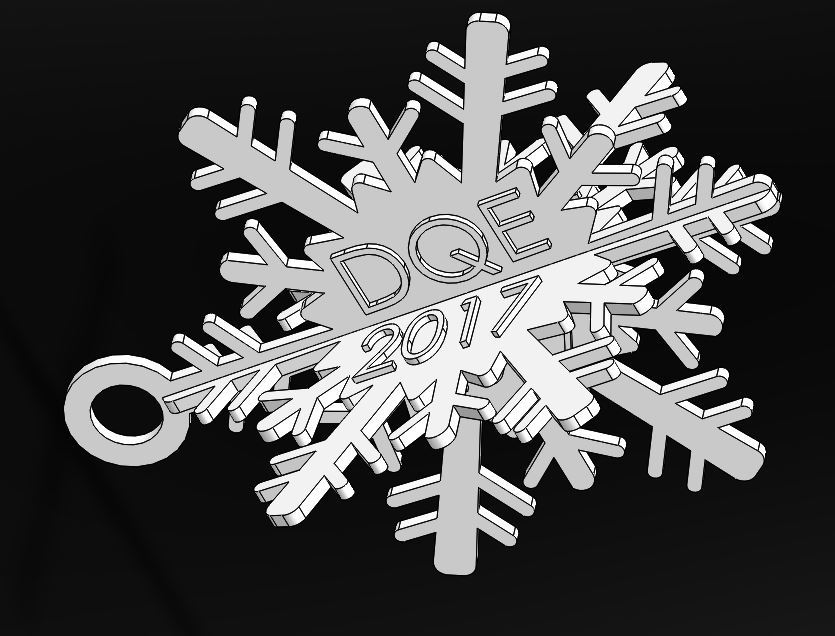
Print both parts flat on the print bed without a raft or supports. You will need both "sides" to create one ornament: Side 1 features a 2D snowflake design with a loop for tree hanging and a split side, while Side 2 showcases a 2D snowflake design with a split side only. I always add text on the flat sections of the ornament, including the year, XMAS, names of friends or family members, organizations, departments, and more. So far, I've printed over thirty ornaments using four different types of filament. To assemble the sides, fill a syringe with Acetone (ABS juice) and let it seep under the joined parts. Hold the split side in place for a few seconds until the acetone dries to prevent warping of the split ends.
With this file you will be able to print Snowflake Christmas Ornament with your 3D printer. Click on the button and save the file on your computer to work, edit or customize your design. You can also find more 3D designs for printers on Snowflake Christmas Ornament.