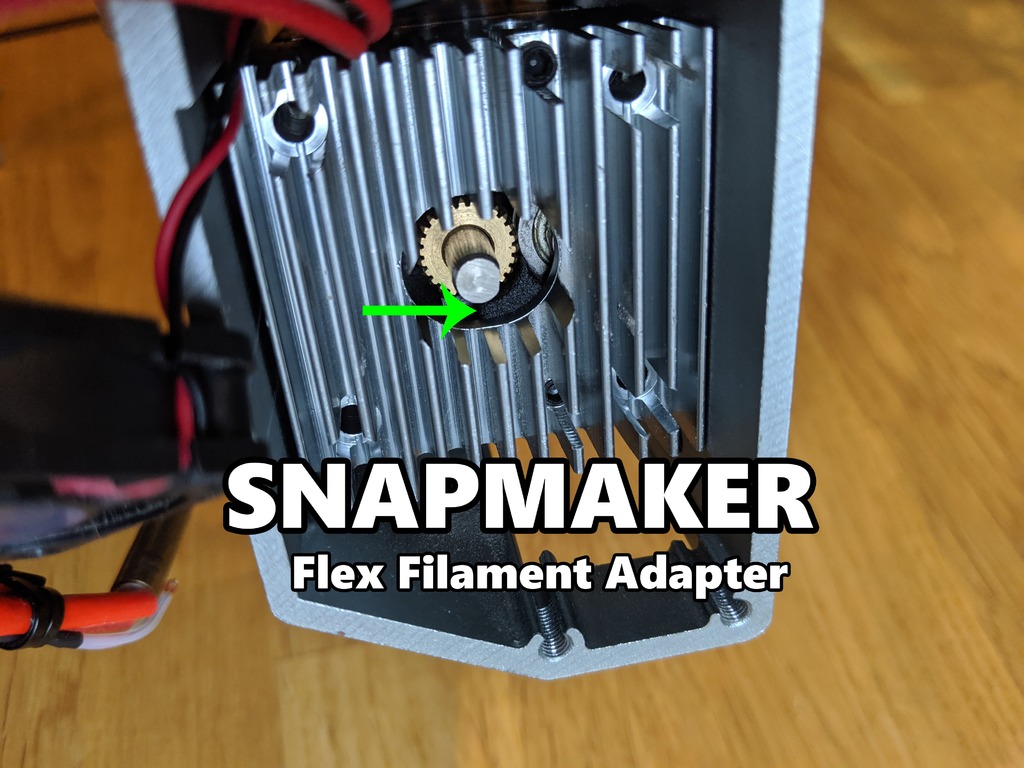
Snapmaker flexible filament adapter
thingiverse
Made a remix of the Snapmaker Flexible Filament Adapter. This one provides a snugger fit around the pipe and against the surrounding walls. It also features two grooves for the tension wheel to sit even closer to the extruder cogwheel. Printed it with HTPLA that withstands 200 degrees Celsius after heat treatment. The print job involved printing it upside down with supports at 0.16mm layer height and 100% infill. Assembly Notes (I assume no responsibility for any issues): - Remove side panels and the two screws holding the cooling block. - Take out the nozzle and upper pipe, then pull out the cooling block. - Place the filament adapter with the thicker wall facing the cooling block, ensuring it fits snugly on the nozzle pipe. - Insert the filament adapter and tension wheel into the case. - Press in the spring against the cooling block and case before pushing the cooling block back into place. - Screw back the nozzle, upper pipe, and outer walls. Done! Recommended Items: Patience is required for this assembly (see attached images). Tip: If you want updates or modifications.
With this file you will be able to print Snapmaker flexible filament adapter with your 3D printer. Click on the button and save the file on your computer to work, edit or customize your design. You can also find more 3D designs for printers on Snapmaker flexible filament adapter.
