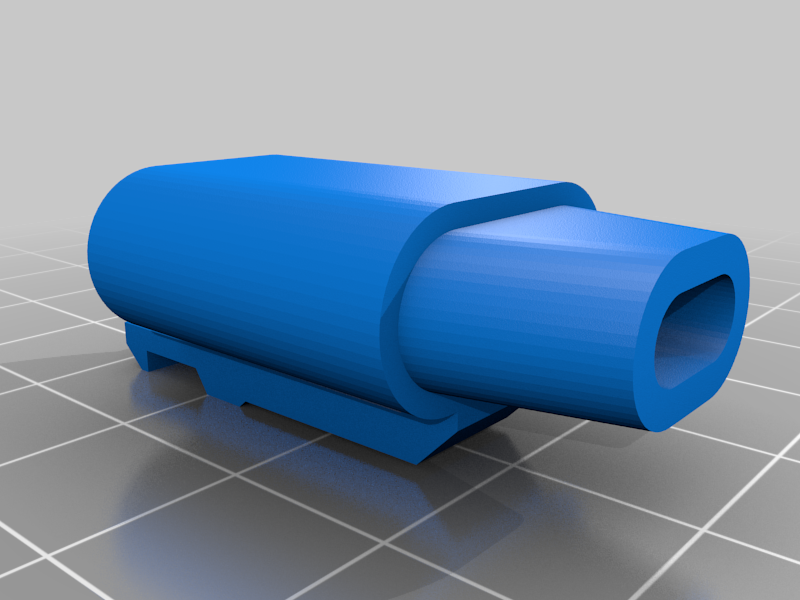
Snapmaker 2.0 Addon Connector (4pin)
thingiverse
Used pins: - 2mm (dia) Copper audio pins - 2.54mm (dist) round male pins Manual: 1. place EndPart on your diy module wire 2. Remove screws from audio pins, solder power wires through screw hole 3. Solder small 2.54mm pins to data wires 4. Press power pins inside EndPart 5. Press and glue 2.54mm pins inside Main part 6. Connect and glue parts together Arduino library for DIY modules: https://github.com/morgan55555/sm2_module
Download Model from thingiverse
With this file you will be able to print Snapmaker 2.0 Addon Connector (4pin) with your 3D printer. Click on the button and save the file on your computer to work, edit or customize your design. You can also find more 3D designs for printers on Snapmaker 2.0 Addon Connector (4pin).
