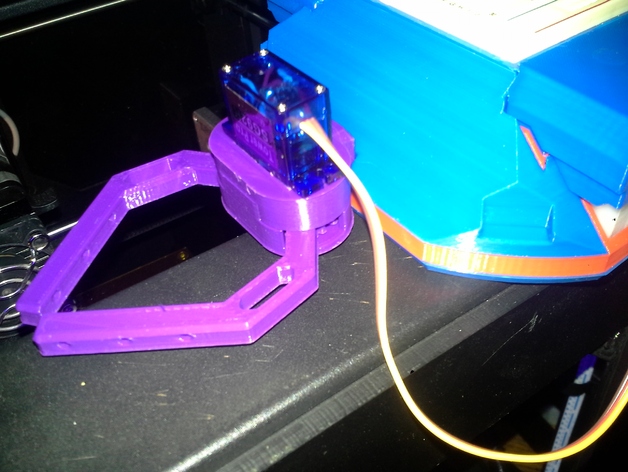
Snap Together Robotic Claw with Grip Pads!
thingiverse
A DIY robot claw for your projects is now a reality. Designed specifically for any micro servo similar to the SG92R, this snap-together design makes it easy to get started. Required Materials: * A micro servo similar to the SG92R * 6 M2x5mm screws - you can salvage them from an old laptop Assembly Instructions: Press the servo into the Upper Case part and secure it with screws. Attach the left claw to the servo horn, making sure it's in the 0 degree or open position. Use a screw provided with the servo to hold it in place. Attach the right claw to the hub on the Bottom Case part and rotate it back and forth a few times to loosen it up. Snap the Upper Case and Lower Case portions together. Tips: If using grip pads, line them up on each claw and attach with M2 screws. We recommend printing them in a flexible material for best results. The ribbed grip pad provides the most effective grip but is the most challenging to print. The other two designs should be easy for anyone to print. Print Settings: * Printer: Powerspec 3D Ultra * Rafts: No * Supports: No * Resolution: .2mm * Infill: 25% Notes: Printing the grip pads in a flexible material is crucial. If you're new to printing, we recommend starting with one of the simpler designs. After printing, attach the grip pads to each claw and secure them with M2 screws. How I Designed This My DIY robot claw has been selected for America's Greatest Makers S2, and it features a grabber claw accessory. Using Rhino3D, I modeled all the parts and exported them as STL files. Then, I used Slic3r to print them on my Powerspec 3D Ultra printer. Rhino3D shaded projection view showcases the design's precision and detail.
With this file you will be able to print Snap Together Robotic Claw with Grip Pads! with your 3D printer. Click on the button and save the file on your computer to work, edit or customize your design. You can also find more 3D designs for printers on Snap Together Robotic Claw with Grip Pads!.
