Snap-Together Modular Picture Frame - Fits Any Size Picture
prusaprinters
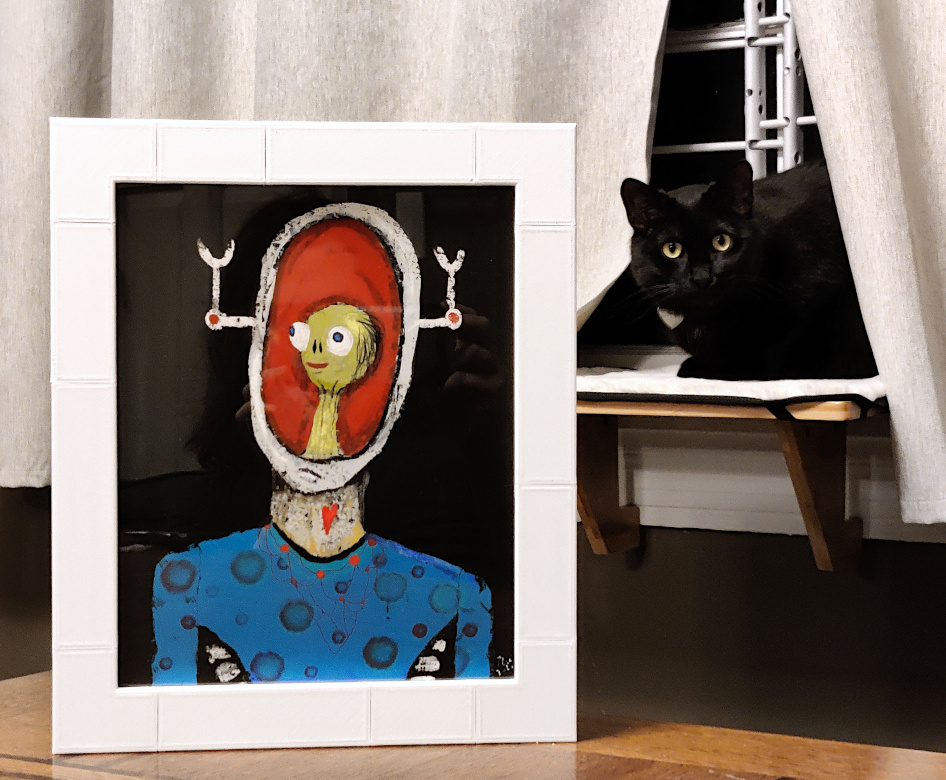
<figure class="media"><oembed url="https://youtu.be/Xi6LSqXiOpw"></oembed></figure><p><br>Please “like” this thing to help it rise in the search results.<br><br>Build your own custom-sized frame using these snapping parts! Watch the video above to see how it works.</p><p>I opted for a simple frame design because A. I prefer that aesthetic and B. a smooth finish is way easier to sand and paint. I may add fancier styles at a later date if people request them. <br><br>The artwork featured in the cover photo is by Louisville, Kentucky artist Thaniel Ion Lee. You can see more of his work and purchase some for yourself here: <a href="http://thanielionlee.com/">http://thanielionlee.com/</a><br><br>The background cat is named Sunnyside. She's a camera hog.<br><br>The length of the pieces are as follows. Size is measured in inside edge length.</p><p><strong>1" Corner (25.4mm)</strong><br><strong>2" Straight (50.81mm)</strong><br><strong>3" Straight (76.2mm)</strong><br><strong>4" Straight (101.6mm)</strong><br><strong>5" Straight (127mm)</strong><br><strong>6" Straight (152.4mm)</strong><br><strong>6.5" Straight (165.1mm)</strong><br><strong>7" Straight (177.8mm)</strong><br><strong>8" Straight (203.2mm)</strong></p><ol><li>Measure the length and width of the picture you want to hang. </li><li>Select the frame lengths that add up to your size. For example, if your picture is 18"x24", you could use the following piece lengths (among other combinations): <br>* 18" = 1" (left corner) + 1" (right corner) + 8" + 8". (Times two since there are two sides.)<br>* 24" = 1" (left corner) + 1" (right corner) + 8" + 8" + 6". (Times two since there are two sides.)</li><li>Before you print all your pieces, I highly recommend you first print <strong>ModularFrameCalibrator</strong>. This tool lets you print all the interlocking parts without having to print a whole piece. Use the recommended slicer settings in step 4, and be sure to see the note about supports. After printing, if the parts snap together fairly easily (but not loose), then you know you've got a good calibration. If it isn't a good fit, experiment with the setting called Horizontal Expansion in Cura or XY Size Compensation in Prusa Slicer and print again. I found that most printers will print the parts at the right snugness, but ultra-precise printers such as my Prusa Mini+ actually require a positive XY Size Compensation value. (In my case, I used 0.1mm for a snug fit.) Once you have a good fit, you can move on to the next step. </li><li>Print your <strong>Straights</strong> and <strong>Corners</strong>. You'll need 4 Corners. <br>* I recommend walls that are 1.2mm thick (i.e. 3 walls of .4mm each), a bottom thickness of 0.6mm, and a top thickness of 0.8mm. <br>* Infill density of 11 percent or higher. <br>* Set supports to print for 80 degrees and higher. You only need supports for the overhanging edges on the sides. Make sure supports don't print for the snapping mechanisms or anything internal. <br>* In the slicer, I like to set two Straights side by side about 1mm apart, with the overhanging edges facing each other. That way, the support structures for both print as one piece.</li><li>Print four or more <strong>ModularFrameEdgeClips</strong> to hold your picture and backer in place. See the video for how to snap in. You'll need needle-nose pliers to insert them into the frame. The clips are designed to be tight so they won't fall out. It's not necessary to use every snap-groove on the back of the frame. One clip for every 6 inches is plenty. The clips can be snapped at different heights to accommodate different thicknesses of glass and backer board. </li><li>There are three ways to mount your picture. As with the edge clips, use needle-nose pliers to insert. Refer to the pictures to see the mounts in action. The options are:<br>1. Stand the frame on a table or desk with <strong>ModularFrameDeskStand</strong>. This is a print-in-place hinged stand. Snap in one or two of these in the bottom edge of your frame. Not recommended for pictures larger than 8"x10".<br>2. Hang the frame on the wall with <strong>ModularFrameNailCatch</strong>. There are two sizes: Small and Large. The Small size works best when the snap is centered. The Large size is best when the snap is off-center. Snap in the catch near the center top of the frame. Leave a little room behind the catch for the back of the nail. There are two staggered rows of teeth to allow you to achieve perfect balance.<br>3. If you prefer hanging with the hook-and-wire method, print two <strong>ModularFrameEyeHooks</strong>. Attach the eye hooks on the upper sides of the frame – not all the way at the very top but above the middle. Tie a string or wire to each hook. Leave a little slack – but not so much slack that the string hangs above the picture.<br> </li></ol><p>If there is a metric picture size that these lengths will not cover, please let me know the size in the comments, and if I have time, I will add it.</p><p>I used the teeth I designed for Buckleboards Open Source Building Blocks for the snapping mechanism. You can see that project below under the “This Remix is Based On” section.</p><p>Changelog: 2022-03-19. I beefed up the desk stand and made the angle smaller to accommodate larger pictures. I also adjusted the accessories (edge clips, nail catches, etc) to be slightly easier to snap in. I also added a calibration tool.<br><br>#PrusaPrinters</p>
With this file you will be able to print Snap-Together Modular Picture Frame - Fits Any Size Picture with your 3D printer. Click on the button and save the file on your computer to work, edit or customize your design. You can also find more 3D designs for printers on Snap-Together Modular Picture Frame - Fits Any Size Picture.