Smith Corona Body Mount Grommet
thingiverse
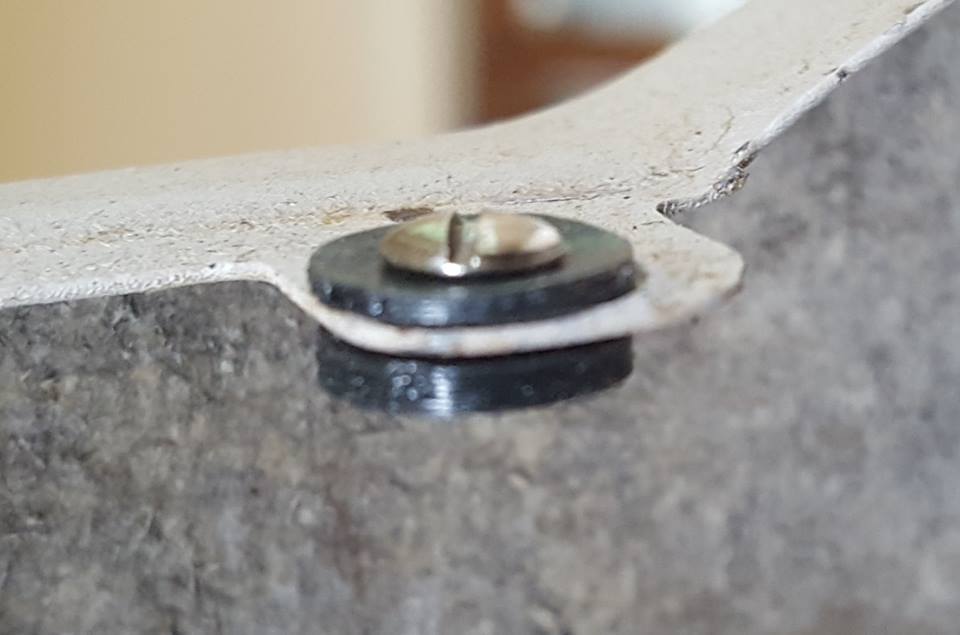
If you've ever worked on a Smith-Corona five series (maybe others?) you've faced the challenge of the anti-vibration grommets. If you were fortunate, they resembled the ones in the attached images, but my experience suggests they have often deteriorated beyond repair. Due to the limitations of 3D printing and flexible filament, these grommets are printed in two sections: a flat washer and a shouldered washer. I conducted extensive experimentation on design and installation. To replace the four grommets on the bottom of the typewriter: - Insert the flat washer between the frame and body. - Pass the screw through the shouldered washer and screw it into place. A bit of manipulation may be necessary, but the shoulder should fit snugly into the opening of the flat washer, completing the "grommet." Using them between the body and the rear cover is a more complex process. If you have functional original grommets, this is where to use them. If not, assemble the two parts through the holes on the body panel and then secure them with glue or heat. I used the tip of a hot soldering iron to bond them to my machine. Assemble the panel and align the grommet with the holes using a drift pin, nail, or dental pick before screwing it in place. Let me know your thoughts on this design, including any feedback on dimensions. If you find the grommets too stiff, it might be possible to address this by adding air space to the grommet.
With this file you will be able to print Smith Corona Body Mount Grommet with your 3D printer. Click on the button and save the file on your computer to work, edit or customize your design. You can also find more 3D designs for printers on Smith Corona Body Mount Grommet.
