SMD tester tweezers
prusaprinters
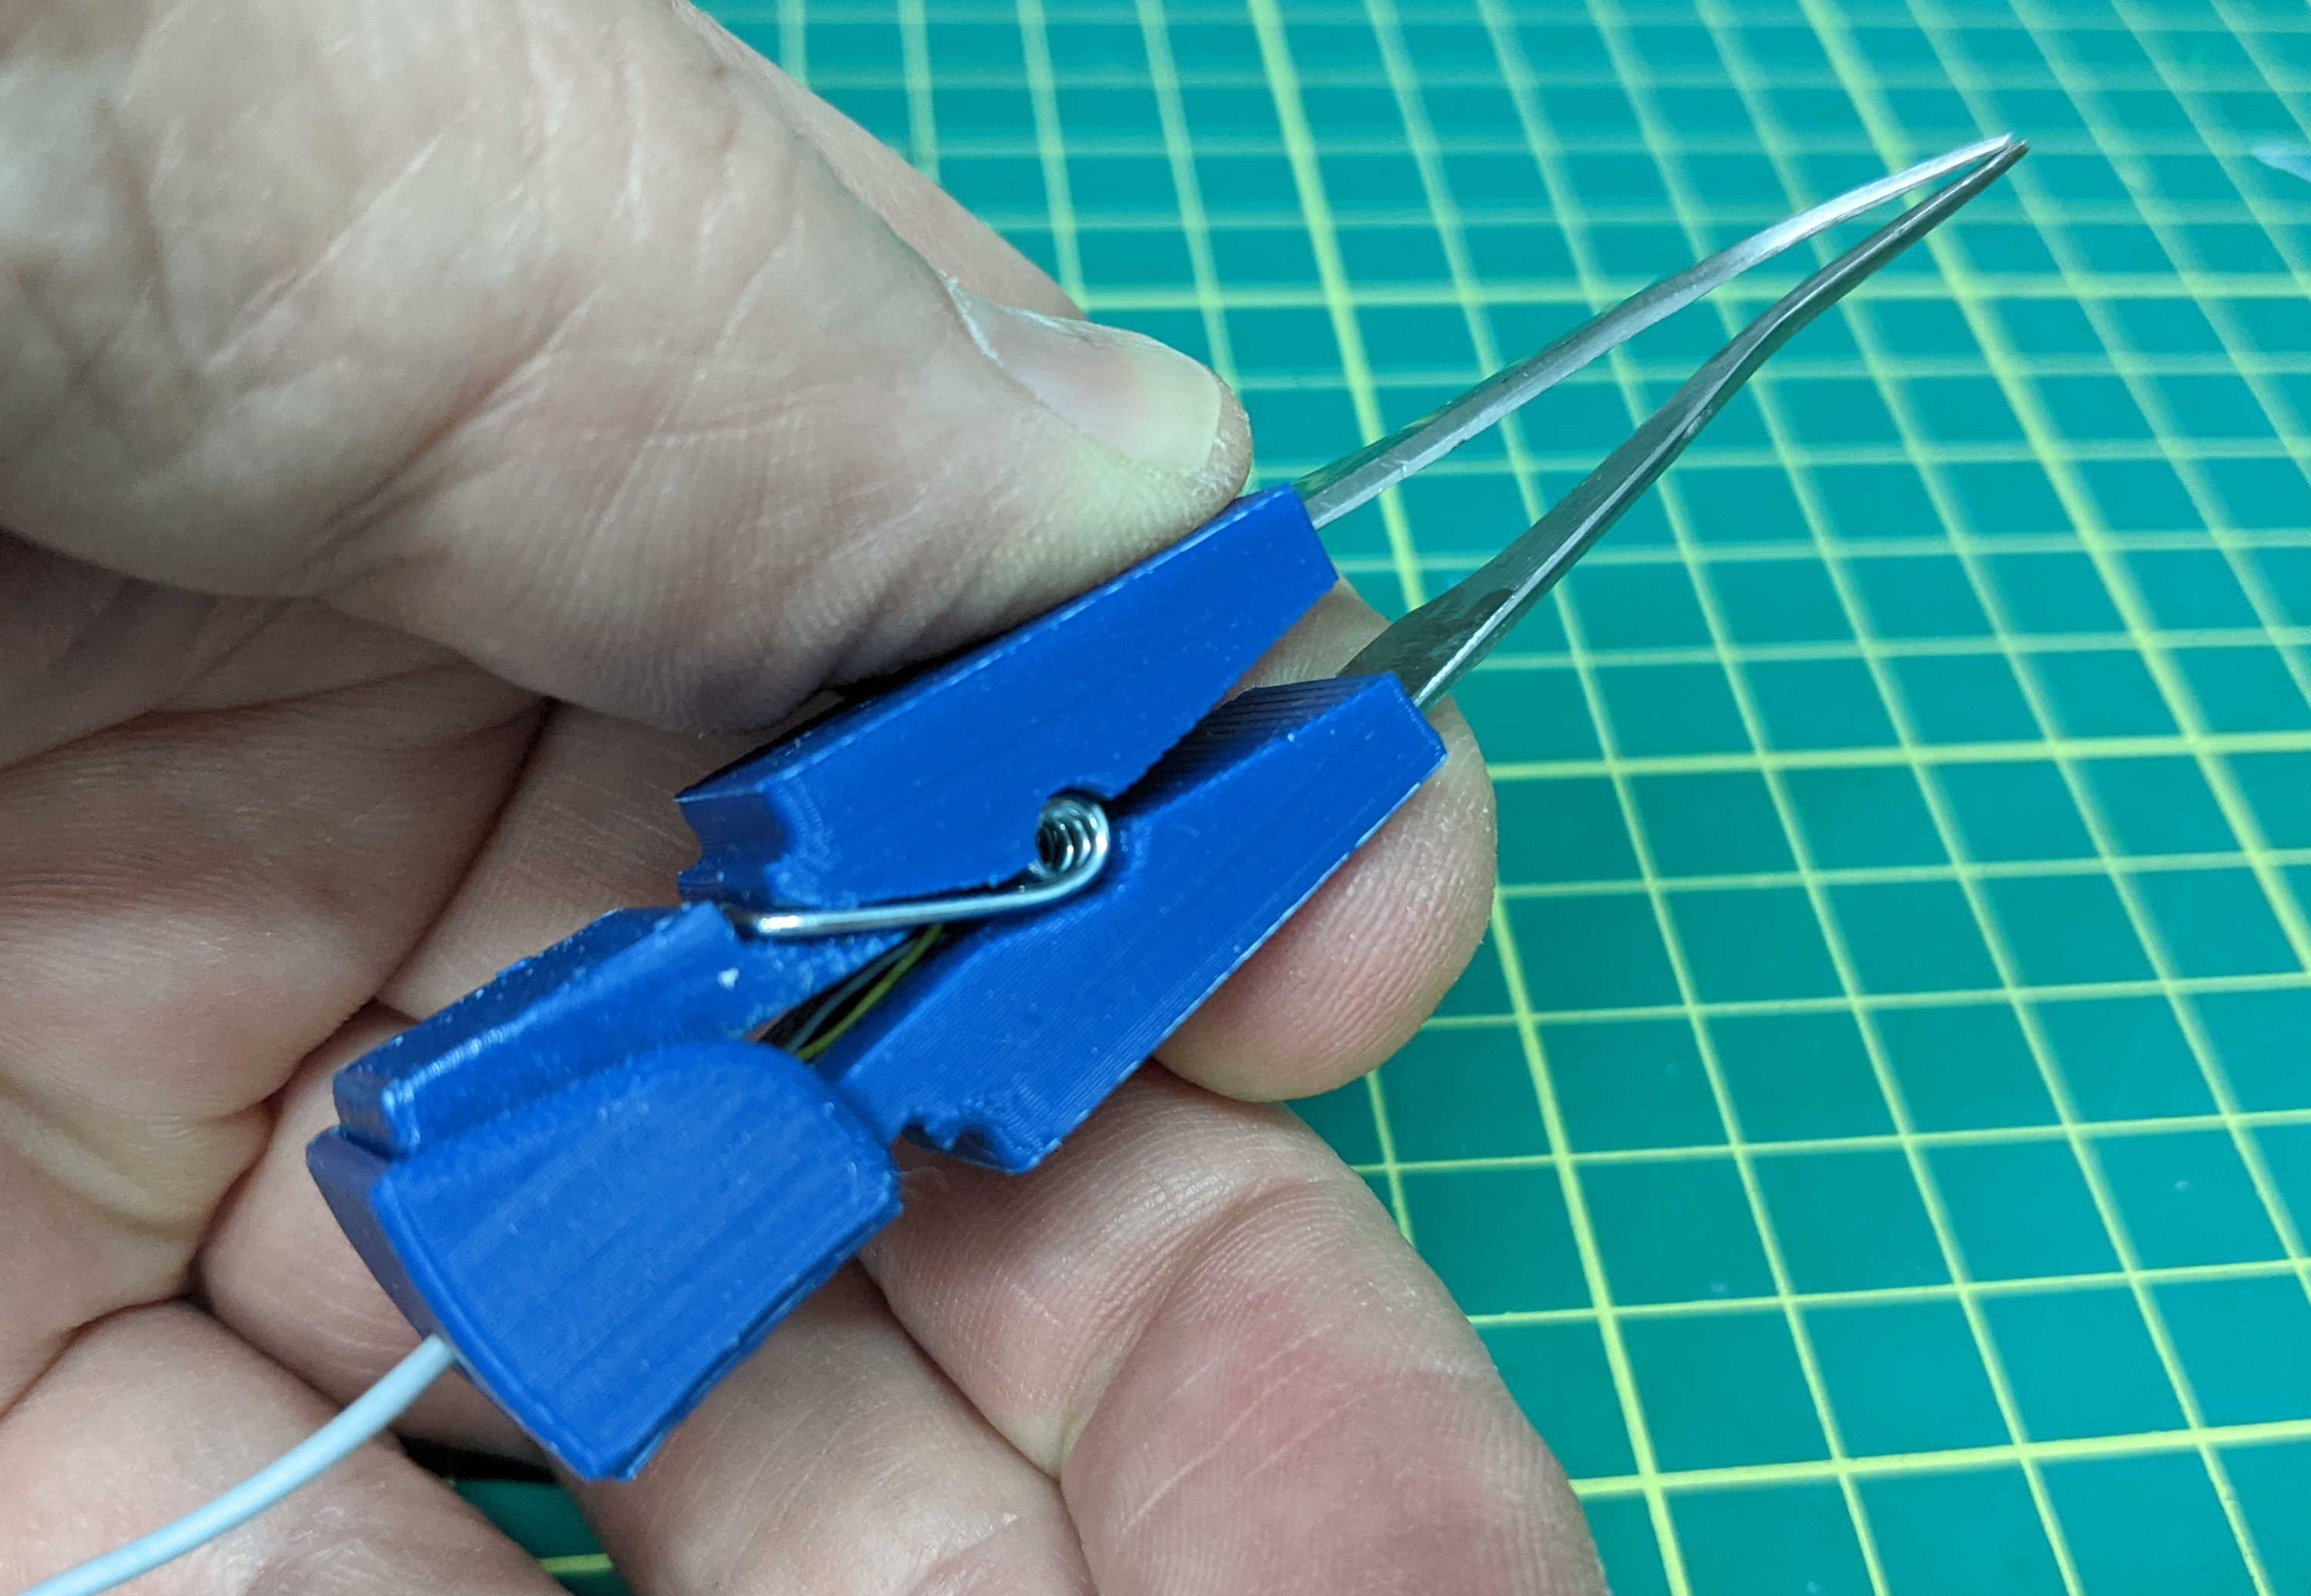
<p>I have two component testers and they just don't have a decent way to test <i><strong>2 pin</strong></i> surface mount parts like resistors, diodes and caps. </p><p>This design remedies that problem by using the two arms cut from standard set of tweezers, a spring from a small clothing peg, some wire from a set of earphones and a 3D printed holder for the tweezers.</p><p>The smd tweezers<a href="https://www.amazon.ca/Multimeter-Capacitance-Tweezer-Capacitor-Resistance/dp/B07T2CZHZ9/"> that are available online</a> are hopeless. They are large, the leads are fat and thick and sweep parts off the table. Their tips are soft and bend sending parts flying.</p><p>This design makes use of quality tweezers available online, for example this pair that came with my solderless breadboard wires. I cleaned off the paint, ground the tips shorter to be fatter and stronger (optional) and cut then about 25mm from the curved end of the tip (you need to insert about 22mm into the printed parts).</p><p>Not particularly complicated but really useful! Easily repaired and assembled (once you work out how to place the spring)</p><p>The spring that closes the tweezers is from a clothes peg, these vary greatly and mine needed some adjustment. The bent over ends of the spring are long, one needs to be cut shorter so that it's easier to assemble.</p><p>Parts are printed in PLA with supports, they take about 40 minutes each on my Ender 3V2 with 0.4mm nozzle, 0.2mm layer height.</p><p>If the back end that slides into the pocket (to keep everything aligned) is tight, file or sand the sides that rub, maybe round the corners a bit and add a little oil to make if open and close smoothly.</p><p>I used the wires from old headphones, these are thin and flexible.</p><p>To connect to the tweezer blades, insert the wire from the inside of each part and press the blade in all the way. It will fold the wire over as it goes back and make contact. Mine are quite tight and don't rattle or move.</p><p>I included gcode files for Ender 3V2 but slicing the model is not complicated. Place the top half upside down. It needs support because the blade holders are on the bed and the back is higher. Supports come off easily, no digging required (remember to take out the material plugging the hole for the wire)</p><p>Spring assembly, place the spring between the 2 halves, place the one spring arm in position the close the upper and lower part and pull the other arm into position (this has the tip shorter remember). Do a dry run before you wire it up, the spring may need some adjustment.</p><p>A blob of silicone will stop the wire pulling out and some silicone over the two holes where your thumb and finger might touch the tweezer blades will finish off the assembly.</p><p>Don’t touch the metal parts of the tweezer when you measure a component, you hand will add capacitance and reduce resistance.</p><p><strong>Other uses:</strong></p><p>Also handy for picking SMD parts and placing them. </p><p>Connect it to a power supply through a resistor to test LEDs</p><p><strong>Possible issues:</strong></p><p>The capacitance is about 25pF (<a href="https://www.amazon.ca/Multimeter-Capacitance-Tweezer-Capacitor-Resistance/dp/B07T2CZHZ9/">about the same as the tweezers you can buy online</a>) but most of that comes from your hands. The thin wires have some resistance, about 5 ohms. As long as you know about these you can compensate when you test, these values are small enough to ignore for most parts you are likely to test.</p><p>Definitely <i><strong>NOT</strong></i> rated for high voltages like mains!</p><p>Again, when measuring, don’t be touching the metal parts with your fingers.</p><p><strong>Alternatives:</strong></p><p>I did start using just the peg with the blades glued to the part you normally press together, it had a guide behind it to keep the tips aligned. This worked really well but the wire is more difficult to route, I may add this simpler design but it is a bit more difficult to make and requires some gluing.</p>
With this file you will be able to print SMD tester tweezers with your 3D printer. Click on the button and save the file on your computer to work, edit or customize your design. You can also find more 3D designs for printers on SMD tester tweezers.