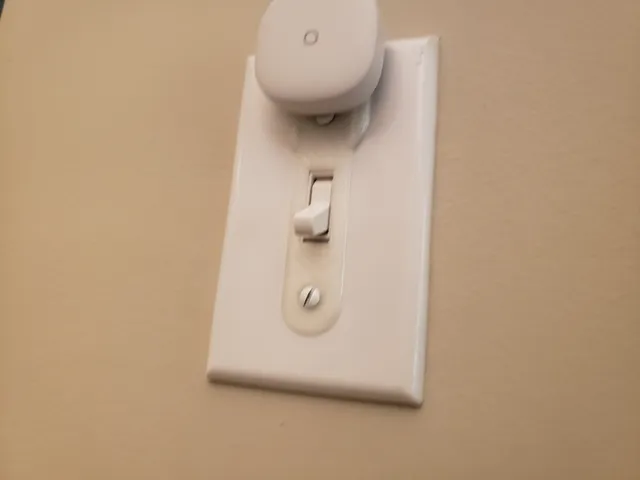
Smartthings Button (2018) Light Switch Plate Mount, Magnetic
prusaprinters
I use the Smartthings buttons essentially as locally available control for lights should the internet connection between Alexa and the Smartthings hub be offline. Also makes it easier on guests to control the lights. In order to keep the buttons in a logical location (the existing light switches) I made this mount. There are others, but this one uses both screws and places the button a little further from the actual light switch to avoid accidental triggers of either. Two 6mm x 3mm neodymium magnets slip in from the back and line up with the same two that are inside the button. Seem snug enough and the pull is from the front, so no glue should be necessary. Make sure you orient the magnets correctly by testing orientation against the back of the Smartthings button. The thin wall between the magnets and the button are .3 mm thick, so suggest .1 or .15 layer height. Should not need supports here as the bridge is not very wide. I did not use any. Print instructionsLicence: Creative Commons - Attribution Category: Household Print Settings Printer Brand: Prusa Printer: i3 MK3 Rafts: No Supports: No Resolution: .15 Infill: 20 Filament: Tactink PLA Clear
With this file you will be able to print Smartthings Button (2018) Light Switch Plate Mount, Magnetic with your 3D printer. Click on the button and save the file on your computer to work, edit or customize your design. You can also find more 3D designs for printers on Smartthings Button (2018) Light Switch Plate Mount, Magnetic.
