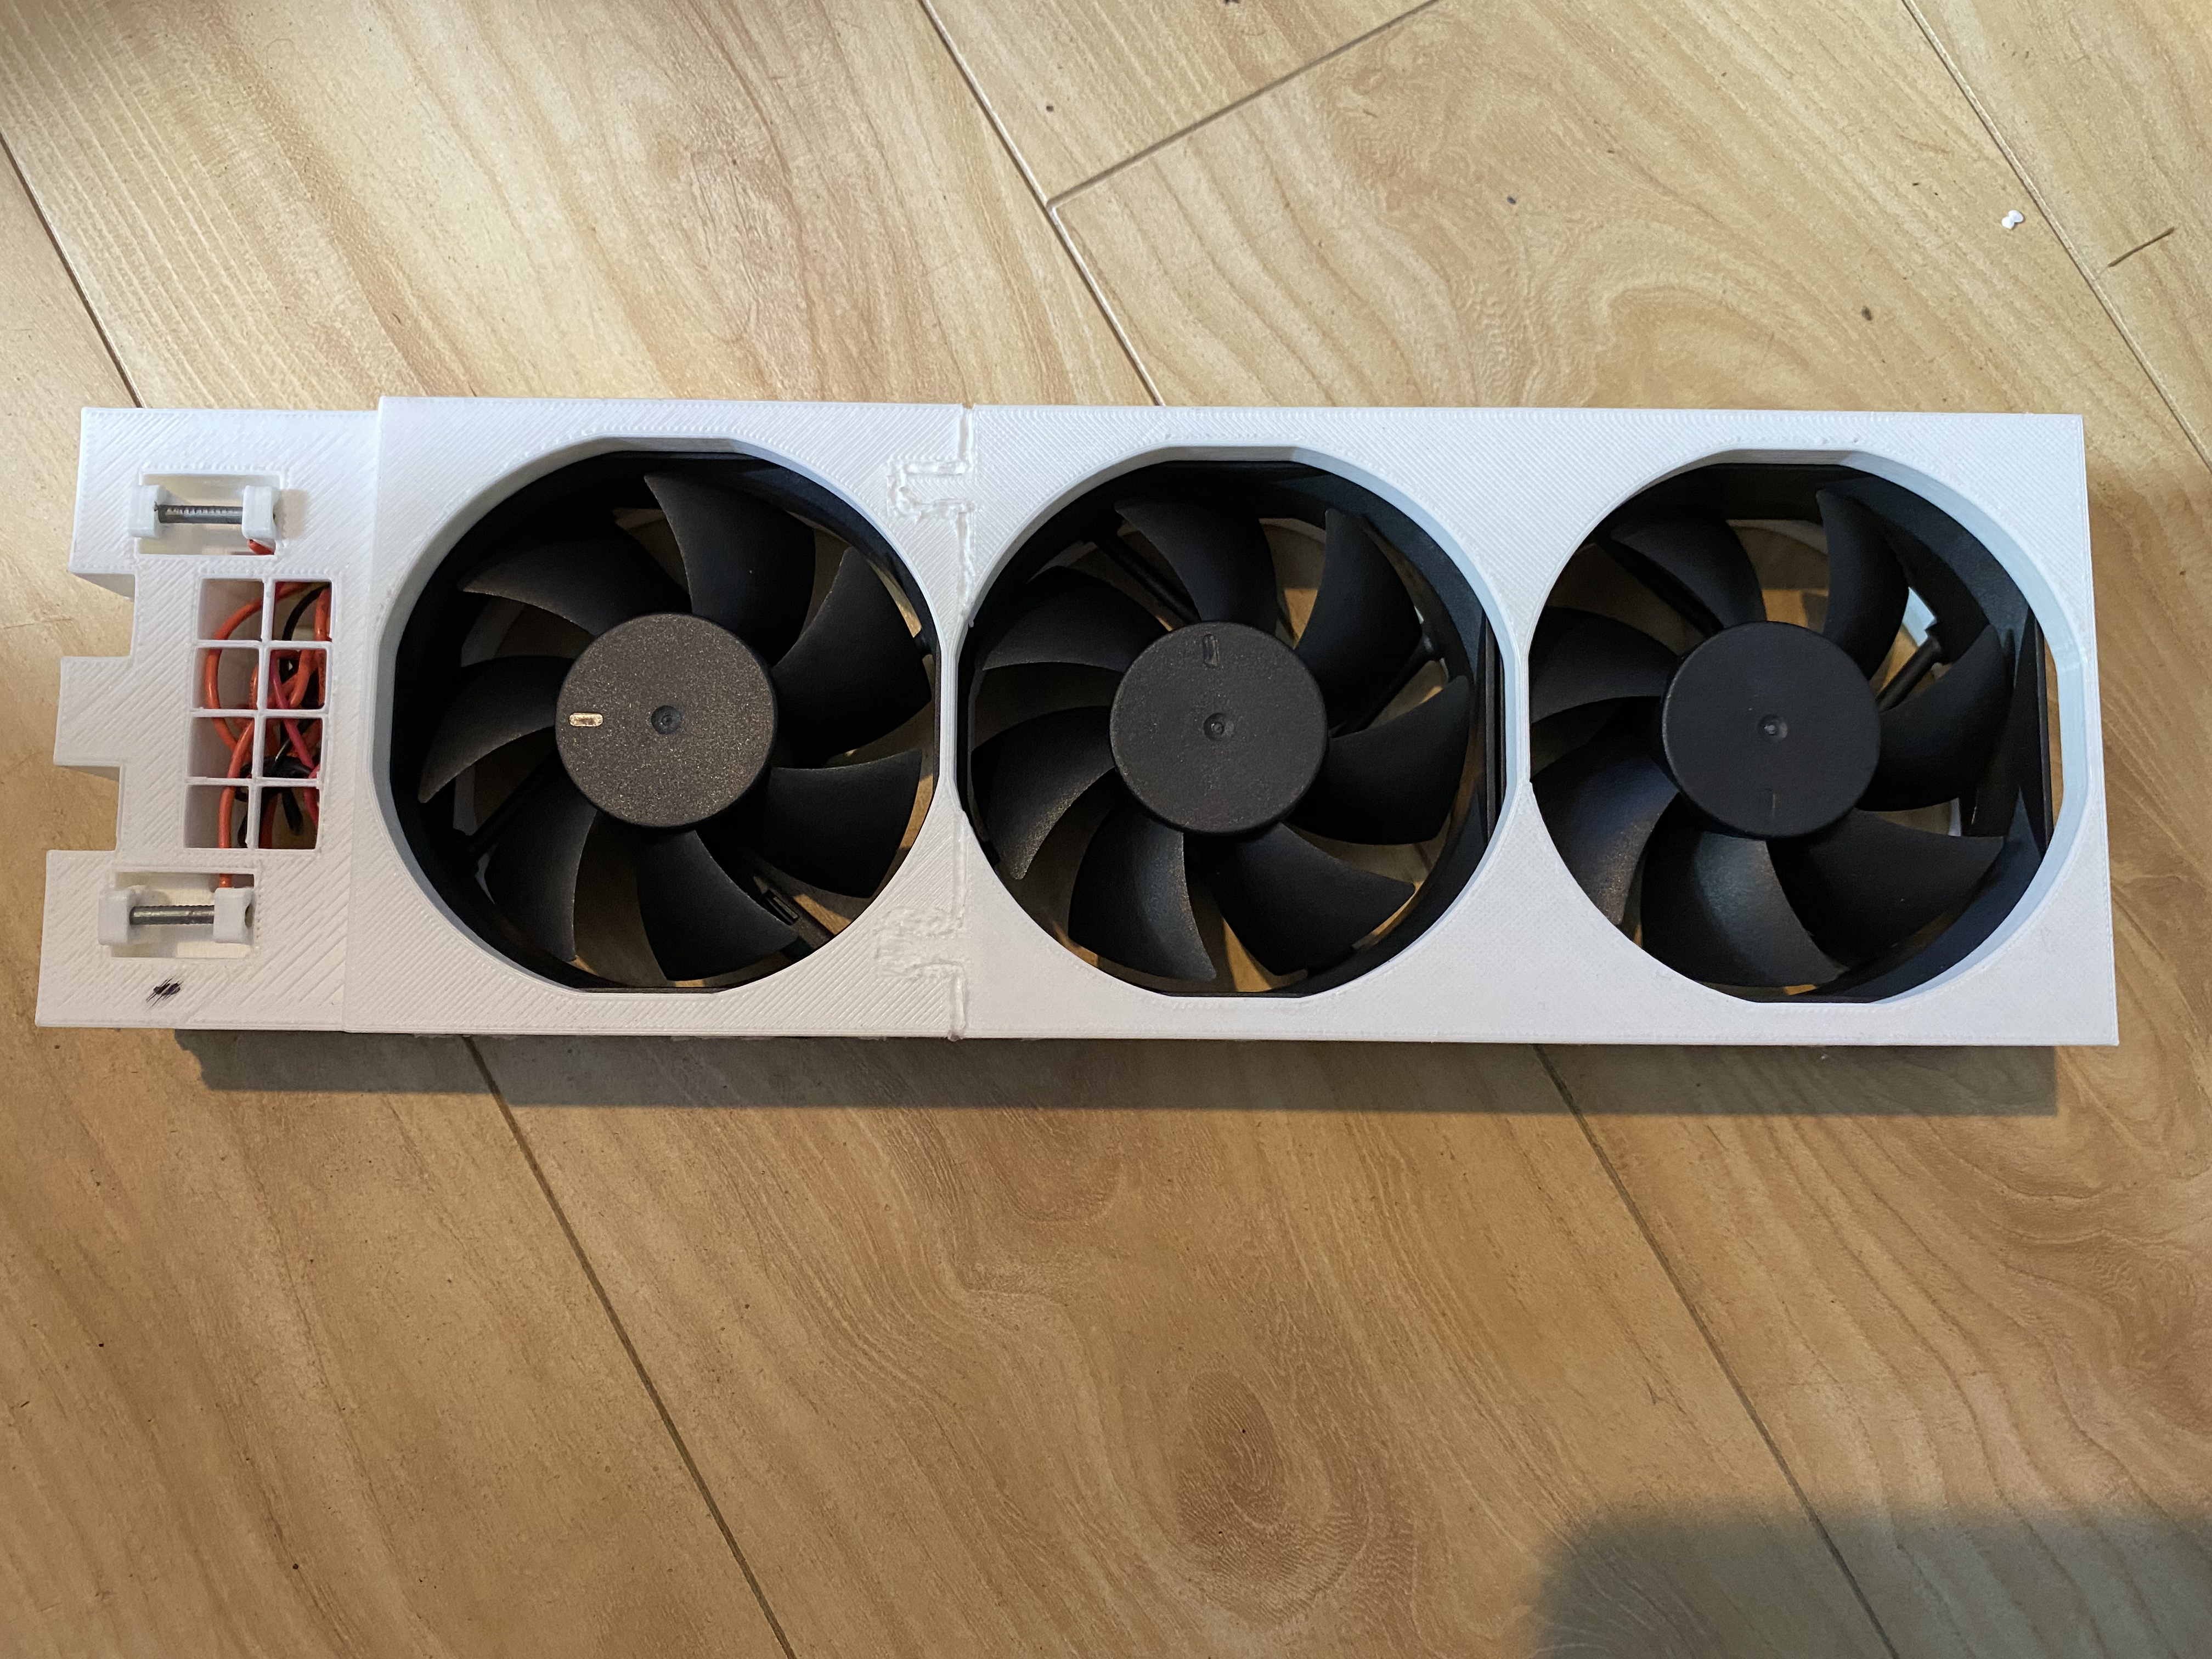
Smart Vent Fan Sled (12x4)
prusaprinters
<p>Original files in Onshape: <a href="https://cad.onshape.com/documents/f6068ee2ed83c3c456cfc910/w/bde2fd8ffe8e3a81a93fe971/e/62f670e7a891711b4d643dde?renderMode=0&uiState=626d9b05c8b539711c985bf5">https://cad.onshape.com/documents/f6068ee2ed83c3c456cfc910/w/bde2fd8ffe8e3a81a93fe971/e/62f670e7a891711b4d643dde?renderMode=0&uiState=626d9b05c8b539711c985bf5</a></p><p><i>(<strong>This project is considered "Beta"</strong>, ie it works well enough that I've been able to print and assemble a working final product. Tolerances can be improved, quality of life changes could be added, but I've spent several months on this and want to be finished. Snap-fit parts likely won't fit quite right, and things like the contacts on the vent attachment are probably unnecessarily complicated. But it works! Good enough for me.)</i></p><h4>Overview</h4><p>This is a set of models for assembling a fan sled to generate airflow behind a smart vent without any ductwork. The main fan sled should be usable for any smart vent, but the "Keen Vent Attachment" model is specific to the 12x4 Keen Vent.</p><p>Video demonstration: <a href="https://youtu.be/Zpynj1eS8lM">https://youtu.be/Zpynj1eS8lM</a></p><p>The main features are:</p><ul><li>Fans can turn on/off automatically when the vent opens/closes</li><li>No wiring needed for attaching the fan sled to the vent</li><li>Airflow can be reversed by simply detaching the sled from the vent attachment, flipping the sled, and reinserting</li><li>TPU dampeners to reduce noise</li></ul><p>The auto on/off is handled by a reed switch attached to the vent, and a magnet attached to the fins to toggle the switch. This is connected to the "Vent Attachment" which has contact points for providing power to the fans, and guides for running power cables without snagging on the fan sled.</p><p>The Keen Vent Attachment has holes placed so that the screws in the vent can be removed, attachment placed, and screws re-inserted to hold it securely. The contact points on the attachment has a flat clip for holding a metal contact clip.</p><p>I’ve been using four of these for that past year or so and haven’t had any failures or reliability problems. </p><h4>Parts List</h4><p>Required parts for the fan sled:</p><ul><li>1x Active and Inactive Front + Back</li><li>8x rod clip top</li><li>3x 80mm fans per fan sled</li><li>4x 2.5mm-diameter aluminum rods per vent, 15-18mm long (I used rivets cut in half) (for contacts on the sled itself)</li><li>An external power supply to power the fans (24V in my case)</li><li>3D printer pen for "welding" the different parts together</li></ul><p>Optional parts for the fan sled:</p><ul><li>Dampeners (Print in TPU) - Meant to be used with dual extrusion. Includes 4 flat scrap pieces for getting the dampeners at the right height. (You can try printing them separately from the shell and inserting them manually, but I don't recommend it.)</li></ul><p>Required parts for the vent attachment:</p><ul><li>1x Keen Vent Attachment</li><li>1x normally-closed (NC) reed switch and magnet per vent</li><li>Thin (1/32") conductive metal stock (cut into strips at most 8mm wide, bend to create a clip)</li></ul><p>I also recommend a controller so your fans aren't forced to run at 100% speed, eg <a href="https://www.amazon.com/gp/product/B07VVXF7YX">https://www.amazon.com/gp/product/B07VVXF7YX</a> (make sure to get a buck converter controller, NOT PWM, or the DC fans will cause a high-pitched whine)</p><p>I used:</p><ul><li>Fan - <a href="https://www.digikey.com/en/products/detail/orion-fans/OD8025-24HSS/2621167">https://www.digikey.com/en/products/detail/orion-fans/OD8025-24HSS/2621167</a> (80x25mm 24V)</li><li>Reed switch - <a href="https://www.digikey.com/en/products/detail/pic-gmbh/PMC-1001THY/9687556">https://www.digikey.com/en/products/detail/pic-gmbh/PMC-1001THY/9687556</a></li><li>Magnet - <a href="https://www.digikey.com/en/products/detail/comus-international/RSH01/11562479">https://www.digikey.com/en/products/detail/comus-international/RSH01/11562479</a></li></ul><p>The fan sled has chamfers to match that of the fans I linked. Other fans might not have the same chamfer and may produce more noise.</p><p>When selecting a reed switch, make sure it is rated for the voltage and total current between the fans. Reed switches aren’t meant to carry power, incorrect selection will likely cause the switches to fail.</p><h4>Print Settings</h4><ul><li>Supports for “active” components and the “rod clip top". I suggest manually adding supports for the rod clips.</li><li>Rafts are not required but generally recommended</li><li>I used 0.2mm layer height with a 0.4mm nozzle, shouldn't be any issue using a larger height</li></ul>
With this file you will be able to print Smart Vent Fan Sled (12x4) with your 3D printer. Click on the button and save the file on your computer to work, edit or customize your design. You can also find more 3D designs for printers on Smart Vent Fan Sled (12x4).
