Small Toy Catapult
thingiverse
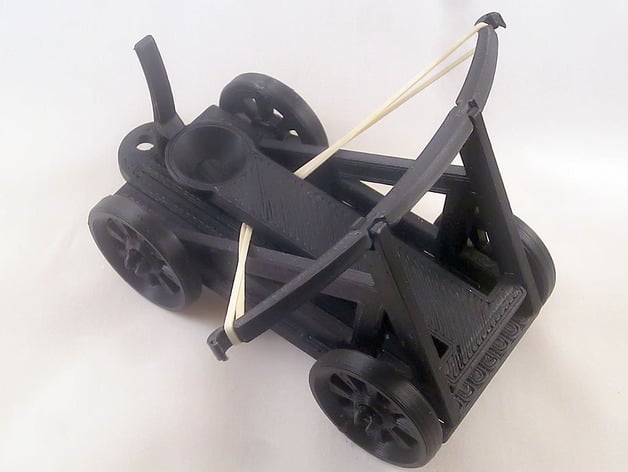
I designed this custom Playmobil castle expansion for my daughter and wanted to experiment with 3D printing techniques. This is my first design shared online, so please be patient if there are any issues or problems. To print the castle expansion, you'll need to download and print several parts: 1. A base plate 2. Two side panels 3. A lever assembly 4. Four wheels with axles 5. A bow piece Assembly begins by inserting two round pegs into holes on the sides and sliding them onto the base plate. Next, attach the wheels to their axles and push the lever through a slot in the back of the castle, ensuring the notch is facing downwards towards the base plate. Add the bow piece on top of the sides and secure it with a rubber band between hooks on the bow and under the board. The hook at the bottom of the board will hold everything in place. Important note: Be sure to use the Catapult-Board-02.stl file instead of the original Catapult-Board.stl, as it was too short for printing. Have fun building your custom Playmobil castle expansion!
With this file you will be able to print Small Toy Catapult with your 3D printer. Click on the button and save the file on your computer to work, edit or customize your design. You can also find more 3D designs for printers on Small Toy Catapult.