Small Cup scan
thingiverse
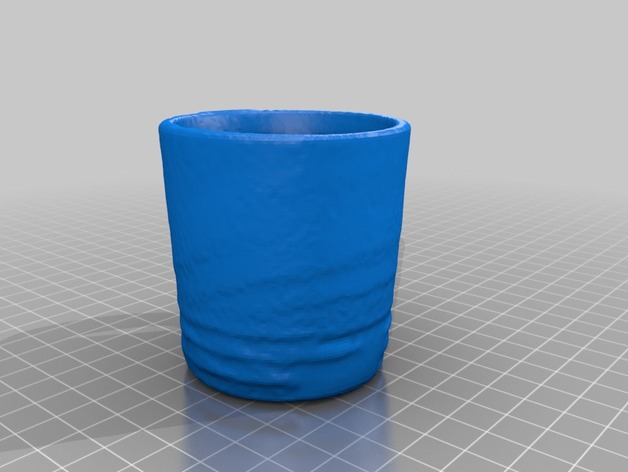
I am excited to share my first scanning experience with the MakerBot Digitizer Desktop 3D Scanner, a fantastic tool for turning physical objects into digital replicas. My subject of choice was a lovely Le Creuset cup, a vibrant and sturdy vessel that would provide an excellent test case for the scanner's capabilities. Below are the step-by-step instructions I followed to scan my Le Creuset cup with the MakerBot Digitizer: Step 1: Prepare Your Subject Before you begin scanning, make sure your subject is clean and dry. Remove any lids, handles, or other removable parts that might interfere with the scanning process. Place your subject on a stable surface, ensuring it's centered and securely positioned. Step 2: Set Up the MakerBot Digitizer Next, plug in the MakerBot Digitizer Desktop 3D Scanner and allow it to boot up. The scanner comes equipped with its own software, which will guide you through the scanning process. Open the software and select "New Scan" to begin. Step 3: Adjust the Scan Settings Now it's time to configure your scan settings. You'll need to choose a resolution that suits your needs - for a detailed scan of small objects like cups, a higher resolution is recommended. I chose a high-resolution setting for this test run. Step 4: Calibrate the Scanner To ensure accurate results, you'll need to calibrate the MakerBot Digitizer before scanning. The scanner will prompt you to place it at specific points within your work space, allowing it to capture its surroundings and correct for any errors. Don't worry; this step is a breeze! Step 5: Start Scanning Place the Le Creuset cup under the scanner, ensuring it's centered in the scan area. The software will then guide you through a series of calibration points before initiating the scanning process. Be patient - scanning can take anywhere from 1-5 minutes depending on your resolution settings and object size. Step 6: Refine Your Scan Once the initial scan is complete, the software will present you with options to refine or clean up any unwanted noise. You can use these tools to fine-tune the quality of your scan and remove any blemishes. Step 7: Save and Export Your Scan Finally, save and export your digital replica as an STL file for further editing in CAD software like Autodesk Fusion 360 or Blender. Voilà! Your Le Creuset cup is now ready to be manipulated in a digital environment.
With this file you will be able to print Small Cup scan with your 3D printer. Click on the button and save the file on your computer to work, edit or customize your design. You can also find more 3D designs for printers on Small Cup scan.