slot in active ventilation fan mount
thingiverse
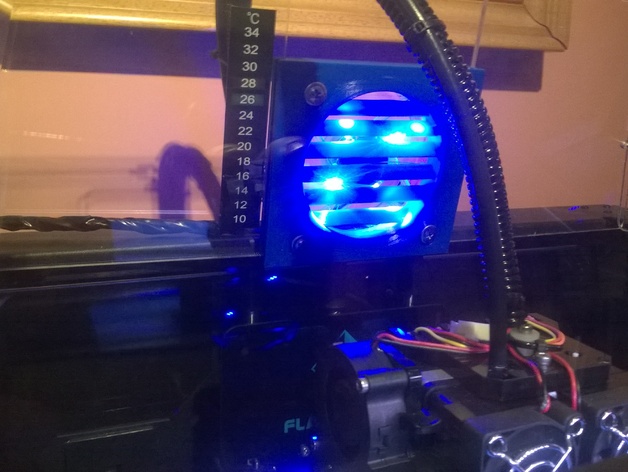
Flashforge Creator Pro fans into place, securely seated within its acrylic hood and redirecting airflow directly across the printing zone and out through the door. By employing this setup as specified in FFCP guidelines, PLA filament can be successfully printed without requiring removal of the hood. Over an extended period of non-stop printing reaching up to 36 hours straight, I've found no issues with utilizing this method. Moreover, having it hardwired directly onto the ETRA fet on my board now allows automatic activation alongside FFCP's active cooling fan. Printer Settings: Flashforge Creator Pro Printer Rafts: Enabled Supports: Active Resolution: Set to Mid-Range Infill Percentage: 5% Notes: The FlashForge Creator Pro was used in conjunction with Simplify3D. Printing began on a raft, with support enabled. Printer Temperature: Initially set to 70 degrees Celsius for the first three layers and later adjusted to 60 degrees Celsius for the remainder of the print. Extruder Temp: Initial three layers at 200 degrees Celsius and the remaining sections were printed at 195 degrees Celsius while maintaining active cooling via fan engagement through FFCP. The FlashForge Creator Pro printer features Medium-Quality print settings applied directly from the SD card. Utilizing new heatbed printing tape provided with the FlashForge Creator Pro.
With this file you will be able to print slot in active ventilation fan mount with your 3D printer. Click on the button and save the file on your computer to work, edit or customize your design. You can also find more 3D designs for printers on slot in active ventilation fan mount.