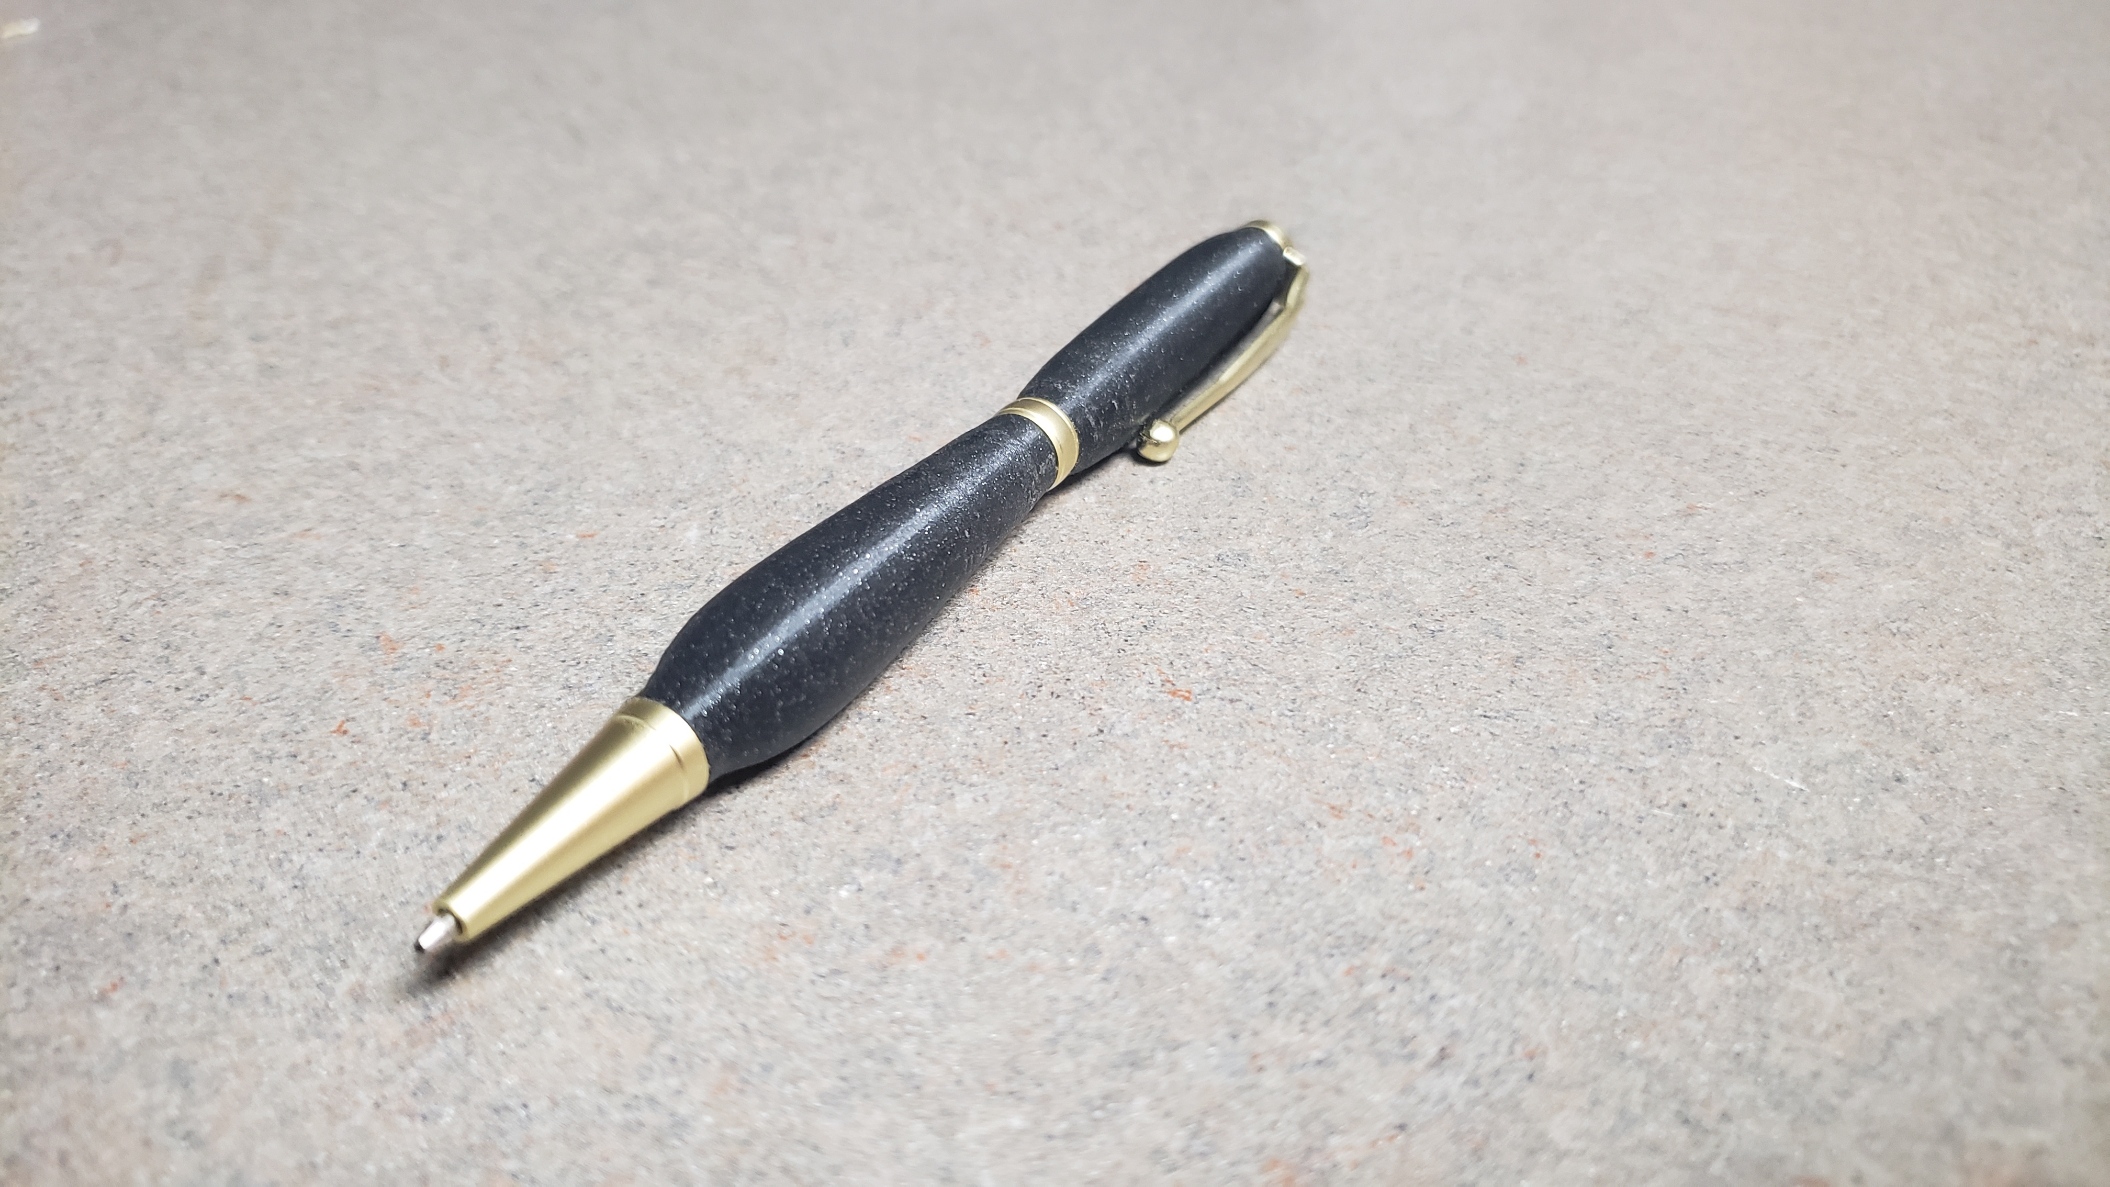
Slimline Pen Kit Blanks
prusaprinters
<p>I created a simple pen blank kit that can easily be adjusted to create shapes for Slimline Pen Kits. I chose to make the attached model the exact size in order for me to drill out the center for the pen tube. Attached is the Fusion 360 file for the pen kit which can be altered to change the shape or offset the sizes to fit your needs. I have also included a more advanced method for adding texture to the pen as well, however I am not qualified to try and articulate instructions on how to use it. Please check out <a href="https://www.instructables.com/Texture-Rollers-for-Cookies-or-Clay/">https://www.instructables.com/Texture-Rollers-for-Cookies-or-Clay/</a> for a quick demonstration on how to use the unroll Sheetmetal feature in Fusion 360.</p><p>To change the shape of the pen blanks:</p><ol><li>Open the F3d file and select the bottom or top profile revolve from the sketches tab.</li><li>This will open the quick sketch that I used to create the revolve for the design. This can be adjusted to any shape you want. Note: the top and bottom of the sketch are the dimensions of the pen tip and the middle bushing. While you can make them larger or smaller, keeping this part of the drawing will allow the profile of the pen to flow evenly.</li><li>After the adjustments have been made to the drawing, please exit the sketch and see the changes it has made to see if that is what you were envisioning. </li><li>after you are happy with the design that you have made you are now ready to export the part to 3d print. But first the whole in the center, for the pen tube, must be removed. <ol><li>First use the combine tool to cut away the pen tube from the model.</li><li>Use the body that you just created as the selected “Target Body” for the operation and the pen tube as the “Tool Bodies” you may then select “Keep Tools” before executing.</li></ol></li><li>Now that the part is to your liking you can now export for 3d printing by selecting Utilities at the top and 3d print. </li><li>Use the slicer of your choice to print</li><li>Enjoy your creation! </li></ol><p>For ease of editing just the pen tube size: use Prusaslicer to sketch out a tube size of ~6.85-7mm and center it on the part to where you wont need to drill the hole out. </p><p> </p><p>Pen assembly instructions are to follow those printed on the Slimline pen kit; briefly:</p><ol><li>Install both pen tubes into each blank</li><li>install the pen twist mechanism </li><li>Install the tip</li><li>Insert the clip into the cap and press onto the top blank</li><li>Place the band over the twist mechanism</li><li>Insert the refill</li><li>Slide the top over the twist mechanism</li><li>Align the twist stop or start to match patter or design.</li><li><a href="https://www.pennstateind.com/library/PK-PEN_ins.pdf">https://www.pennstateind.com/library/PK-PEN_ins.pdf</a> for full instructions </li></ol>
With this file you will be able to print Slimline Pen Kit Blanks with your 3D printer. Click on the button and save the file on your computer to work, edit or customize your design. You can also find more 3D designs for printers on Slimline Pen Kit Blanks.
