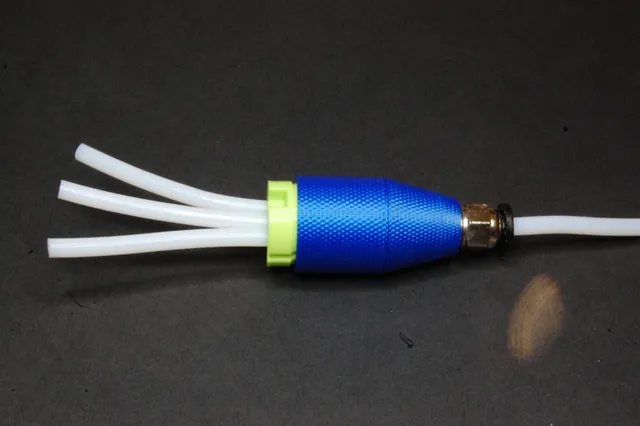
Slim 3x Bowden Splitter
prusaprinters
1) Print all the parts and the alignment/tightening tool. 1) Turn in the PC4-01/PC4-M10 pneumatic fitting into the fitting part and insert a bowden tube as deep as possible. 2) Enlarge the hole by pushing a solder iron (somewhere at 150° to 200°C) with a clean + pointed tip all the way down. You want a really smooth transition between funnel and tube. Feel free to swirl the tip a bit around to eliminate any edges where filament could possibly get stuck. Don't hesitate, if you mess up you can simply print a new one in 40 minutes 😉…should work.. 3) Place three tubes between the two core parts. The tool will help you with the alignment. 4) Screw on the sleeve. 5) All the way. It's tough but it needs to be this way to have enough friction to keep the tubes in place. 6) Screw the fitting and sleeve together and… bob's your uncle 😁👍
With this file you will be able to print Slim 3x Bowden Splitter with your 3D printer. Click on the button and save the file on your computer to work, edit or customize your design. You can also find more 3D designs for printers on Slim 3x Bowden Splitter.
