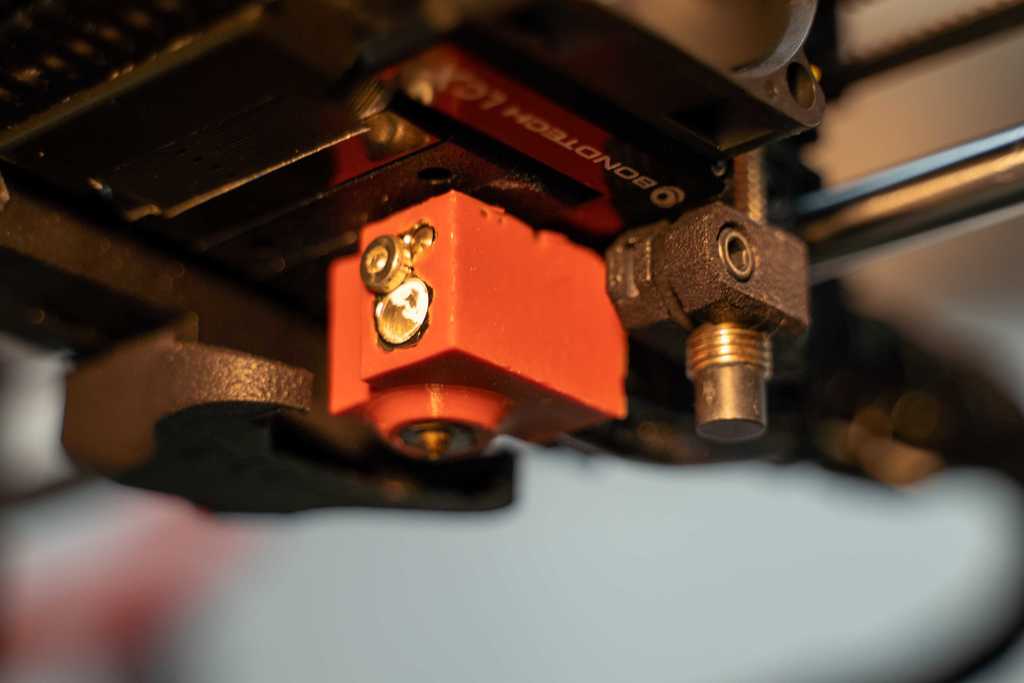
Slice Engineering Copperhead silicone sock mold (Remix for better fit)
thingiverse
This is a Remix of @Gaz. (https://www.prusaprinters.org/de/prints/32781-slice-engineering-copperhead-silicone-sock-mold/) For more information, visit the original on Prusa. Use the link above. __________________________ I reduced the mold from 100 to 96 percent. As a result, the silicone sock lifts better on the heater block even when it gets hot. In addition, I removed the cuts at the hotend. Now you can make the cut with a knife/cutter yourself, where the cables of the heating cartridge and the thermistor come out and leave the other side completely. As a result, the sock has a better fit and can not simply detach. In addition to the printed parts you will also need: M3 x 40 bolts x2 M3 x 30 bolts x2 M3 nut x4 10 ml syringe High temp silicone (https://trollfactory.de/produkte/silikon-kautschuk/haertegrad-shore/mittel-shore-a26-45/7039/tfc-troll-factory-silikon-kautschuk-typ-3-hb-zinnguss-hitzebestaendig-rtv-1-1) Instructions: Print the required 4 parts. Assemble the mold. There is only one way that works :) insert the screws and tighten them carefully. Once assembled, mix your silicon as per the manufactures' instructions (adding pigment if desired). I recommend that you mix a minimum 15 ml or 15 grams of silicone even though the mold only takes about 5 ml to fill. The reason is we will have to use extra silicone to purge any air from the mold plus some will be stuck to the mixing container walls. Suck the silicon into the syringe (see CNC Kitchen video for tips on removing air inside the syringe) then hold the mold on its side so that the small vent hole is at the top and the injection hole is at the bottom. Insert the syringe into the 4mm hole and slowly inject the silicone. Eventually silicone will flow from the vent hole, keep injecting until you see no air bubbles escaping from this hole. https://www.youtube.com/watch?v=O5UiXky85hA Leave to cure as per silicone manufacturer instructions (typically 2 to 3 hours depending on ambient temp). Once cured, dissemble the mold and carefully pull out the sock. There will be some minor flash that will need to be cleaned up which is sadly unavoidable with printed molds. Now you can make the cut with a knife/cutter yourself, where the cables of the heating cartridge and the thermistor come out and leave the other side completely. Fit to your hotend. Fit the front first then the rear. It should be a snug fit and should not sag at all. Enjoy keeping you Copperhead warm and gunk free!! I offer this silicone socks now on Etsy: https://www.etsy.com/de/listing/1066313674/slice-engineering-copperhead-silicone
With this file you will be able to print Slice Engineering Copperhead silicone sock mold (Remix for better fit) with your 3D printer. Click on the button and save the file on your computer to work, edit or customize your design. You can also find more 3D designs for printers on Slice Engineering Copperhead silicone sock mold (Remix for better fit).
