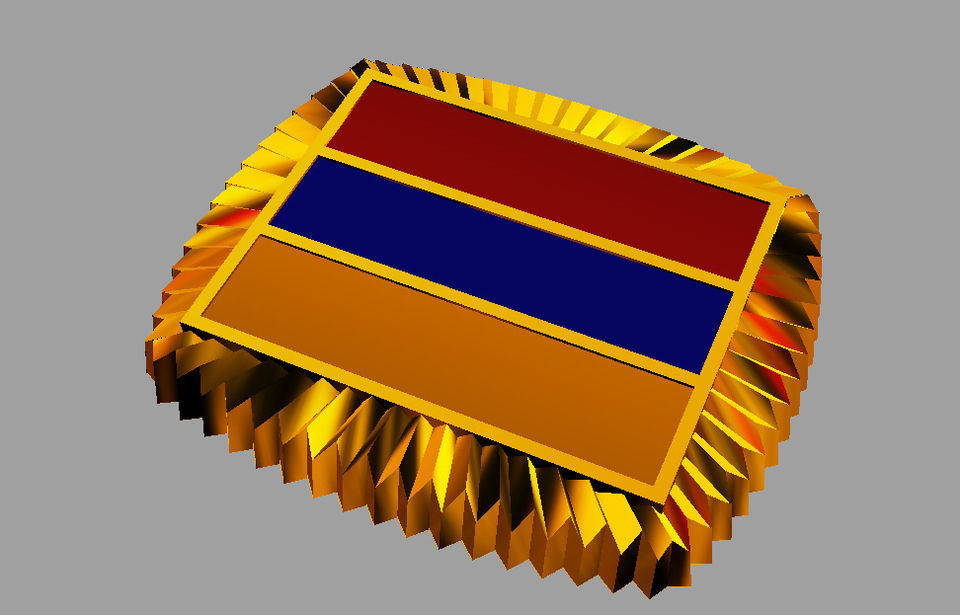
sleeve link II Free 3D model
cgtrader
Link a Sleeve in Rhino 3D V4.9 By following these easy steps, you can create a well-crafted sleeve in Rhino 3D V4.9, an impressive design application for creating 2D and 3D digital objects with precision and ease. First off, ensure your application is up to speed: Rhino 3D V4.9 needs the most current edition for top-notch execution. Launch the app, then select "File" > "New," to begin a clean project from scratch. As your sleeve model will demand high detail work, activate "Layer Freeze," by right-clicking in Layers panel and checking it. Open the Layer Editor panel using "Window" > "RhinoDoc". Create an isolated new layer for all objects in your design that are unrelated to the sleeve itself: Right click within "Object Info." Under its attributes menu you find this key choice of isolation as per each object individually or in groups with just another tap! To set your main 2D plan you'll want "Insert" > "Push/Pull": This powerful feature transforms lines & arcs, readying for further processing via various manipulations until they're just perfect; click then release once all pieces fit correctly – don't overthink about angles at this stage! Time to refine – using edge modeling we define our boundaries now; after establishing keypoints where lines cross (at "Object Snap," ensure mode is toggled between those 2), hit Ctrl + Alt or Opt + Click as required. Then bring your objects into alignment – press Space Bar then use arrow keys to do this task rapidly since movement happens swiftly. Once positioned appropriately start cutting away areas of each face that require extra detailing, keeping in mind overlapping cuts reduce quality & size quickly which leads inefficiency due complexity added from beginning so maintain an equilibrium throughout creation steps by dividing tasks sensibly! The layer panel has become useful – freeze some layers again and ungroup others according their purposes or how related certain components are; this is best visualized after establishing object hierarchy through parent child relationships which let grouping/disjoint selection in case things get out hand! A couple minor tips remain before your last steps: Keep edges clean so that when pushing/pulling they're well formed – try adding curves via Insert > Curves if some faces appear rough upon final evaluation due this technique making impossible any edge redefinition even at attempt so better make sure initial design solid since push pulling cannot fix everything once it's created. That concludes linking a sleeve within rhino 3D v4.9
With this file you will be able to print sleeve link II Free 3D model with your 3D printer. Click on the button and save the file on your computer to work, edit or customize your design. You can also find more 3D designs for printers on sleeve link II Free 3D model.
