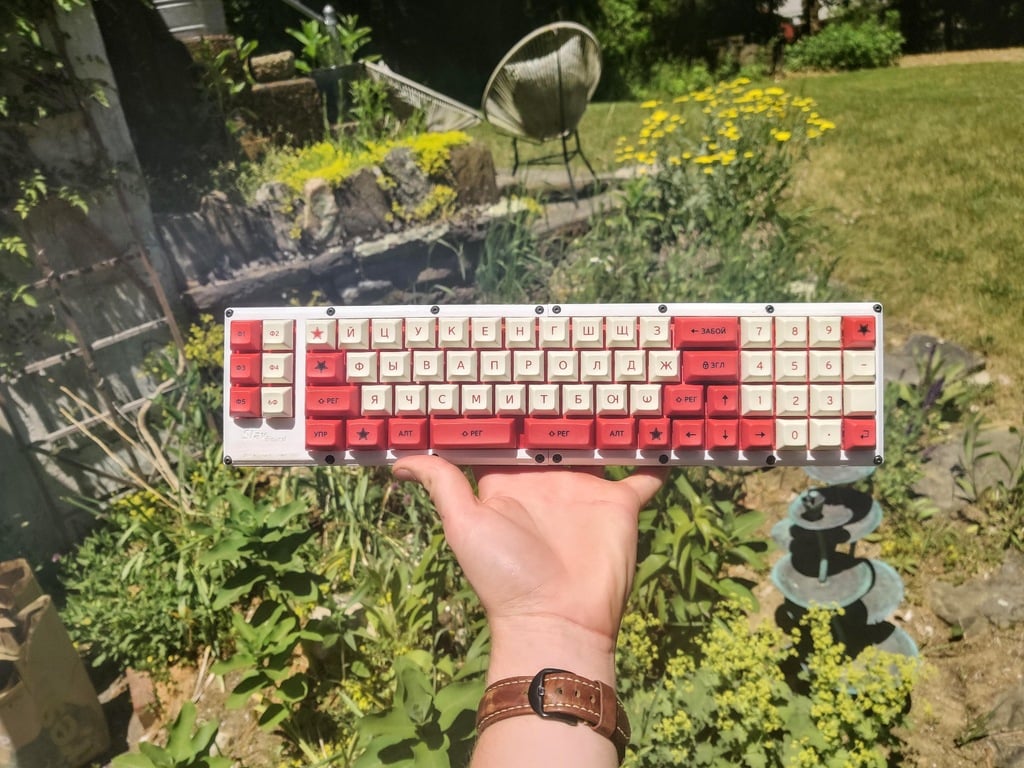
SlavBoard: A 40%++ keyboard.
thingiverse
I call this the SlavBoard, a custom keyboard that pays homage to Soviet-era design. It's hand-wired from scratch using a QMK Proton-C board with bespoke firmware. You're not locked into using the same board; any microcontroller or keyboard controller with 22 GPIO pins (4x18 matrix layout) will work just fine. To bring this project to life, I drew inspiration from a variety of sources including Matt3os' comprehensive hand-wiring guide, the official QMK documentation, and numerous online tutorials on custom keyboard wiring and programming. Building a custom keyboard like this is a challenging endeavor that requires patience and dedication - especially for those who've never tackled a project like this before. If you're new to keyboard building, be prepared to invest some serious time and elbow grease into getting your SlavBoard up and running. However, if you've got experience hand-wiring or custom keyboard building, then you know exactly what's in store for you - and that's a whole lot of excitement! Here are the essential materials needed to get started: Materials Needed: * 8x M3*20mm screws * 8x M3*16mm screws * Custom switches * Stabilizers for added keyboard stability * A set of high-quality keycaps * Diodes for reliable electrical connections * A microcontroller or keyboard controller with a 4x18 matrix layout and at least 22 GPIO pins * Solid core wire for safe and efficient wiring
With this file you will be able to print SlavBoard: A 40%++ keyboard. with your 3D printer. Click on the button and save the file on your computer to work, edit or customize your design. You can also find more 3D designs for printers on SlavBoard: A 40%++ keyboard. .
