SLA Clearance Gauge
thingiverse
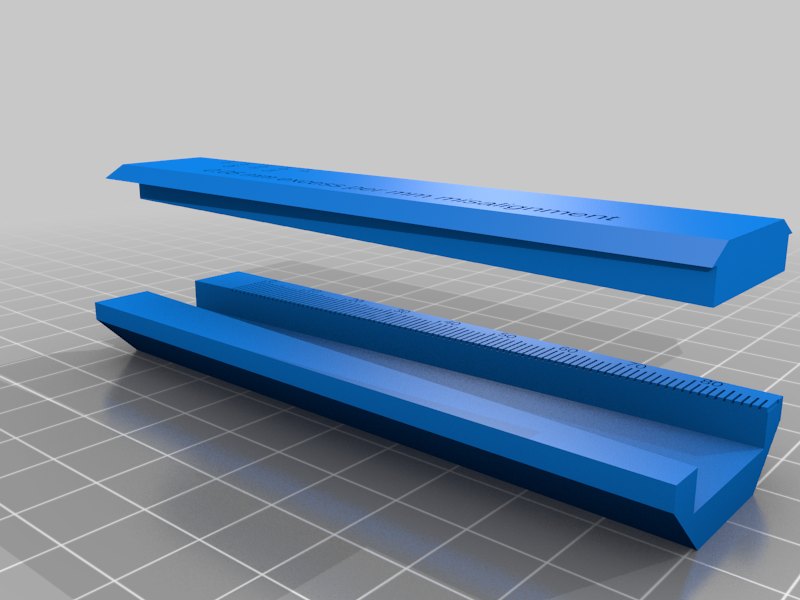
Overview A clearance gauge designed to measure excess material on SLA prints resulting from toolpath width and laser spread in resin is intended. The gauge consists of a base and a top, with the base marked at 1 mm intervals and the top featuring a vernier scale with 0.05 mm increments. Operation The taper in the channel between top and base is 5 mm / 100 mm, meaning that 1 mm displacement measured on the vernier scale represents 0.05 mm excess material on the taper. Note: This is the total excess material on both mating faces, so excess toolpath width equals half the measured value. Quick Guide 1. Print ClearanceGauge.stl on a calibrated printer, recommending alignment of the long dimension along Z in the printer. 2. Clean and cure the print for ease of use. 3. Slide parts together and gently push the scale toward zero until the taper resists. 4. Take measurement from Vernier Scale - this is the "Displacement". 5. Calculate excess material due to toolpath thickness: 0.05 * Displacement / 2 6. Optionally, test by editing ClearanceVerification.scad to modify the variable "clearance" to your measured value, then render and print a test piece.
With this file you will be able to print SLA Clearance Gauge with your 3D printer. Click on the button and save the file on your computer to work, edit or customize your design. You can also find more 3D designs for printers on SLA Clearance Gauge.
