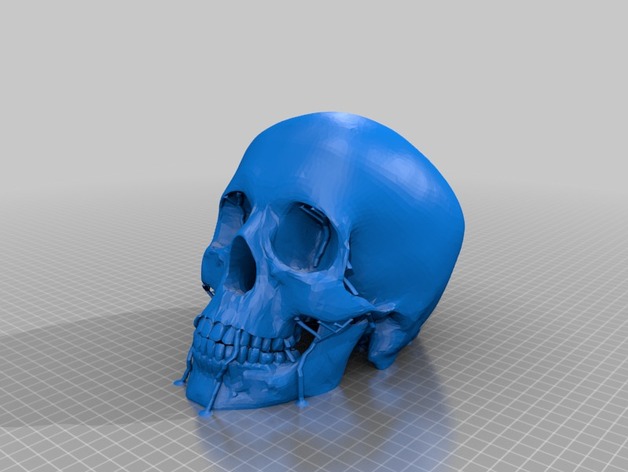
Skull-meshmixer supports
thingiverse
Creating a skull print with supports involves several steps, utilizing specialized software like Meshmixer to design and refine the model. First, import your 3D scan or model into Meshmixer, selecting the relevant tool to segment the skull from surrounding structures. Utilizing advanced algorithms, isolate the skull's surface, ensuring a smooth transition between different parts of the model. Next, employ mesh manipulation techniques such as extrusion, beveling, and smoothing to refine the skull's geometry, enhancing its overall appearance and accuracy. Implement supports strategically throughout the print area, considering factors like weight distribution, overhangs, and infill density. With your model optimized, export it in a suitable format for 3D printing software, configuring settings such as layer height, infill percentage, and support material type according to your printer's capabilities and preferences.
With this file you will be able to print Skull-meshmixer supports with your 3D printer. Click on the button and save the file on your computer to work, edit or customize your design. You can also find more 3D designs for printers on Skull-meshmixer supports.
